Monday, July 29, 2013

What A Difference


We woke up this morning with only the two of us here. Back to the empty nest again. There was no penguin or teddy bear or curly little head to greet us today. What fun we had with a full house all summer. And we will be quoting Little Sister for months to come.

She is at the age when her vocabulary is growing daily and some of it is just funny as she nearly gets her words right. She now shares some hobbies with me--like her enjoying her "kniddin' " and playing "lukulele." (Okay, so she only carries a ball of yarn around at this point. But I tuned her "lukelele" to an open chord and she did learn to strum it pretty well.) 


Pattern: Flash Mitts
Yarn: Brown Sheep Lamb's Pride Worsted
Needles: size 8

Big Sister really does knit and made sure to keep her knitting handy when they packed the car for the long drive home so she could work on the second mitt. She was so excited with the first one that she wants to make a pair for all of her friends for Christmas. Not sure she realizes how much knitting that would be!


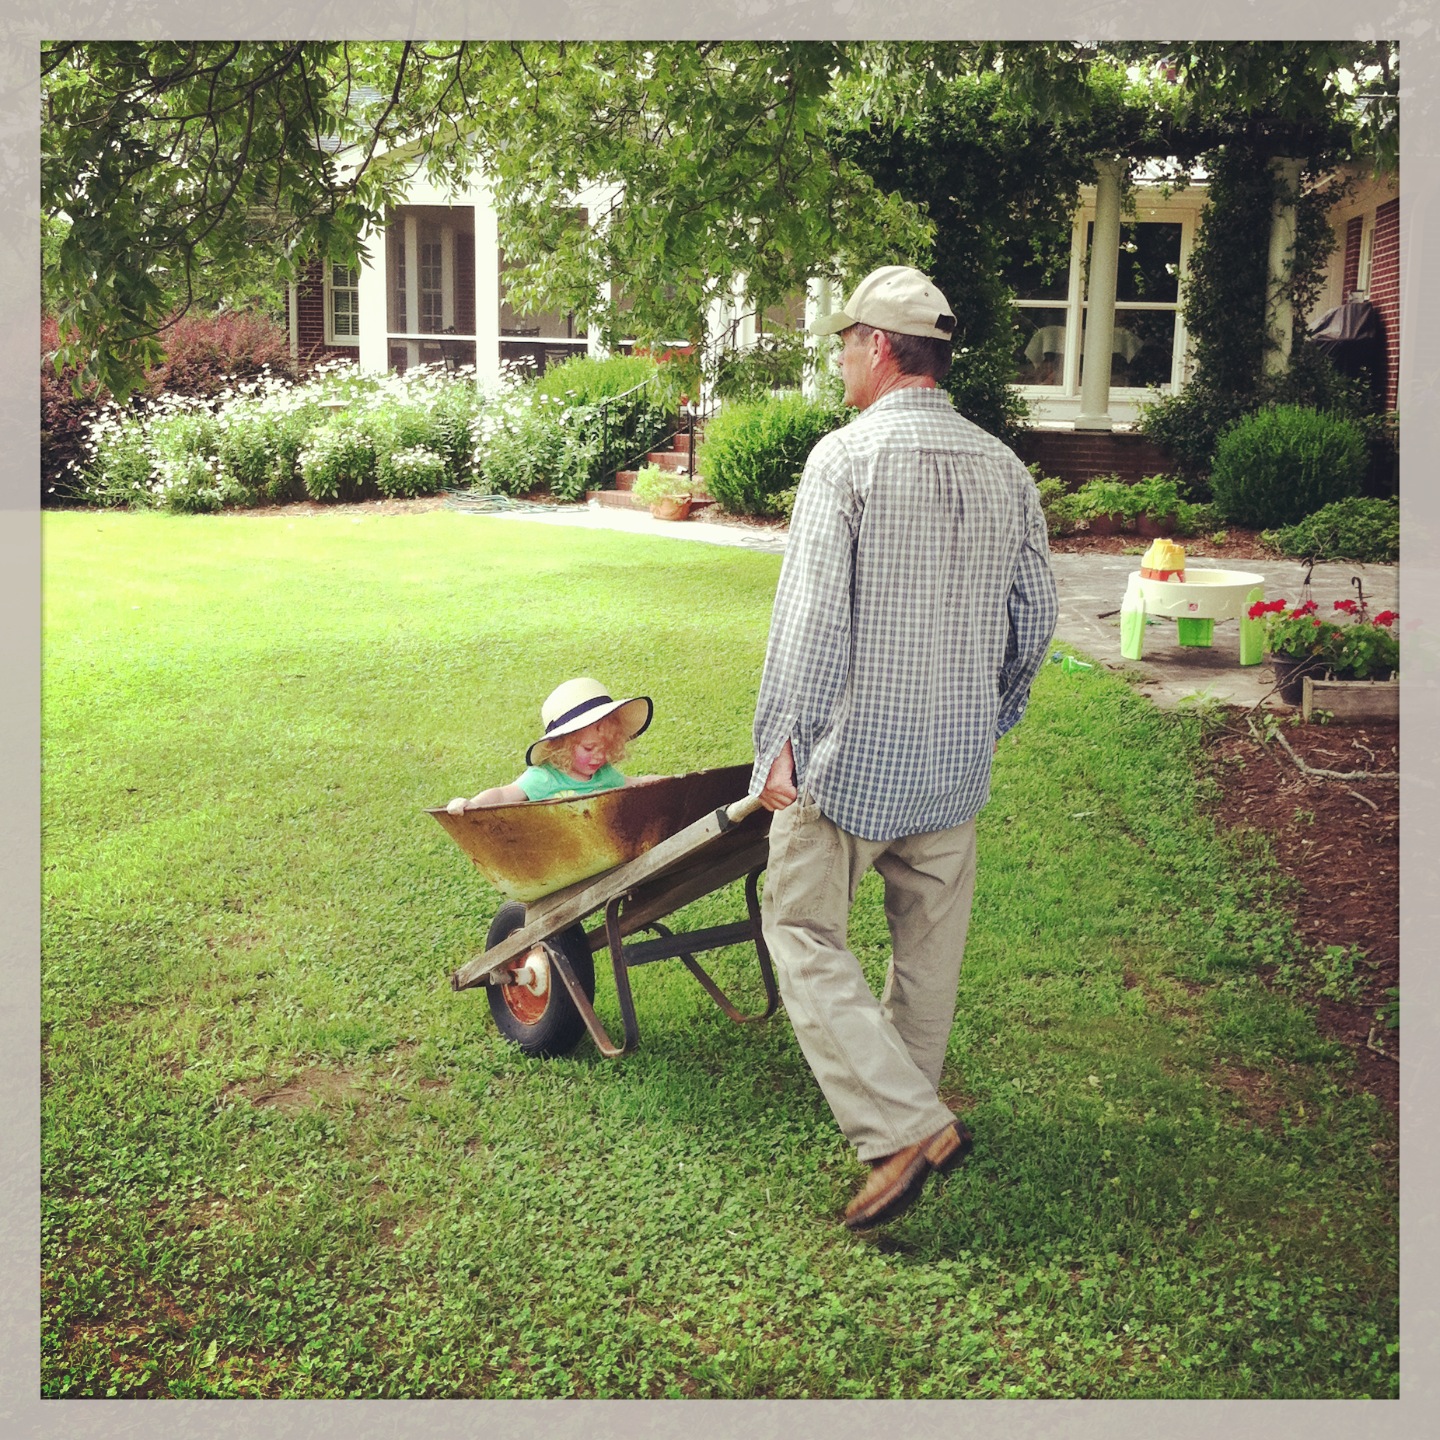
Before they left, Daddy-O took Little Sister to pick apples from our tree. The deer get the ones down low, so we are left trying to reach the ones that are too high for the deer to eat. Then Mommy made apple dumplings. This is one of the first recipes she learned to make. It's a great dish for the beginning cook. Or even a non-cook. It's super simple and the results are always good—good enough to fool your family or co-workers into thinking you are a terrific cook! (Mommy really is a very good cook now but volunteering to bring these to family dinners gave her time to learn to cook some other things.)


APPLE DUMPLINGS

1 can (10 count) Grands Golden Layers (or other flaky biscuit that will separate into layers)
2 apples, peeled and cut into wedges (10 wedges from each apple)
1 cup water
1 cup sugar
1 stick butter
ground cinnamon

Separate each biscuit into two layers. This will give you 20 thin biscuits. Wrap each piece of biscuit around an apple wedge. Place in a 9x13-inch baking dish.

Put water, sugar and butter in a small saucepan. Heat until butter is melted and sugar is dissolved. Pour over apple dumpling. Sprinkle with cinnamon.

Bake at 350 for 20-25 minutes or until lightly browned.


These are so good! I like them even better with a scoop of vanilla ice cream on the side. This recipe has been around forever. There is a variation that uses Mt. Dew for the liquid. But this is so good with water and you avoid all the chemicals in the soda. Even with a dessert, you might as well make it as healthy as you can.


Tuesday, July 23, 2013

Summer Memories - And A New Recipe


When Little Sister and family arrived at the farm the last week of May, the summer stretched out ahead of us. We thought about their visit here in terms of months. Then when Mommy's teaching assignment ended the first part of July, we thought in weeks.


Now there are only days left before they load their car and begin the long drive home. What a summer we've had here. Lots and lots of play. Lots of books. Lots of exploring on the farm. There were good days at the lake. Little Sister's vocabulary now includes words like "baler" and "hay rake." She knows what frogs sound like at night. She's caught lightening bugs. She's watched snakes and rabbits and deer. And I promise there is a hummingbird who flies right up to our window to look when Little Sister waves at him. I think they can communicate.


Little Sister is going home with new boots and overalls. She said she was going to be a farmer. She might be the only child in her preschool who makes a real cow sound instead of saying "moo" when asked what a cow says. 


Big Sister was gone much of the summer visiting other family members, but she got home this week in time for driving lessons in the pasture. We're glad she's back. We missed her. Hard to believe that she's old enough to be getting ready for real driving.


To welcome her sister home, Little Sister baked brownies!


One thing Little Sister has learned here at the farm is to photograph her food for the blog. Last night she asked me to make a picture of her pretend ice cream when I was photographing the pineapple chicken. This is probably not the best thing she's learned this summer!  She has carried a very old Fisher-Price camera (it belonged to Jessica when she was little) around all summer and made many, many "pictures" of everything around the farm.


In the real food category, I'm looking for easy meals this week. There is so much to be squeezed into these last few days that my kitchen time needs to be efficient. But we still want good meals. I re-did a favorite slow cooker recipe yesterday. This Pineapple Chicken was as good as the original Teriyaki Beef with Pineapple. Mommy does not eat meat, so it's good to know this version works, too. 


PINEAPPLE CHICKEN

1 package boneless, skinless chicken breasts (3 breasts, about 2 lbs.)
1 red bell pepper, cut in a large dice
15-20 oz. jar teriyaki sauce (I used Archer Farms Teriyaki Grilling Sauce)
20-oz. can pineapple tidbits, drained

Cut chicken into large chunks. (I cut each breast into 3 strips lengthwise, then into large chunks)
Add chicken pieces and peppers to slow cooker. (I used a 3-1/2 qt. size.)
Pour sauce over chicken and stir.
Cook on LOW for 6-7 hours.
Add pineapple tidbits during last 20-30 minutes of cooking time. 

I served it over brown rice and made roasted asparagus to go with it.


We are not sure what Mommy and Daddy will do at home when Little Sister wants to go "drive" the truck. Or the ATV. Or the blue tractor. Or the orange tractor. Or the baby tractor (lawn mower.) Or the Jeep. She's had so much fun sitting in the driver's seat and turning the steering wheel on every vehicle on the farm. 

I told her daddy that he might have to buy a truck just to park in their driveway. When things were not going well here and Little Sister was unhappy, a trip to "drive" the truck always made the tears disappear.  Will Daddy-O ever get everything reset after all of her button pushing and knob turning? I don't know. But he loved every minute. 

Yes, we have made good summer memories.


Tuesday, July 16, 2013

Recipe Revisited


As much as I love trying new recipes, there can't be new ones every day. Last night I needed something easy, something delicious. I made Hot & Sweet Chicken again, this time using the preserves called for in the original recipe. I was shopping somewhere besides my nearby grocery store and spotted apricot preserves. That pretty much dictated what we were having for dinner. The first time I used pineapple preserves when I couldn't find the apricot at my local store. I can now say that either way is really good. I did cut down the Tabasco a little this time. We liked it this amount better. The "hot" in a recipe is purely personal, so make it suit your family.

And, yes, I know one little chicken thigh is not a serving. I just forgot a photo when I was ready to put dinner on the table. I offered to fix Daddy-O a second helping if he would wait an extra minute for me to photograph it.

He laughed and said that when Little Sister starts preschool this fall, the teachers will wonder why she feels the need to (pretend) photograph her snacks every day. She has watched her Mimi too much!

HOT & SWEET CHICKEN

1 cup apricot or pineapple preserves
1/2 cup ketchup
1/4 cup soy sauce
2 teaspoons minced garlic (I used the jar kind)
2 teaspoons Tabasco (I only used 1-1/2 tsp. this time)
1 package boneless, skinless chicken things (6-8 thighs)

Preheat oven to 350 degrees. In a small saucepan, combine preserves, ketchup, soy sauce, garlic and Tabasco. Cook and stir over medium-low heat until preserves are melted. 

Arrange thighs in a 9x13-inch baking dish. (This time I used one size smaller.) Pour sauce over chicken, turning each piece to coat with sauce. Bake, uncovered, for 30-35 minutes or until done, spooning sauce over the chicken a time or two while baking.


Monday, July 15, 2013

Big Muddy


Made a quick trip back to the lake this weekend. Just stayed one night. We have had historic amounts of rain here in July and the flood waters from the counties to our north made it to our lake, bringing lots of mud with them. I've never seen it this muddy. Glad our big family gathering was the week before.


But a muddy lake doesn't stop early morning knitting. I've done so little knitting this summer. Too much else going on. So it was good to slip out onto the porch in my pj's and work a few more rows on the striped socks. Surely I'll finish them before cold weather.


It wasn't very long before I was joined on the porch by Little Sister. Her first words—"Where the lookers?" You can see what "lookers" are. Love her small child vocabulary!


Little Sister and Daddy-O had a lesson in fishing. No bites this time. Could have a little something to do with the fact that Little Sister loves reeling the line in. Time the hook hit the water, she was turning the crank. A fish would nearly have to jump out of the water to get on her hook!


Just an update to the Salsa Chicken recipe I've posted here before. It was good the first time, but we liked it so much better when I used this salsa with corn and black beans. The flavor of the salsa is the make-or-break ingredient here, so pick the brand you like best. I froze this batch and took it to the lake for our July 4th stay. It made a good, easy dinner to feed our houseful one night.


And I'm finally getting around to sharing a recipe from our July 4th stay that was a really good one. Mommy was in charge of appetizers one day and she made this crostini for us. A good mix of summer flavors. It's a substantial appetizer which worked well for us since we had a late dinner that night. One caveat—the toppings tended to fall off, so it's not a finger-food that you walk around with. Good enough to make again, though!

SUMMER CROSTINI with WHIPPED ROASTED GARLIC GOAT CHEESE
   from HowSweetEats.com

1 baguette, sliced into 16 rounds**
12 ounces of goat cheese
2 tablespoons whipped cream cheese
1 head of roasted garlic
4 ears of grilled corn, cut from the cob
1 pint of grape tomatoes, quartered
1/2 teaspoon salt
1/2 teaspoon pepper
1 teaspoon olive oil
1/4 cup fresh basil, chopped
Preheat oven to 375 degrees. Place bread slices on a baking sheet and bake until golden, about 10-12 minutes.

While bread is baking, add goat cheese, cream cheese and roasted garlic cloves to the bowl of your food processor and blend until creamy. (No food processor at the lake. Just used a fork to mash it all together in a bowl.)

Toss tomatoes with salt, pepper, and olive oil.

To prep  crostini, spread each slice with goat cheese, then top with a handful of tomatoes, grilled corn and fresh basil. Serve!

**We found that we had plenty of topping—the spread and the veggies—to make double the number of toasts. Suppose it depends on the size of the bread loaf you're using. Ours was skinny.


Tuesday, July 9, 2013

Lake Living


We went to the lake for our annual family July 4th gathering.
And then we stayed on for a long weekend.


Summer days at the lake are always fun.


But this year a small child and a very well behaved dog
made it even more fun!


There was plenty of good food.


Little Sister got new sunglasses from her Aunt Jessica.


Our new friend cooked the best dinner on the grill. 
He didn't need a recipe. He has grill skills.


Little Sister got her first sparkler.


And even though it rained and rained and rained,
there was enough sun for some fun in the water between the showers.


Lake living is all about relaxing. 
That, we did.


But yesterday when we ran out of clean towels 
and we ran out of cake,
it was time to come home.

We'll be back soon.


Tuesday, July 2, 2013

Blueberries And Backyards


Blueberry Buckle


The next best thing to having blueberries growing in your yard is having a neighbor with blueberries in his yard. Hmmm.....come to think of it, maybe that's even better than having your own. Saturday morning we took a few minutes out to go pick a couple of gallons of berries. One to give away and one to enjoy. 

We've been spending lots of time outside this summer. While the west is is in a serious heat wave, here in the South, it is a little cooler than some summers. Our backyard is such a pleasant place to be.


Our daisies have taken over the fountain in the back yard. 


Little Sister has new shoes suitable for backyard water fun.


When I have extra blueberries, I always reach for my favorite cookbook--Better Homes & Garden New Cookbook to look up this recipe. I have a much newer edition of this cookbook that starts with "Dear Friends" but I still want the recipes from this 4th printing of the book that my mother gave me when I finished college. The recipes have changed over the years. And sometimes the ingredients for the same recipe have changed. (Obviously, we all like things sweeter now.)


Here is my updated version of this blueberry coffee cake. I switched the all-purpose flour to self-rising and skipped all that sifting business. Speed was of the essence today. (Confession: I also just added all my wet & dry ingredients at once. I would not do this if I were baking a regular cake—has to do with gluten development—but it was okay here. Might still alternate if I had time.)

BLUEBERRY BUCKLE

1/2 cup shortening
3/4 cup sugar
1 egg
2 cups self-rising flour
1/2 cup milk

2 cups fresh blueberries

1/2 cup sugar
1/2 cup self-rising flour
1/2 teaspoon ground cinnamon
1/4 cup butter

Preheat oven to 350 degrees.

Thoroughly cream shortening and 3/4 cup sugar; add egg and beat until light and fluffy. Add flour to creamed mixture, alternately with milk. Spread in greased 11x7x 1-/1/2 inch pan. Top with berries. Mix 1/2 cup sugar, 1/2 cup flour and cinnamon. Cut in butter until crumbly; sprinkle over berries.

Bake 45 minutes. Cut into squares. Serve warm.


This passed the Daddy-O test this morning for breakfast! "Excellent!" says the master of the house.