Saturday, February 23, 2019

Keeping It Easy


Maybe it's all the rain. Days of rain. Weeks of rain. But I've been hit with a big case of inertia. Dreary days. Gloomy skies. It's been hard to get myself in gear.


The river is out of its banks. The pastures are soggy. The big heavy tractor just mires down when Daddy-O goes out every day to feed the cows. But the cows have to eat. And so do we. Even if I'm not in a mood to cook. We could go out for dinner, but that would mean getting out in the cold rain. Cooking at home seemed to be the better option.

So tonight's dinner, which is in the oven now, is one of the very easiest I know. We've been making pork chops and brown rice for years. It's delicious and the aroma from the kitchen is making me hungry. But the very best thing about this recipe is that you can have it oven ready in about 10 minutes...about the time it takes to preheat the oven. Then you can go sit down again.


First, turn the oven to 350 and start preheating it.
Then brown 4 boneless pork chops quickly in a hot skillet. Turn them over and brown the other side.


While the pork chops are browning and the oven is heating, slice an onion and cut a green pepper into strips.


Lightly spray a baking dish with PAM (or lightly oil the dish.) Pour in 1/2 cup of regular white rice.
Pour about half a can of beef consommé over the rice and mix it a little.


Add the browned chops on top of the rice. Top each chop with an onion slice and a couple of pepper trips. Pour the remaining consommé over all. 


Cover the dish and bake at 350 degrees for 1 hour. That's it!

This recipe has never failed to give me tender, moist pork chops. And since it only uses a half cup of rice, it's not a ridiculous amount for our small household.


Ten minutes of kitchen time and I could go back and sit down and pick up my knitting again. Hard to believe but this inertia has hit my knitting, too. I'd rather set this aside. But this piece has a deadline, so I'll keep at it.


PORK CHOPS & BROWN RICE

1/2 cup regular rice
1 can beef consomme
3 or 4 boneless pork chops
slices of onion and green pepper

Preheat oven to 350 degrees.
Put rice in a 1-1/2 quart baking dish. Pour most of the consomme over the rice. Brown the pork chops quickly in a hot skillet. Put the chops on the rice, top each with a slice of onion and a couple of pepper strips. Pour the remaining consomme over the chops. Cover and bake at 350 for 1 hour.

I like to let the dish sit, covered, about 10 minutes before serving. 


So let it rain on tonight. Let the river rise. Other parts of the country are having serious and even destructive weather. Ours is just miserable.

We are inside and dry and well fed. And we are thankful. 


Monday, February 18, 2019

Long Weekend With The Littles


This long holiday weekend has been a real "grandmother gig" for few days. As I write, I'm looking at my kitchen table covered with construction paper, felt, blunt tip scissors and glue sticks. And I'm watching small hands "creating" and "crafting" (her words) things for the dollhouse. "I've never crafted in the morning before. I'm still in my nightgown." I've let the smallest grandchild work on her own, with minimal supervision. Yep. Scissors. Glue. Markers. I can clean up when the house is quiet and empty. The girls will "clean" up the big things. I'll finish up later.

It's a grandmother privilege to let them make a huge mess. Understand I'm talking about a creative kind of mess. I keep a good supply of markers and crayons, paper, tape, glue sticks fabric scraps and leftover yarn stashed where they can reach it. And this weekend we've learned to look for things we usually throw away, like bottle caps, and see that upside down, it looks like a dollhouse bowl. For two days we've been on a hunt for tiny trash that can be converted into treasure.


This dollhouse and the critters who inhabit it belonged to their mommy. Who would have thought that 30 years later children are still playing with it? Saturday we made knitting things for the dollhouse mother. All houses have knitting sitting around, don't they? Toothpicks, leftover sock yarn and LOTS of patience and an hour later, we had actual knitting and a knitting basket for the mama bear.


When the dollhouse critters needed to rest, we baked. Both little girls have kitchen skills. This time it was Baby Girl who helped me bake while Little Sister was out on the tractor. Little Sister gets her turn in the kitchen later today helping Mommy bake cookies to leave a treat for Daddy-O when they head home tomorrow.

For generations, our family have been good deed doers. My mother was the best to take food when there was a need. And to make sure no child was cold in the winter. And to make sure people knew someone cared. These little girls are learning to carry on that tradition. Yesterday after church we delivered muffins and a get-well picture to a friend who is home with her foot propped up as it heals.

Applesauce Muffins

Here is this recipe again. These are among our favorite muffins to make. The recipe makes plenty to share. Or, to freeze for later. It's simple enough for little hands to help. The smallest hands can put paper liners in the muffin tins. As they grow, the "help" increases. Baby Girl likes to pour in ingredients. Little Sister can crack an egg like a pro. So far, no one loves cleaning up afterwards. 😊

APPLESAUCE MUFFINS (2 dozen)

1 cup butter, softened
2 cups sugar
2 eggs
1 teaspoon vanilla
2 cups applesauce
4 cups all-purpose flour 
1 teaspoon baking soda
1 teaspoon cinnamon
1 teaspoon ground allspice
1/4 teaspoon ground cloves
1 cup of your favorite add-in...diced apple, raisins, or chopped nuts (optional) 

Preheat oven to 350 degrees.  

In a bowl, cream butter and sugar. Add egg and vanilla and mix well. Stir in applesauce. Combine flour, baking soda and spices. Stir into creamed mixture. Fold in add-in, if using. 

Fill greased muffin cups about 3/4 full. (Or use paper liners.) Bake for 20-25 minutes, or until a toothpick inserted into center of a muffin comes out clean. 

Cool for 5 minutes and then remove to wire rack. 

Makes 24 muffins.  Pop some in the freezer for later. 


It is going to be very loud silence here when everyone is back at home tomorrow. No more little girls crawling into our laps in the morning. Sleepy eyes and messy hair and little bodies still warm from the bedcovers. Daddy-O gets one girl in his lap. I get the other. I'll miss having the little girls crawl into my bed at night, one on each side of me, to hear bedtime stories before they head to their own beds. Yes, the house will cleaner and quieter. But goodness, it's going to feel empty.


Friday, February 15, 2019

After All The Valentine Candy

Marinated Chicken Thighs

Our little granddaughters arrived last night for a long weekend visit. We had a supper plan, but it was one of those weeks. So many crazy things kept changing my schedule and I never made it to the grocery store. I needed to make dinner from what was in the fridge. I sent a quick text to Jessica and asked her, "What can I make that's quick and easy with a pack of boneless, skinless chicken thighs?" She instantly sent back this recipe and said it was one of their favorites. 

Both daughters have been using some Whole 30 recipes and Jessica said this chicken was from one of her favorites sources of many delicious recipes. My version is NOT Whole 30 because I used my normal pantry ingredients. (Soy sauce instead of coconut aminos.) But it was delicious. And one of the easiest things I'm made in ages. 

I lined my pan with a double layer of foil to make clean up extra easy. 

MARINATED CHICKEN THIGHS
                      ....from Just Jessie B

1 package of boneless, skinless chicken thighs.
1/4 cup olive oil
2 tablespoons balsamic vinegar
2 tablespoons low-sodium soy sauce
1 tablespoon fresh orange juice (or lemon or lime)
1 teaspoon Dijon mustard
1 teaspoon minced garlic
1/2 teaspoon salt
1/2 teaspoon black pepper
1/2 teaspoon onion powder

Preheat oven to 425 degrees. Line baking sheet with heavy duty foil. (I used a double layer.)
Put all ingredients, except chicken, in a medium bowl and whisk to blend ingredients. Put chicken thighs into marinade and turn to coat. 
Cover and let chicken marinate for 30-60 minutes. (I put it back in the refrigerator for about an hour until I was ready to cook.)
Put chicken on foil-lined baking sheet and roast for 40-45 minutes, or until the edges begin to brown and crisp.


For a side dish, I pulled out every vegetable I had on hand and made a pan of oven roasted vegetables--green beans, carrots, red pepper, potatoes. It was an easy meal and one well suited to follow a day of Valentine parties at school. 

We are not following the Whole 30 plan but I think some of those low-sugar, no-processed-foods recipes might be good to add to my menu plans. I'm all about balance. 

Hats off to Mommy who works to develop good eating habits in her children. So far they have only looked at their Valentine candy. They have guessed what the flavors might be. They studied the shapes. They have talked about when they might eat one. Neither had ever had a heart shaped box fo candy. How much fun I've had watching them NOT eat this rare treat. It's been more like entertainment for them than a goodie. Way to go Mommy!


Wednesday, February 6, 2019

Embracing My Instant Pot

Not-Quite-Free Vegetable Soup

Now, I do not regret tasting every single homemade goodie on the snack table at the knitting retreat last weekend. And several of the packaged snack foods as well. It was all good. But you know that kind of "vacation" eating cannot continue at home.

So this morning I made soup. The "nearly free" of WW points recipe I make after I've over indulged. It will be my lunch for days. And this time I made it in my Instant Pot. I've had several questions lately about how much I use mine. How much I like mine. And I have decided that since I do have one sitting on a counter, I need to use it more.

Suellen, our retreat hostess, brought soup on the set up day for those of us who came early to help her get things ready. It was so good. She had made it in her Instant Pot. I've asked her before about using the Instant Pot because I've heard her say that she uses hers all the time. She also said that she grew up in a household where pressure cooking was a regular way to get dinner on the table.

It dawned on me (I think I must be a really slow learner) that what was holding me back from using my Instant Pot more was the thought, "What if I mess this up?" And this morning I had a better thought—that happens occasionally—that in almost no other venture would I expect perfection as I'm learning

So I will make it a point to cook regular foods at least a couple of times a week in my IP and see what happens. If I waste a bag of dried beans, so be it. I've got to be willing to learn. And I've got to be willing to fail.

BIG, BIG thing I already know about IP cooking....write down what you do. Make notes!!! I cooked dried beans last week after another Suellen coaching session. And by this morning I wasn't a hundred per cent sure what I did. Fortunately I found the directions I used and scribbled some notes this morning about how I adapted it.

And the other big thing I've already learned is that because all of us have different tastes and different expectations, there is a range of cooking directions/times that will work. You just have to find the one that works for you.

Here are a few "recipes" that I have used. Easy things to get you started if you are shy about using your IP.


HARD COOKED EGGS

Place eggs on a rack (or use the trivet that comes with the pot) and add 1 cup water.
Fasten lid and turn lever to SEAL.
Set on MANUAL for 6 minutes.
When timer goes off, quick release the pressure.
Immediately remove eggs from IP and place in a bowl of ice water.
Let cool for 5 minutes.
Then remove from cold water.
Store, covered, in refrigerator if not using immediately.

This set of cooking and cooling times gives us eggs the way we like them. If you do a Google search, you'll find time variations. Try until you find the time that you like. These are surely easy to peel. I keep extras, unpeeled, in a ziplock bag in the refrigerator for a super quick breakfast, salad topping, or snack. Egg salad is easy to make when these are waiting.

You can cook as many eggs as fit into your rack. You would cook 2 eggs or 12 eggs the same way.


DRIED BEANS–WITHOUT SOAKING

You can Google ways to cook dried beans in your Instant Pot. I read them all. And I asked Suellen how she did hers. And then I combined some of the methods. Again, you will have to find what suits you. But this is a good place to experiment. Dried beans are cheap.

1-lb bag of dried beans
1/2 onion, optional (for seasoning)
6-8 cups water
1 tablespoon cooking oil (to prevent foaming)
1-2 teaspoons salt

Pick through beans, removing any pebbles and broken beans. Rinse them and add to IP. Add remaining ingredients. Fasten lid and turn lever to seal. Set MANUAL and cook for 30 minutes. Let NPR (natural pressure release). If you run out of time after 20 minutes, release remaining pressure.

NOTE: Suellen cooks hers for 50 minutes. Much longer than I did. It all depends on how you like your beans. If you try 30 minutes and decide they are not as soft as you like them, put the lid back on the pot and cook under pressure a little longer. This time you can do a quick pressure release. 


Because we are a household of two, I froze my butterbeans in pint containers for later. Suellen cooks hers considerable longer. Next time I might set my timer for 31-32 minutes. But these were really close to perfect for us. Tender but still firm. Go to this "how to cook dried beans" for more information. She says black beans cook faster, chick peas slower.

NOTE: We ate these beans out of the freezer last night, along side my Fried Cabbage with Smoked Sausage. The beans were perfect. And I loved that combination.

Just needs  cornbread

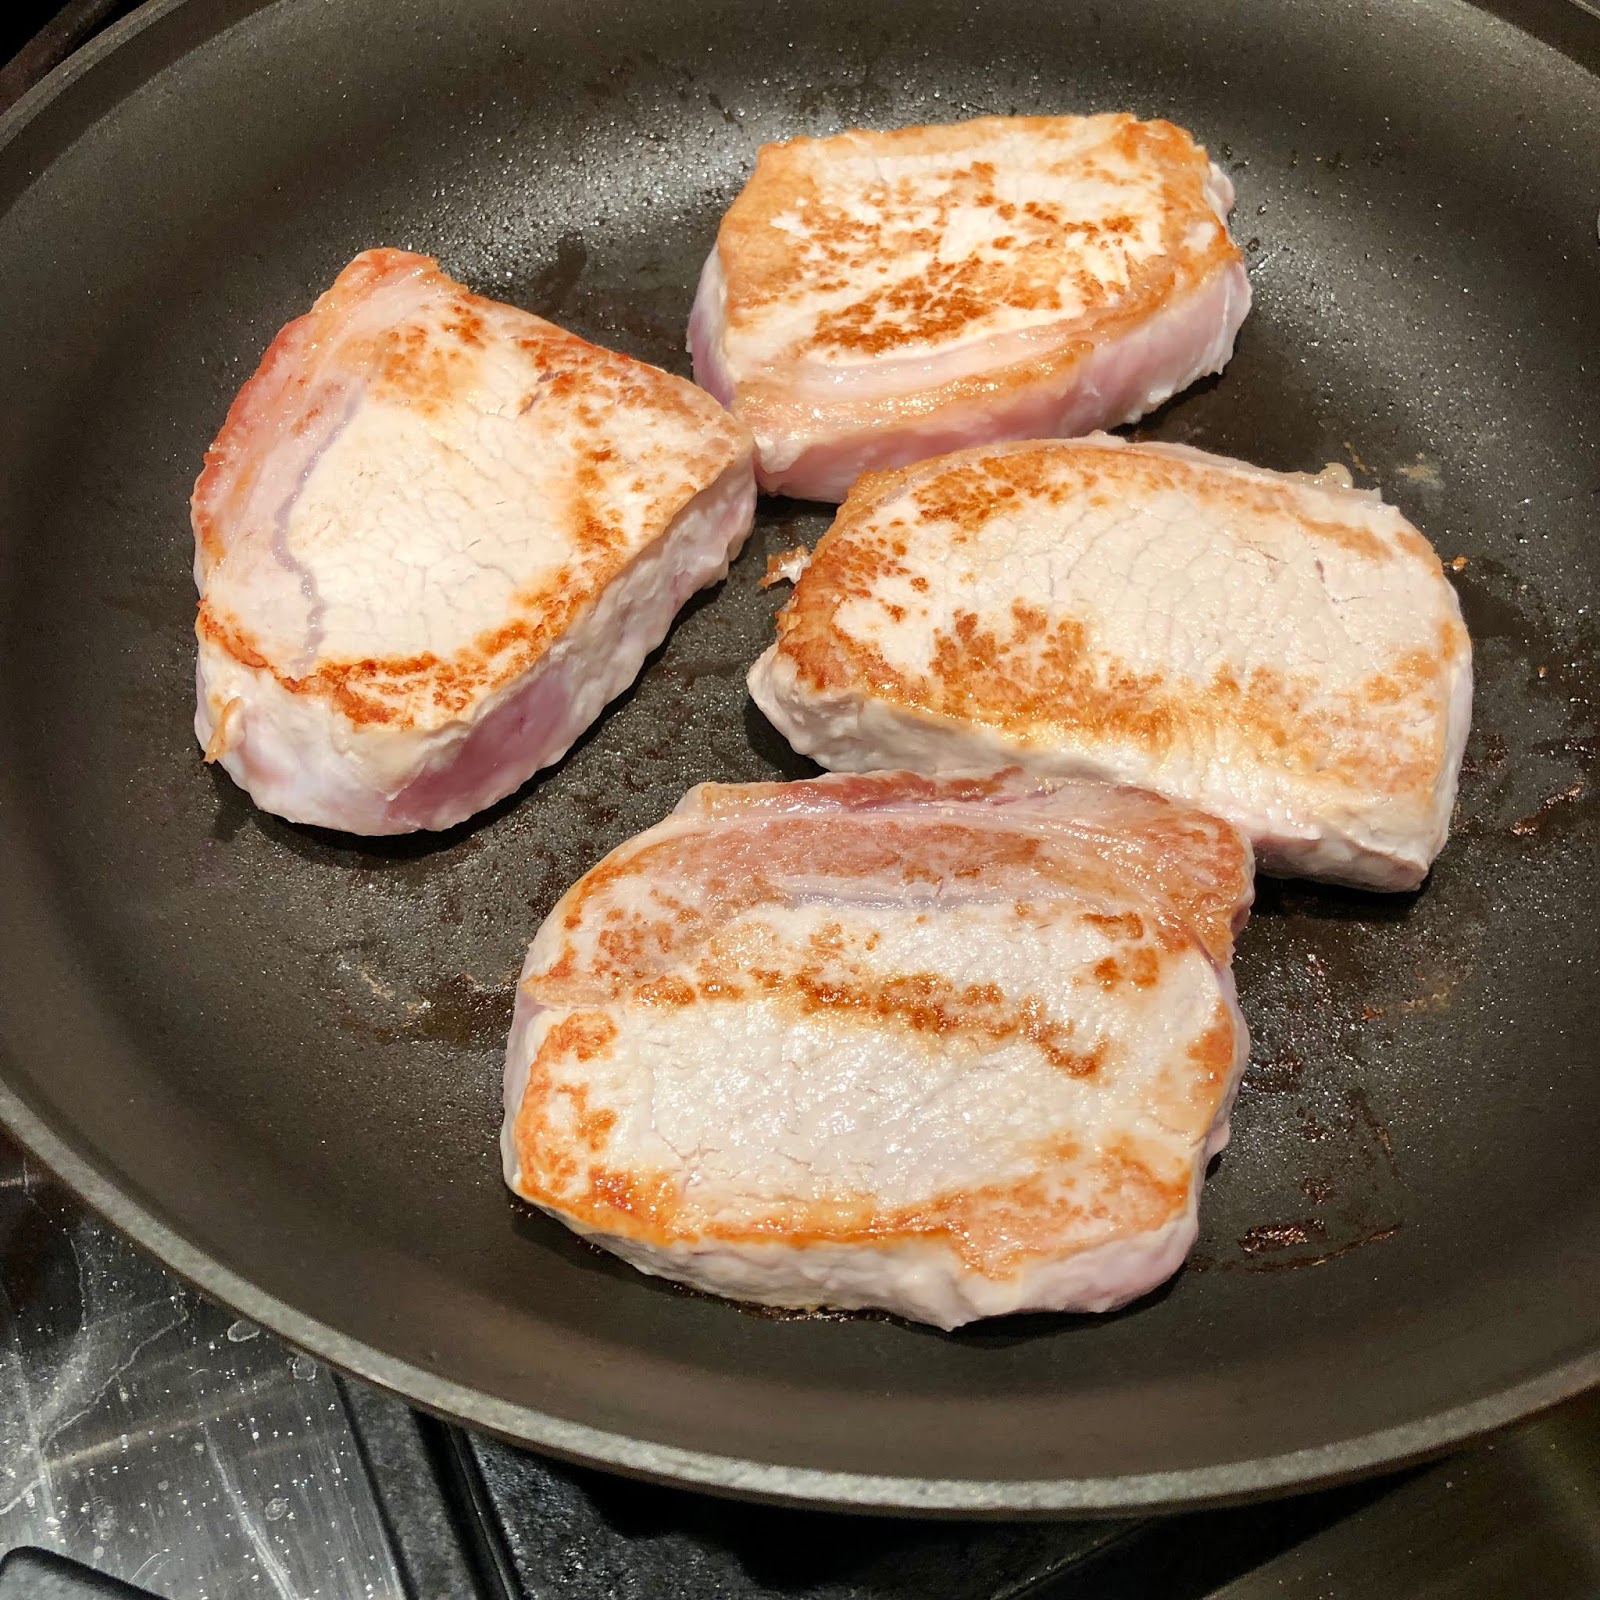
"NOT QUITE FREE" VEGETABLE SOUP

1 16- oz bag frozen vegetables for soup
1/2 head cabbage, finely chopped
1 onion, diced (I only had a 1/2 onion)
1 15-oz can cut green beans 
1 28-oz can crushed tomatoes
1 pkg dry Ranch Dressing mix
5-6 cups water
freshly ground black pepper, to taste 


Add everything to IP. Fasten lid and set to seal. Set MANUL for 13 minutes. Let NPR.


This took quite some time to come up to pressure and then to release (I let the pressure out after 30 minutes.) But once everything was in the pot and the time set, I didn't look at it or touch it until it was done. The hands-off part of IP cooking is part of what I like. 

I've made this soup many times on the stovetop. I really think the flavors are blended better cooked this way. And the veggies were more tender. Next time I might set it to cook for 11 minutes. I think the vegetables will still be tender. I can always cook it bit more if I want to.


SUELLEN'S VEGGIE INSTANT POT SOUP
This was the soup that we enjoyed after doing the set up chores. I really liked the rice in this soup.

1 small can tomato paste
1 (15-oz) can diced tomatoes (plain, not flavored)
1 (15-oz) can kidney beans, drained and rinsed
1 (15-oz) can corn, drained
1/2 bag frozen peas
1 large onion, diced
1 small yellow potatoes, diced
32-oz box low-sodium chicken broth
1 cup long-grain white rice, uncooked

Add all ingredients to IP. Fasten lid and seal. Set MANUAL for 13 minutes. Let NPR.


If you go to the Recipe Index tab at the top of the page, you'll find a category for other Instant Pot recipes. All are recipes I've made and we liked. Thankfully, there haven't been many disasters.


Tuesday, February 5, 2019

A Cookie And Knitting Kind Of Weekend

Ginger cookies

I have no good explanation for why I came home exhausted from a knitting retreat. Knitting is not the most taxing physical activity. But I might have knitted more than I slept and talked more than I knitted. That may have contributed to my tiredness.


I also didn't make the best food choices this weekend from a health standpoint. But I made WONDERFUL choices from a taste standpoint. The snack table at this particular retreat is outstanding. Homemade cakes and cookies are mixed in with favorite packaged snacks. And if anyone is worried, there was also fruit and cheese. But I'll be honest...the cakes and cookies were my favorite.


For those who don't know what a knitting retreat is, let me assure you that it really is a knitting event. Much of what we learned comes from other knitters at the retreat who are ready with help if there is a question or a problem. And then there is the show and tell session. The above stack of knits is PART of the knitting completed by our 'baby knitter" (she was the youngest one there) since our retreat in August. She said she didn't knit during November and December. She is amazing in her productivity. And her workmanship is excellent.


Our weekend did include a group activity for those who wanted to participate. We all knitted a Frost Warning hat. The pattern was designed by our retreat leader for this event. (You can purchase the Frost Warning pattern on Ravelry if you'd like to make one. It's quick and easy. A great "first chart" pattern is you are new to chart knitting.)

But the most fun was learning to make faux fur pompoms. This was easier than I expected. The
"fur" circles were cut out on the screened porch of the camp where our retreat was held. It looked more like some kind of camp wildlife class than knitting class by the time we finished, with bits and pieces of "fur" on the floor. And "skins" laying out on the table.


Our knitting group—now more like knitting family—covered six decades of ages. Here we are wearing our finished (or nearly finished) hats. Looking forward to seeing them again.


These ginger cookies were my contribution to the snack table. Someone tasted them and said, "And I know this recipe is on your blog." But I have never posted this recipe. Taking care of that right now!

GINGER COOKIES

4-1/2 cups all-purpose flour
4 teaspoon ground ginger
2 teaspoons baking soda
1-1/2 teaspoons ground cinnamon
1 teaspoon ground cloves
1/4 teaspoon salt
1-1/2 cups shortening
2 cups sugar
2 eggs
1/2 cup molasses (I used Grandma's Molasses Original)
3/4 cups sugar (for rolling)

In a medium bowl, stir together flour, ginger, baking soda, cinnamon, cloves and salt. Set aside.

In a large mixing bowl, beat shortening with an electric mixer on LOW speed for 30 seconds. Add the 2 cups sugar. Beat until combined, scraping sides of bowl occasionally.

Beat in eggs and molasses until combined. Beat in as much of the flour mixture as you can with the mixer. (My KitchenAid handled all the flour.) Stir in any remaining flour mixture by hand.

Shape dough into 1-inch balls and roll in the 3/4 cp sugar. (A 1-inch cookie scoop makes this easy.) Place 1-1/2 inches apart on an uncreased baking sheet.

Bake at 350 degrees for 8 to 9 minutes, or until bottoms are lightly browned and tops are puffed. (DO NOT OVERBAKE)

Cook on cookie sheet for 1 minute. Transfer to wire rack and let cool. (I just put them on paper towels on the counter to cool.) 

Makes about 120 cookies


These are sturdy cookies which make them perfect for shipping. I sent them to Jessica when she was doing her study abroad in Italy. She was thrilled to get goodies from home and told me, "Mom, it's like Christmas in my mouth!" 

I like to store them in a cookie tin. It might just be me, but an old-fashioned tin seems to keep them fresh the best.


If you don't own a cookie scoop, this would be a good time to get one. It makes this much faster and the cookies are perfect circles after they bake. I measured this one and it's exactly 1-inch across. And no, you don't flatten them before baking. Several people asked.