Thursday, July 27, 2023

Summer Round-Up (Part 1)

Cupcakes with Easy Vanilla Frosting 
(decorated with mini chocolate chips by Little Lady)

What have you been doing for the last six weeks? It's been a busy summer here for Mimi and Daddy-O. We've had summer visitors since my last post. You can take a quick look at some of the things we did. And this is only with ONE set of grandchildren! I'll share the others in the next post.

I'm sure some good recipes will be missed but I'm trying to get caught up and  post some of the new ones we've tried this summer. Before I don't remember where I found them. This blog serves as my recipe box now.

Wading in the creek, a family tradition.


First boat ride.


Family trio.


The farm is a big playground.


Lake time.


Music lover.


Cousin time.

Good garden help.


She asked to bake. So we did.

 
I had a cake mix on hand 
which was enough for a 3-year-old to handle.
It was her idea to add mini chocolate chips to the batter.


But I had no can of frosting. Years ago when I had no frosting and was baking with the oldest granddaughter, we discovered the 1-Minute Chocolate Frosting which I've used for years now. (See Recipe Index.) But I wanted something even easier for this baking episode. This baker is 3.

A quick Google search found this recipe that is so much like the Chocolate Frosting (also in the Recipe Index) that came from a church friend years ago. I'm happy to add the vanilla version to my kitchen repertoire. It's delicious. And absolutely the easiest I've ever made.

EASY VANILLA FROSTING    (makes 1/2 cup)

1 cup powdered sugar (do not sift before measuring)
2 tablespoons softened butter
1/2 teaspoon vanilla
about 3 to 4 teaspoons of milk

Place powdered sugar, butter and vanilla in a bowl. Mix with electric mixer and combine for a few seconds.
Add milk slowly, a teaspoon at a time, until it's frosting consistency.
Beat on HIGH for about 15 seconds.

Be careful to add the milk a teaspoon at a time. If you add too much, you'll have runny frosting!

This barely made enough for one dozen cupcakes. (Confession—I threw out some of the batter. One dozen cupcakes was all we needed.) I think this could be doubled. 


Friday, June 16, 2023

Experimenting In The Kitchen

Sausage, Potatoes & Green Beans

Wouldn't you know it? The week I decide start learning more about my instant pot I read that the Instant Brands—maker of the Instant Pot—has filed for Chapter 11 bankruptcy.  Hopefully it's one of those things that the powers-that-be figure out and the regular workers keep on going. And now I hope that my own Instant Pot lasts forever.

I've had an Instant Pot for several years now. I have used it from time to time, but I've said more than once that if it died, I probably wouldn't replace it. But for reasons I can't explain I decided it was time to get bold with using it. I started with this Instant Pot recipe for dinner because I had a smoked sausage in the refrigerator. And I needed to start emptying the fridge before family arrives tomorrow and the groceries I stock will change over to groceries more suitable to larger families.

Let me say upfront that this is the kind of recipe that puts "instant" in the instant pot. So many Instant Pot recipes really aren't faster that a stovetop version. But they can cook unattended and that's reason enough for many people to embrace one.

I knew this was a gamble for out supper. I figured my husband might not want this. But I told him we had frozen pizza if supper was a dud. After we finished eating Daddy-O said, "Be sure to tell them that I really liked this. And I wasn't too sure when you told me what we were having for dinner. But this is really good!"  

Here is the recipe. So simple. So quick. So yummy. The green beans were perfectly cooked. I'll try cooking only green beans another time, using this cooking time.


SAUSAGE, POTATOES & GREEN BEANS


1 cup low-sodium chicken broth

24-oz bag small red potatoes, cut into 1-inch chunks

1-1/2 lb fresh green beans, washed & ends trimmed

13-oz package turkey smoked sausage, sliced into 1/4-inch slices

2 teaspoons Montreal Chicken Seasoning, or to taste

4 tablespoons butter, cut into 8 pieces. (That’s a 1/2 stick)


Pour broth into pot. Add the prepared potatoes, beans and sausage and sprinkle with Montreal seasoning. Give it a stir. Put butter pieces on top.


Place lid on pot. Turn valve to “seal” and press Manual button. 

Set timer to 3 minutes. (High pressure) 

When time it up, do a Quick Release. Give it all a gentle stir.


  • To make this super easy, I chose a 24-oz “steam in the bag” package of red potatoes. They are prewashed. I quartered them. 
  • Do not use canned green beans for this. They would be mushy after cooking.
  • I didn’t weigh the green beans. Bought a bag of fresh ones and trimmed ends until it looked like enough.
  • I used a 6-qt pot. 


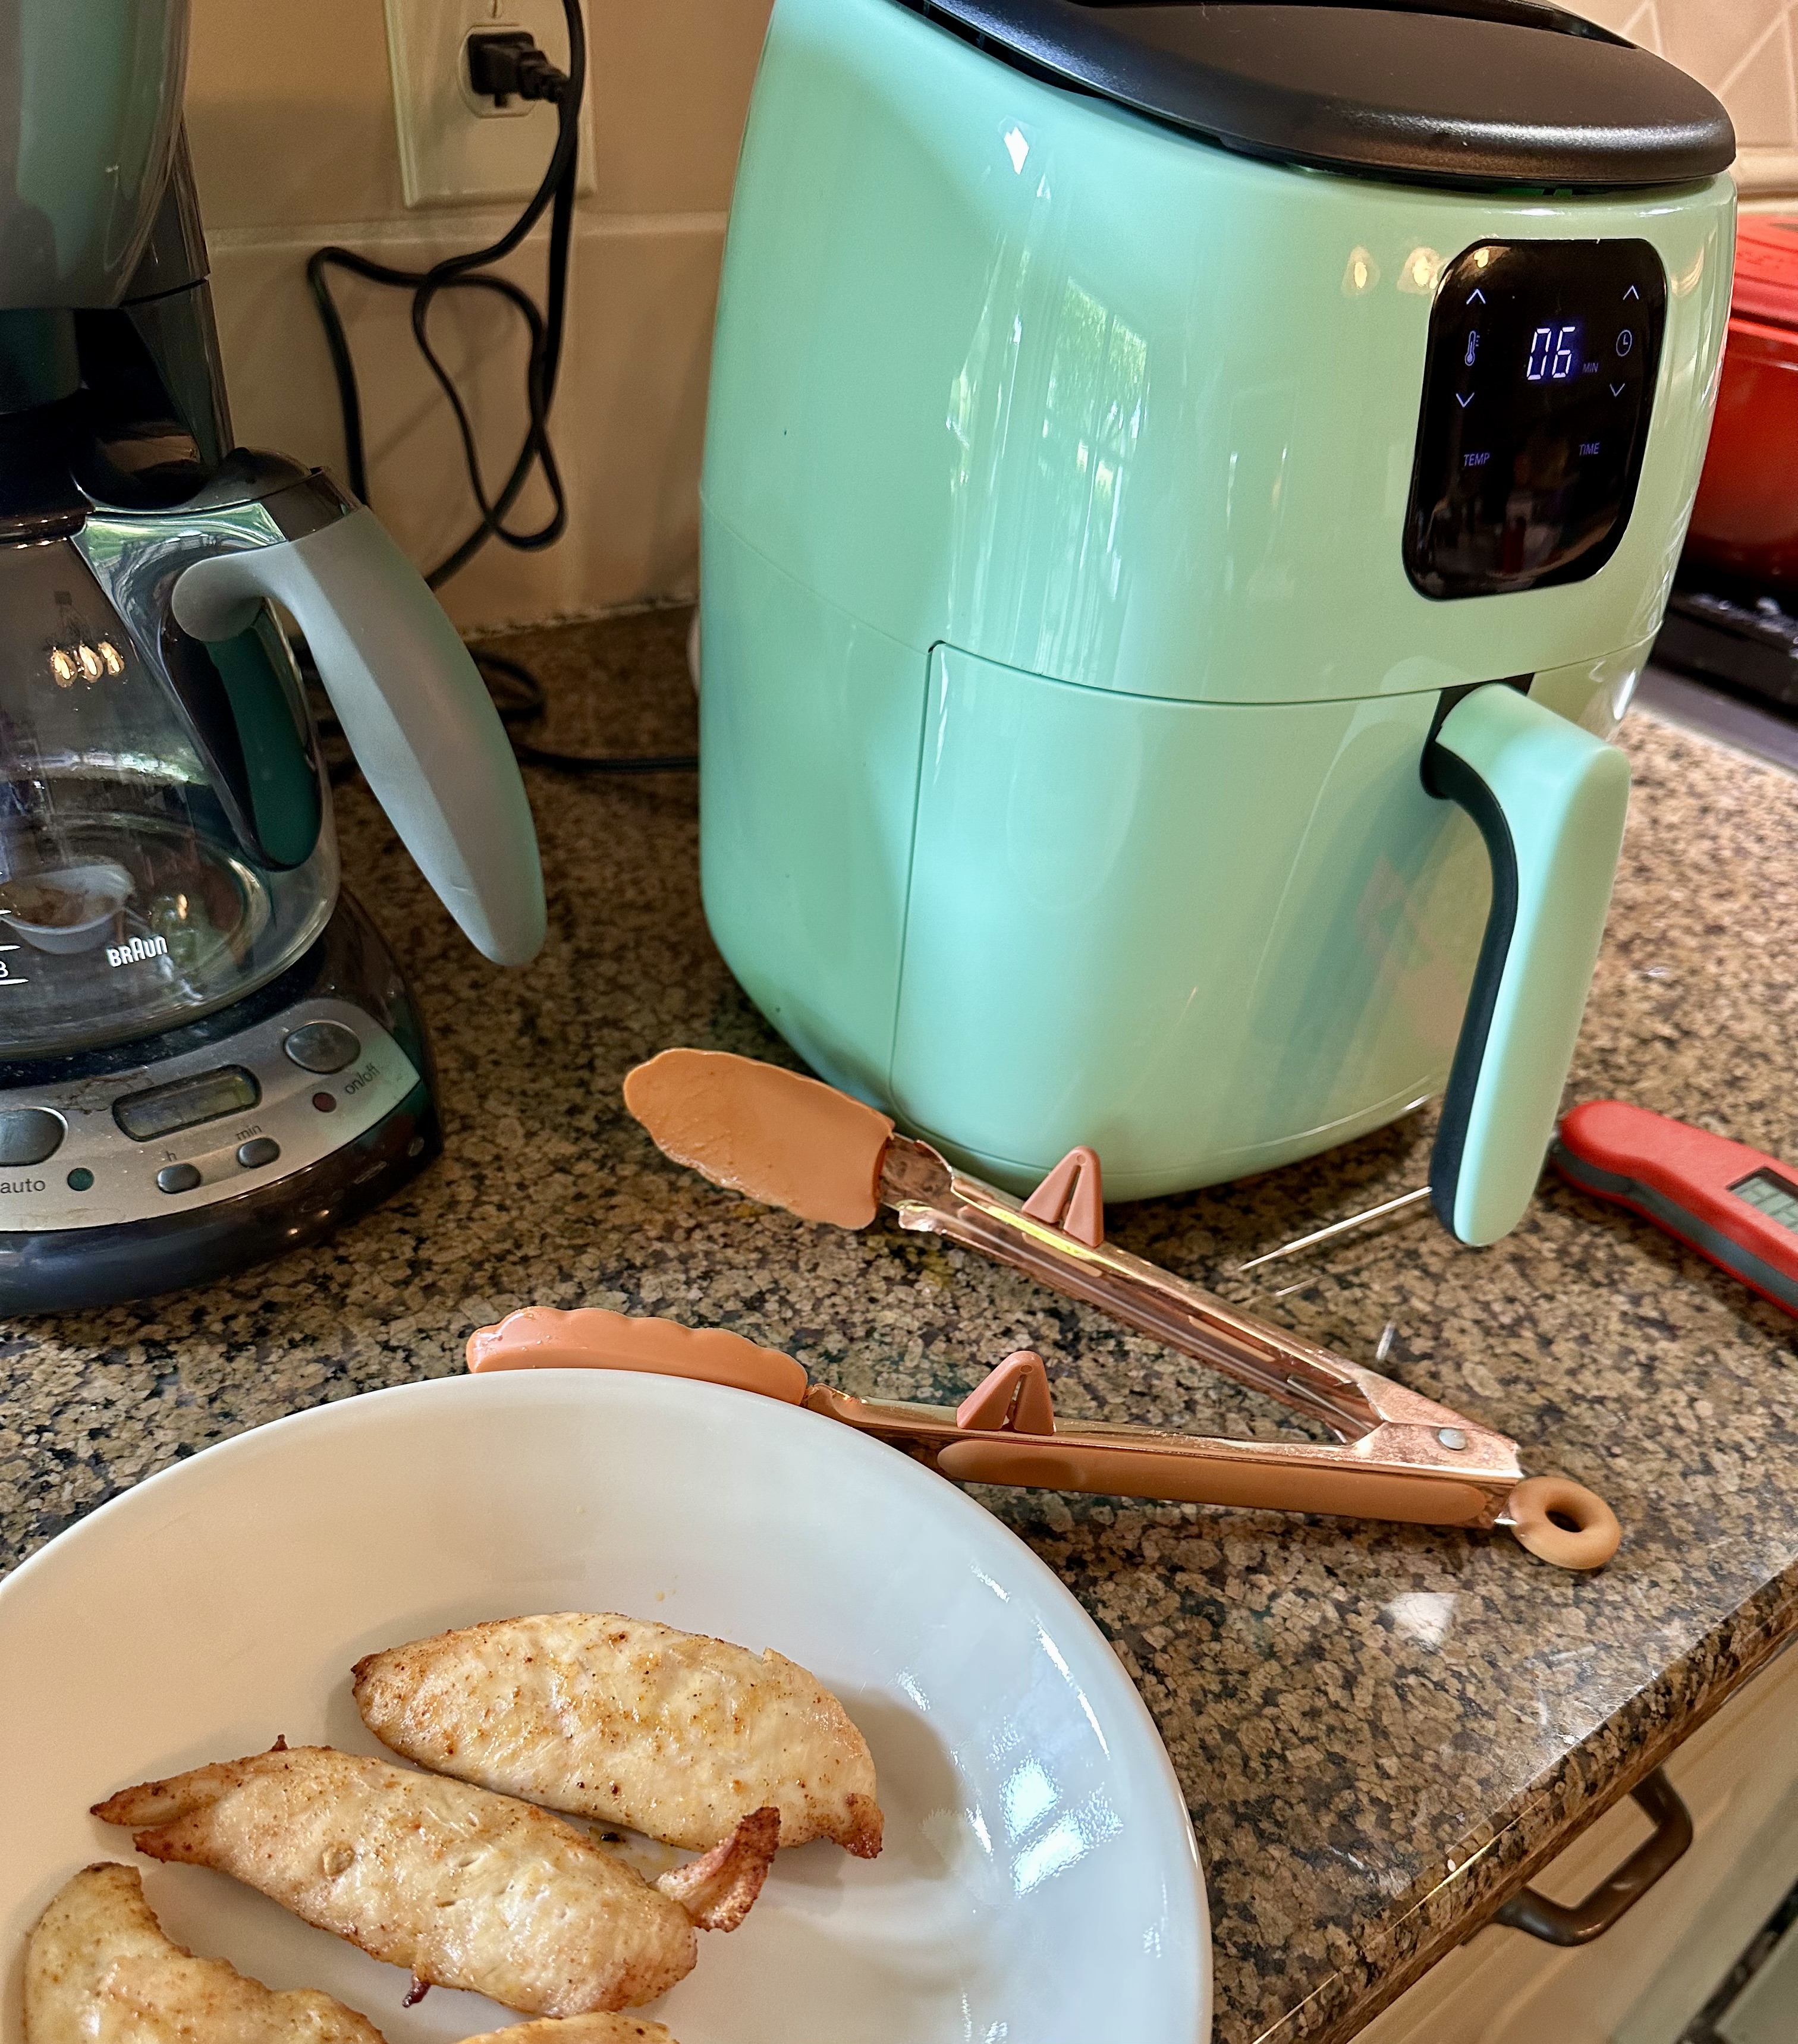
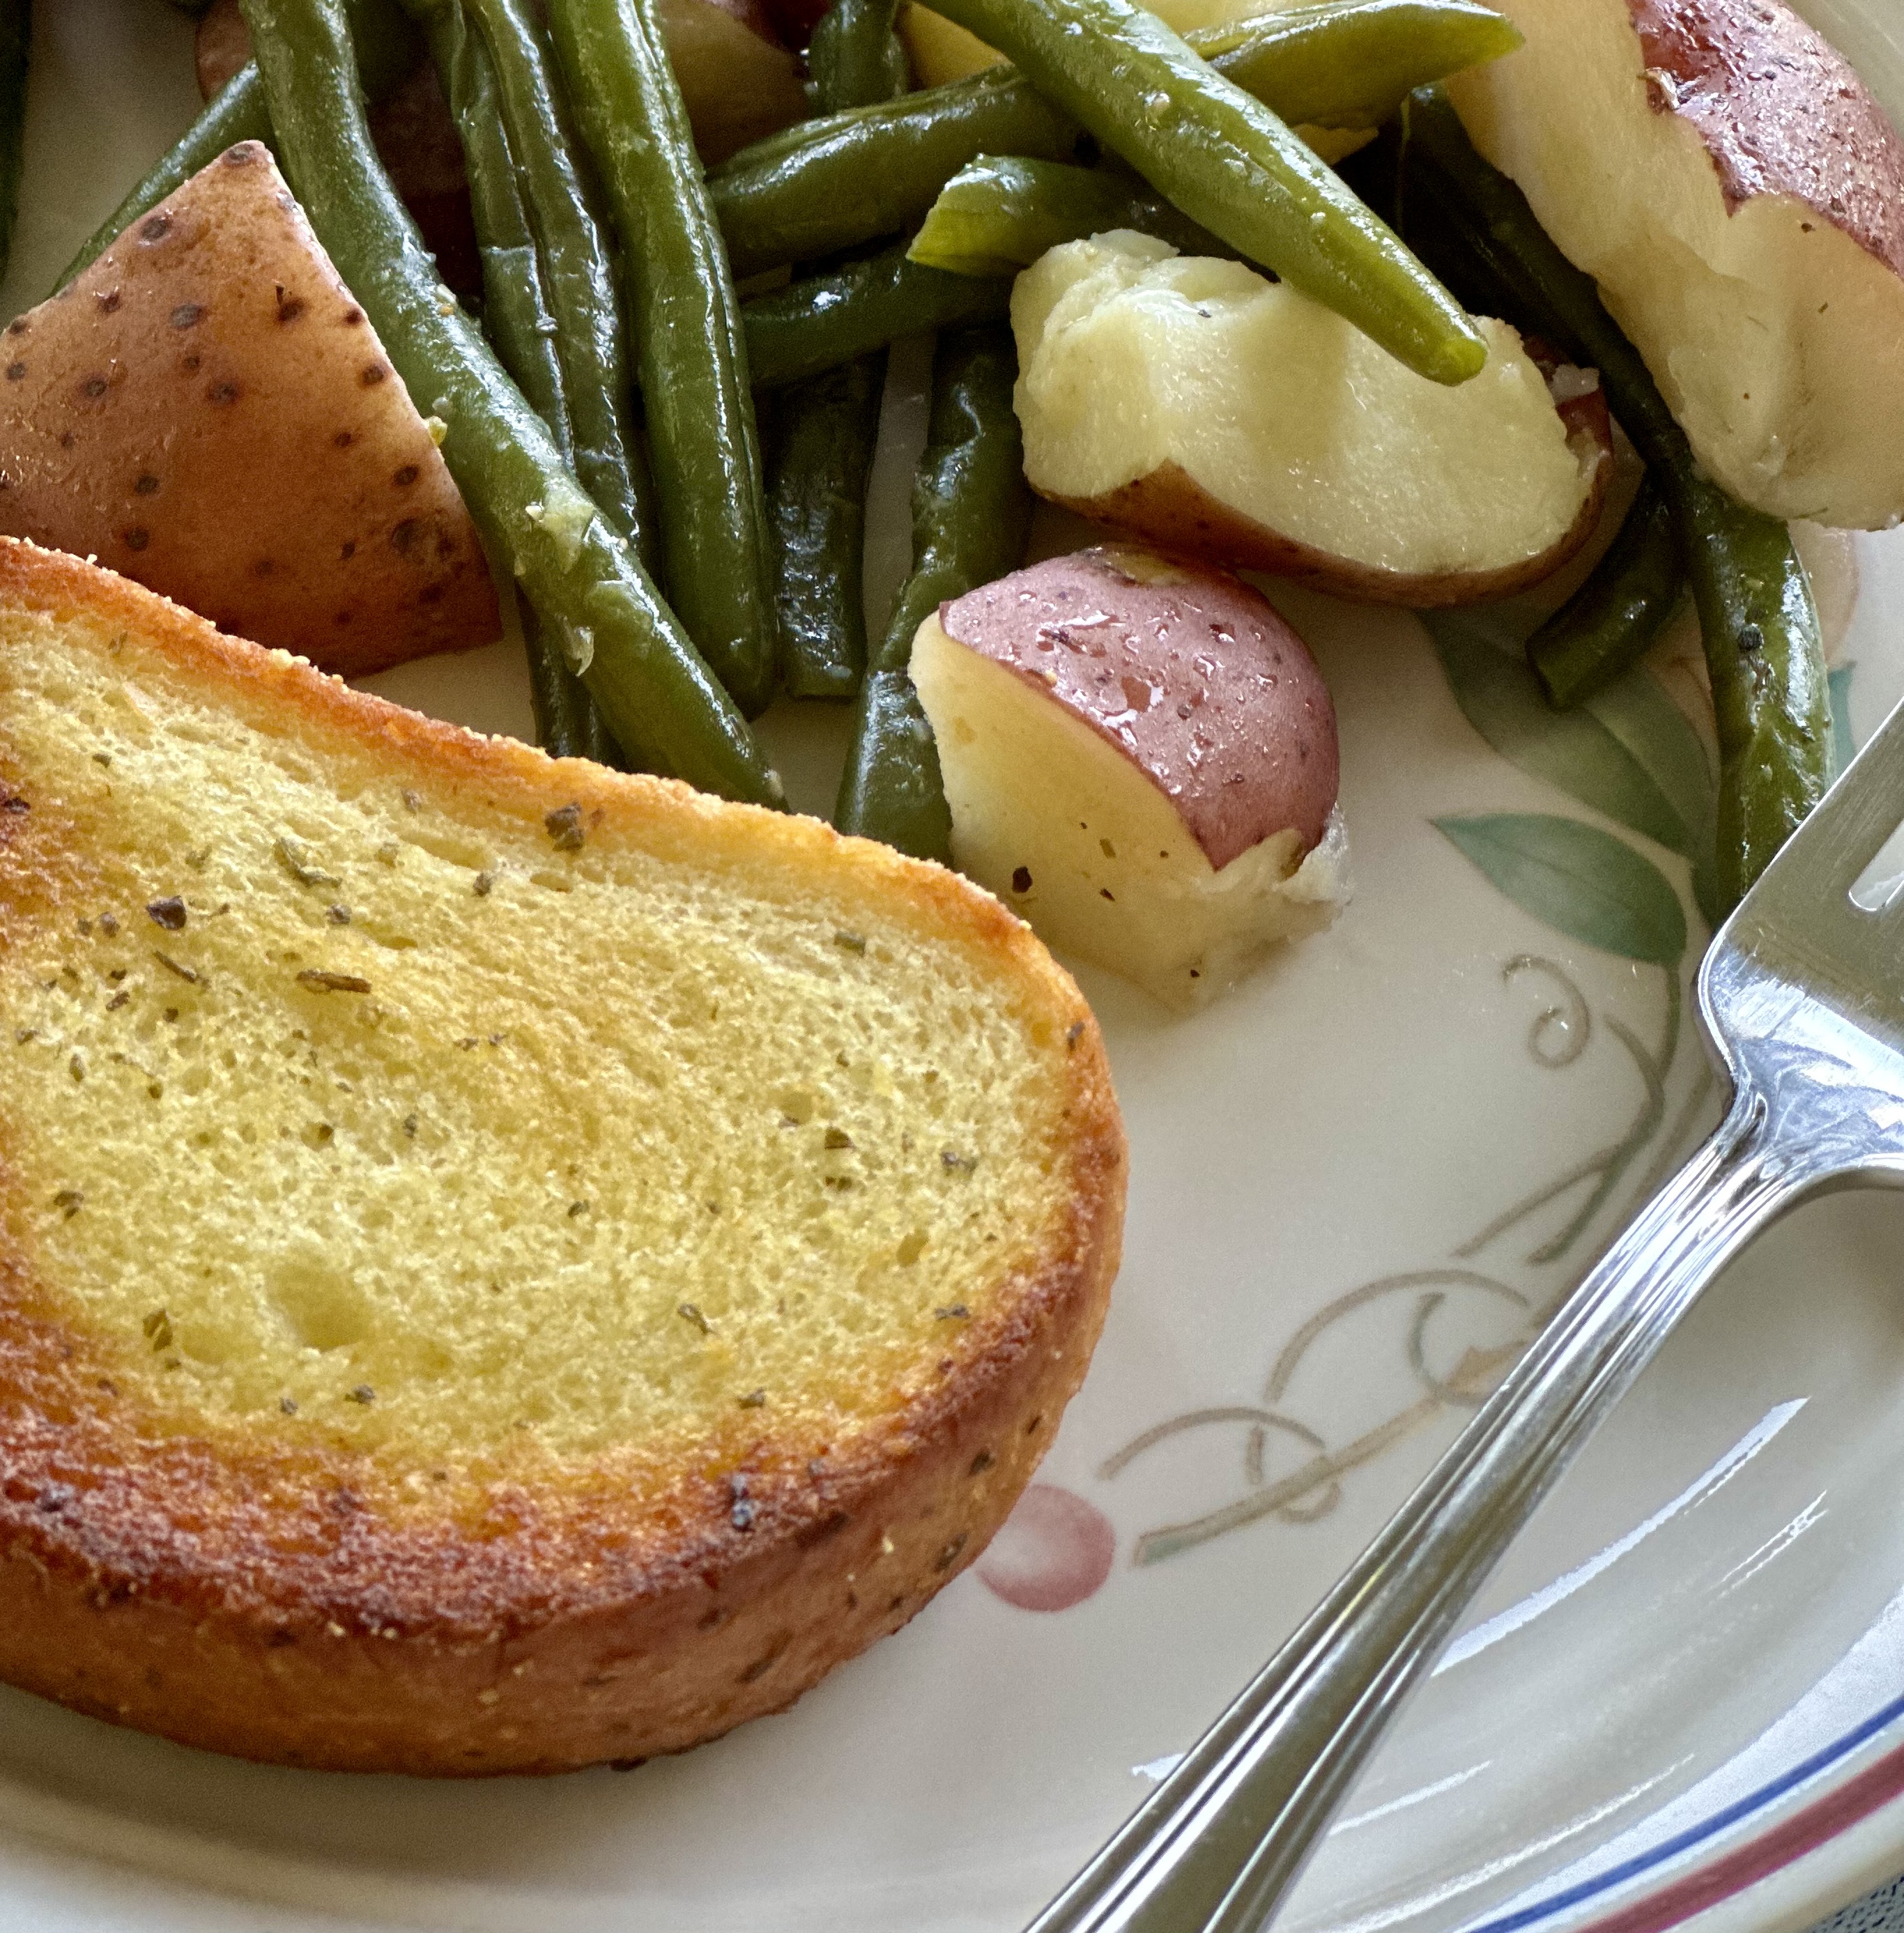
For as much as Daddy-O liked the main dish, his first words at the supper table were, "This toast is OUTSTANDING!" I won't argue. It was really good. And I used my new little air fryer. 


I have resisted buying one for ages when all around me raved about them. Last week I ordered Dash Mini 2.6-qt. air fryer. I've only had it long enough to try a couple of things. I had resisted an air fryer because I didn't want to have to learn to use another appliance. And I didn't want another big thing sitting on the counter. This one is small, suitable for 1 or 2 servings. And that's fine for our household. 


After looking at a few recipes, I cooked chicken strips. And when I realized I could take the basket out and look at the food. Just like looking at food in the oven to see when it's ready.  I relaxed about figuring out the exact cooking time. 


So tonight I popped a couple of slices of frozen garlic bread in the air fryer set to 400ยบ. I checked in about 3 minutes and it looked nice and brown, but when I picked it up the bottom was soggy. So I turned it over and let it cook for another couple of minutes. And as Daddy-O said....OUTSTANDING! It was golden brown and crunchy. And it was all done in less time that it takes to preheat my oven. 


This little air fryer would only hold 2 slices, but that's all we needed.


Friday, June 9, 2023

5-Minute Lunch

Cottage Cheese Toast

How did it get to be June? Like into the second week of June already. I know lazy summer days are often secretly busy days. We might not be doing our regular schedule but it can easily be filled with summer things that will keep you just as busy. Vacations. Family visits. Gardening. (not me) Grandparent camp.

So in the spirit of needing the quickest, the easiest meal ever, here is what I had for lunch 3 days in the past week. You don't need a "recipe." Just look at the picture. 

It's cottage cheese on toast, topped with diced cherry tomatoes (salt & pepper them) and fresh basil. Then drizzle it with balsamic glaze. That's it. I did add some Everything But The Bagel seasoning the last 2 times. 

I read last week that cottage cheese is the new avocado. Whatever you call it, it seems that cottage cheese is having it's moment in the spotlight. I've always liked it. (Remember when a hamburger patty with a side of cottage cheese on a pineapple slice was called "a diet plate" in restaurants?) You can use this idea and then try other toppings. Sliced fruit on top drizzled with honey sounds pretty yummy to me.

I did use different whole wheat breads. It was all good but the sturdier kind, like Dave's Killer Bread, was my favorite.

And yes, it's really 5 minutes. Pop the bread in the toaster and while it's getting all brown and crunchy, dice the tomatoes, sliver up the basil and grab the cottage cheese from the fridge. When the toaster dings, you will be ready to pile on the toppings.

Enjoy your summer! Stay safe. And I'll see you back here when I can. Grandchildren start arriving in a few days. It's gonna be busy. 


Monday, May 29, 2023

Hey Cookie!

Chocolate Chip Cookies

We headed down the interstate over the weekend. It was a holiday, the end of school and a dance recital all rolled into one. All things to be celebrated. It was a delightful surprise to walk in the front door and find that Little Sister was in the middle of baking cookies as a welcome treat.

She has become quite the cook. She bakes. She makes entire meals now. How good it has been to watch her kitchen skills increase. You'll have to ask her mom how good her kitchen cleaning abilities are.


Baby Girl has been working hard on her tumbling skills. How she bends, flips and twists like that is beyond me! I tell her she must be made of rubber. We enjoyed the entire recital. From the tiniest ballet dancers to the graduating seniors who have studied dance for 15+ years. As a former dance mom, let me say this was the best organized recital I've ever attended. One number flowed right into the next. The program lasted about 90 minutes but it felt much shorter. It takes masterful planning for that to happen.

And we had the added pleasure of sitting in the new performing arts center that is part of the county school district. It is truly first class. Thankfully (for us) Baby Girl's recital was in the morning (there were 3 recitals that day) so we were able to go out for lunch afterward.


Then we headed home to enjoy these special cookies. There are many good recipes for chocolate cookies. This one is as good as any I've ever had. Little Girl asked for a cookbook for Christmas last December. I gave her the White Lily cookbook and she has been steadily working her way through it. I have sampled a few of her creations. Everything has been delicious.

This recipe says it make 36 cookies. Little Sister went for bigger cookies and made 24. I love that she's gaining the confidence to make a recipe her own. And I completely approve of her adjustment. These were big cookies, but not giant. They were just right. They were crisp on the edges, tender on the inside. Exactly how I like them.

Chocolate chip cookies made into ice cream sandwich.

I didn't think about a photo until I reached into the bag for a second cookie.

CHOCOLATE CHIP COOKIES (from White Lily)

1 cup unsalted butter, softened

1 cup firmly packed light brown sugar

1/2 cup granulated sugar

2 eggs, lightly beaten, room temp

2 teaspoons vanilla extract

3 cups White Lily all-purpose flour

1 teaspoon baking soda

1/2 teaspoon salt

1 (12-oz) bag chocolate chips


In a large mixing bowl, beat butter and sugars with a mixer at medium speed until fluffy, 3 or 4 minutes, stopping to scrape sides of bowl. Beat in eggs and vanilla until light and fluffy.


In a medium bowl, stir together flour, baking soda and salt. Add flour mixture to butter mixture all at once. Stir in chocolate chips. Refrigerate for at least 1 hour.


Preheat oven to 375ยบ. Line baking sheets with parchment paper. Using 2-tablespoon scoop, scoop dough and place 3-inches parts on prepared pans.


Bake until bottoms are golden brown, 8-10 minutes. Let cool on pans for 5 minutes. Remove from pans to wire racks and let cool completely.


Makes 36 cookies.


NOTE:  Little Sister used the next larger size scoop and made 24 cookies and adjusted the baking time accordingly.


The Kitchen Tip in the cookbook says you can freeze the scooped dough balls for up to 3 months and then bake them a few at a time when you want warm cookies.


Thursday, May 25, 2023

Hay Season, Cabbage Casserole, Fried Cornbread

Cabbage Casserole & Fried Cornbread

Before I got busy doing other things this morning, I did a quick check in the pantry. I've been cleaning out all over the house. I only threw away a couple of things, but I did find some tomato juice with a "best by..." of last week. That reminded me of a recipe I haven't made in ages and it uses tomato juice. 

I've said a million times that the hardest part of cooking supper is deciding what to cook. The tomato juice  decided it for me. And that made for an easy supper. 

This casserole is quick to put together and it's a complete meal in one dish. It makes a lot. If you are a household of two like us, be prepared to enjoy leftovers or find someone to share it with. We will be having leftovers tomorrow. No kitchen duty for me!

Take note that it bakes in the oven for an hour and a half. Be sure to start early enough to have it done at supper time.

CABBAGE CASSEROLE

1/2 head of cabbage (medium-size), finely chopped
salt
1/2 cup uncooked white rice
1/2 cup diced onion
1 lb. lean ground beef, browned
salt & pepper
1-1/2 cups tomato juice

Preheat oven to 350 degrees. Spread half of cabbage in a 9x13-inch baking dish. Sprinkle with salt. (Don't be too skimpy.) Add rice, onion and ground beef in layers over cabbage. Spread remaining cabbage over top. Sprinkle with salt and pepper. Pour tomato juice over all. 
Cover dish with foil. Bake for 1-1/2 hours, or until done. Let stand, covered, a few minutes after you remove it from the oven. 


I usually let that one dish be the entire meal but tonight I tried a new-to-me recipe. It's really an old, old one but I had never made fried cornbread. Man, it was quick and easy. And good enough that Daddy-O had a second piece. He doesn't like cornbread. But he liked this kind. (He liked it best with molasses.) It's crunchy on the outside, tender on the inside. 


Fried Cornbread

I didn't actually measure anything. There isn't any need to. It's that easy. 

FRIED CORNBREAD

self-rising cornmeal
buttermilk
canola oil, for frying. 

I used about a cup of cornmeal because I only wanted to make enough for the two of us. 
Stir in enough buttermilk, a little at a time, to make a fairly thick batter. If it gets too thin, add a little more meal. 

Heat a little oil in a skillet—like you would to cook pancakes. Spoon batter into hot pan. Let it brown and turn the hoecakes over. ("Hoecake" is another name for fried cornbread.) Turn down the heat to be sure that the batter cooks all the way through. 


This supper is about as Southern as it gets. We really like the cabbage casserole, but I've never quite known what to put with it. Cabbage and cornbread. Why didn't I think of this sooner? It was a winning combination. Just right to feed the farmer when he came in from the field.


Daddy-O has been busy on the tractor all week. It's hay season. First, you cut the hay. Next, you tedder the hay. I call that part "fluff and puff." Tossing the freshly cut hay around helps speed up the drying process. Then , you rake the hay into rows. Finally, it's time to bale the hay. And about half the time, the weather will mess up one of the steps. So far, this has been a perfect weather week for "making hay while the sun shines."


Wednesday, May 10, 2023

Vintage Dessert

I’m on grandmother duty but I wrote this post before I left home. 

Chocolate Eclair Cake

Here's another vintage recipe. This is the dessert I served to my book club pals. The recipe can be made ahead and it's really easy. The recipe has been around a long time but this was the first time I've made it.  It isn't really a cake at all. And it's not baked. It's assembled. It was very popular a few decades ago and it still shows up at church dinners from time to time. So I've enjoyed it at those occasions.

But there's another reason this recipe holds a special memory for me. When my girls were about middle school age, a dear friend called me one day and said, "I've made your dinner for tonight. Stop by and pick it up when you're out." Now, I live in an area where taking a meal is common when there is an illness, a death or a new baby. But I'd never heard of anyone sending you supper "just because." There should be more people like my friend.

She was older than I and she knew all about those crazy years of driving kids back and forth to school and the after school activities. I practically lived in my car. Putting dinner on the table was one more thing on my long to-do list. On this one wonderful day we had a home cooked dinner and I didn't have to make it.

I cannot remember what the meal was but I've never forgotten the dessert. And after all the years I made it myself. 

You can find newer versions of this no bake cake that use a homemade chocolate ganache instead of canned frosting. But let's be honest. We've already used instant pudding and Cool Whip for this dessert, so the recipe isn't going to be "real" or "whole" food anyway. Canned frosting surely was easy. I had never microwaved it to make it pourable. But it worked really well. Tastes good, too.


CHOCOLATE ECLAIR CAKE


1 (14.4-oz) box graham crackers

3 cups milk

2 (3-oz) packages of instant French vanilla pudding mix

1 (8-oz) Cool Whip, thawed

1 (16-oz) can chocolate fudge frosting


Spray a 9x13-inch pan with cooking spray. Place a single layer of graham crackers in the bottom of dish. Break some cookies, if necessary, to fill in spaces. 


In a large bowl, whisk together the milk and two packages of pudding mix. Mix until smooth. Let sit for 5 minutes. The fold in whipped topping.


Spread half the pudding mixture over the crackers. Top with another layer of crackers, then spread the remaining pudding mix over. Top with a third layer of crackers.


Remove the lid and foil liner from can of frosting. (Be sure to remove all the foil.) Microwave the canoe frosting for 20-30 seconds, or until frosting is pourable. 


Pour frosting over the top layer of graham cracker and spread to cover with offset spatula.


Cover and refrigerate until ready to serve. Best made 8 to 24 hours ahead to let crackers soften. (I used a 9x13-inch dish with a lid instead of covering with plastic wrap. If the plastic touches the frosting, it won’t be smooth.)


Any leftovers can be frozen for up to 3 months. Which reminds me.....there is a little left in our freezer!
 

Tuesday, May 2, 2023

Vintage Recipe

Chicken Tetrazzini

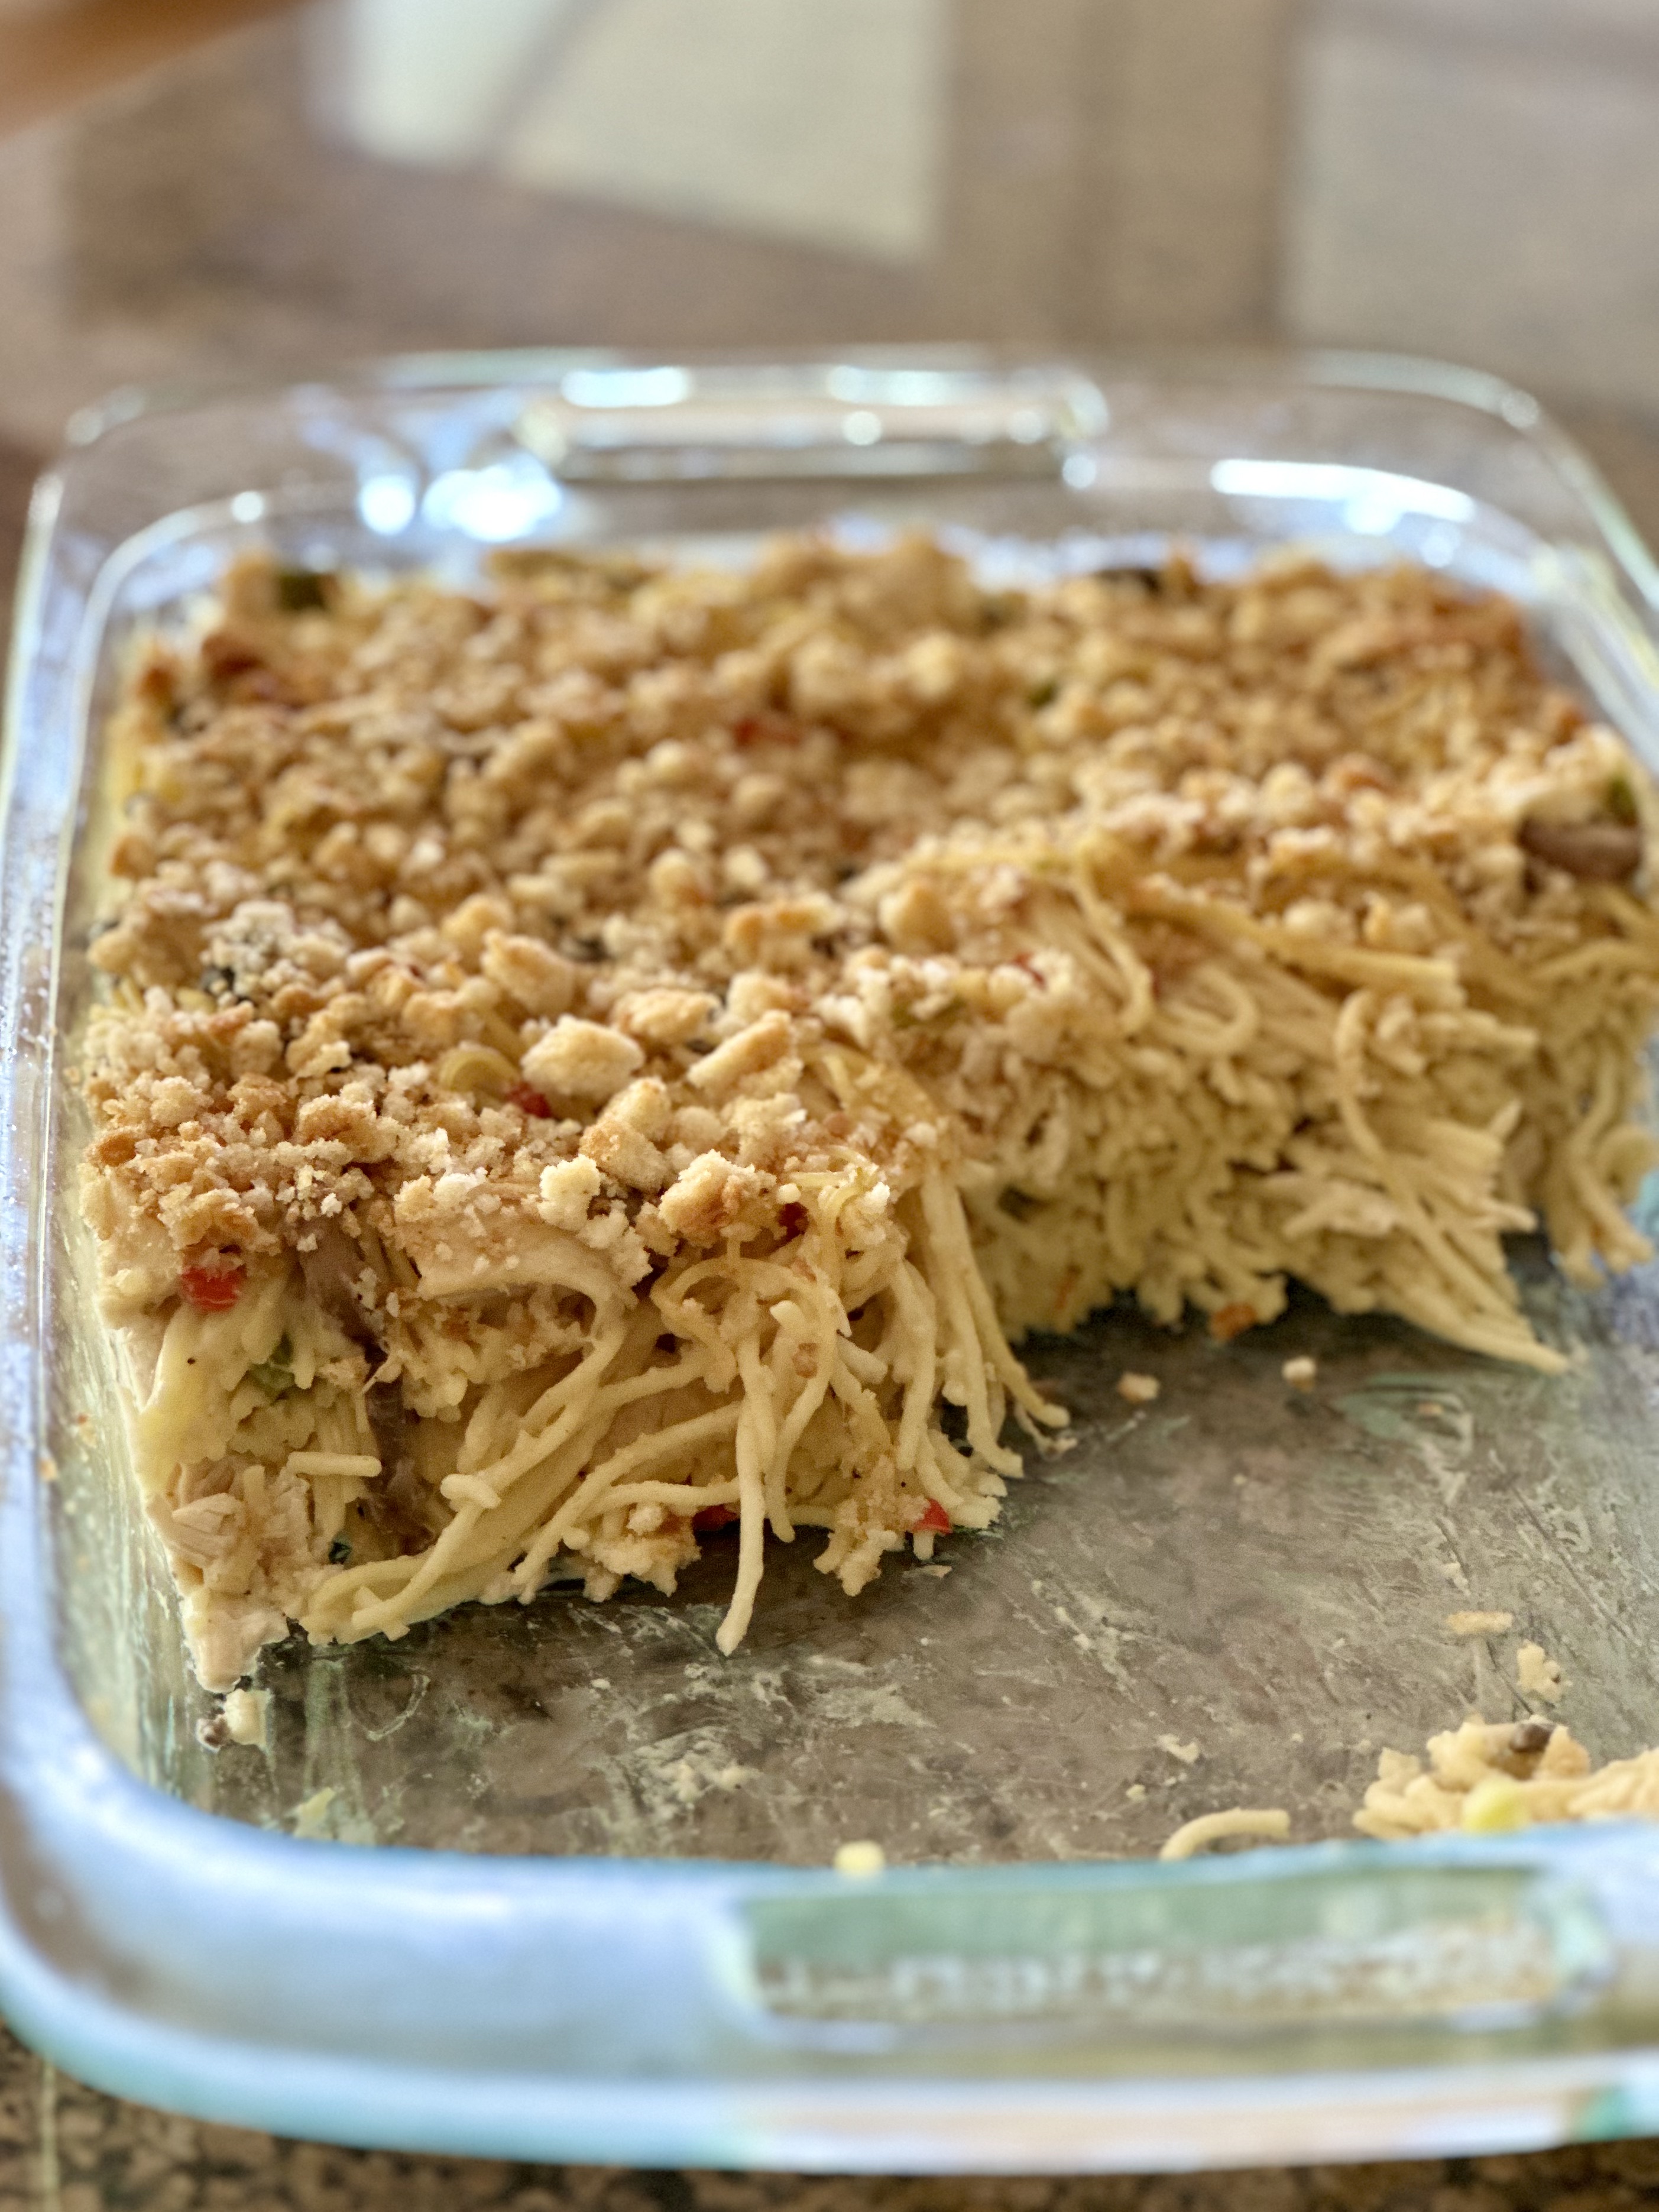
I had phone in hand to make a photo of this dish just after it came out of the oven. And before I made a picture, the doorbell rang. It was my book club ladies arriving for lunch. You know after that, I totally forgot about photos. But they know me well enough to let me get a quick picture of my plate before we ate lunch. 


I did get this picture as I cleaned up the kitchen later. This chicken tetrazzini recipe is one we've used for over 40 years. It's from the days when condensed "cream of _____" soup was in everything. I don't use much canned soup anymore, but it's works here and I'm not messing with a good thing.


Right after we married, I wrote aunts, uncles and lots of cousins asking for them to send me their favorite recipes. I got recipes from my mom and dad and sister. And I put them together in a family cookbook. This was so long ago that it involved letters with stamps, a typewriter, my secretary at work and a local printer to get this project done. (For those of you too young to remember typewriters, just know that making corrections was a pain in the patootie.) That tells you HOW long ago this was. If I were to to this again that family tree would have many, many more leaves!

]

The recipe was contributed by my sister and over the years, I've made a few adjustments. So this is very version I use now. I had intentions of using fresh mushrooms this time but I was running behind in my prep. The canned mushrooms are acceptable here. I like sliced mushrooms so that if anyone doesn't like mushrooms they are easy to pick out. For years this was the recipe I took to new mothers. And sometimes the little kids in a family could easily avoid the mushrooms. 

Take note...this makes a 2-quart casserole—not a 9x13 dish.

CHICKEN TETRAZZINI


2 tablespoons butter

½ cup grated sharp cheese

1 cup milk

2 tablespoons flour

1 can cream of mushroom soup

1/8 teaspoon oregano

1/8 teaspoon pepper


4-oz. can sliced mushrooms

2 tablespoons chopped green pepper

1 tablespoon chopped pimento

2 cups chopped cooked chicken


8-oz. pkg. spaghetti, cooked (most boxes are 16-oz, so use half)

1 cup buttered bread crumbs


Preheat oven to 350 degrees and spray 2-qt. baking dish with PAM.


Put butter, cheese, flour, milk, soup, oregano and pepper in a large saucepan.  Cook over medium heat until cheese melts, stirring frequently.  Add mushrooms, green pepper, pimentos and chicken.  


Put cooked spaghetti in a 2-qt. baking dish.  Pour sauce over the spaghetti and stir gently.  Sprinkle with bread crumbs.  


Bake for 30 minutes.


You can make this with turkey or ham instead of chicken.


I wasn't sure that the 2-qt recipe was going to be enough for my group so I doubled the recipe this time. FYI, a 9x13-inch dish holds 3 quarts. So a double recipe filled that bigger dish and one smaller one. I put that one in the freezer for later. I did put the bread crumbs in a separate bag and laid it on top of the wrapped dish, then put them both in a zipper freezer bag. 

We actually ate this dish last night. It was just as good as the first time. I took it out of the freezer the day before and moved it to the refrigerator. If I had frozen a larger did, it would need a couple of days to thaw. Bake until internal temp is 165ยบ. If it's not quite thawed it might take a few extra minutes.

~~~~~~~~~~~~~~~~~~~~

And I thought I'd share what spring is looking like here on the farm. Flowers are blooming, brilliant blue skies...and then nearly 6 inches of rain fell in 3-1/2 days. Our farm pasture extends all the way to the river.  Now, watch us have no rain in June and July!


The river has overflowed the banks.