Thursday, August 24, 2023

Salmon with Lemon Dill Sauce

Salmon with Lemon Dill Sauce
Still catching up here. This recipe goes back to early summer when Jessica and her littles arrived, minus their dad who was traveling. We were looking for easy meals and this one checked all the boxes. Quick. Easy. Delicious. And it was flavors that Jessica would never do at home. We have to be real and acknowledge food dislikes when cooking for a family. Lucky for her, in our house we LIKE lemon and dill!

I'm including the baking directions for the salmon, but this is really all about the sauce. You can prepare the salmon filets by your favorite method. Bake it. Grill it. Air fry it. Next on my "to try" list is cooking them in the air fryer. We'll see how that goes.


BAKED SALMON with EASY LEMON DILL SAUCE

4 (6-oz) salmon fillets 
2 tablespoons olive oil
salt & pepper to taste

Lemon Dill Sauce:
1/4 cup plain non-fat Greek yogurt
1/4 cup light mayonnaise
1 tablespoon milk--any kind is fine, including non-dairy options
1 tablespoon lemon juice
1 tablespoon water
1-1/2 tablespoons fresh dill, finely chopped
1/2 tablespoon lemon zest
1/4 teaspoon salt
1/4 teaspoon pepper

If salmon is especially cold, let it rest at room temp for 15 to 20 minutes. Blot salmon dry with paper towels.

Preheat oven to 400º. Place salmon in a baking dish or on baking sheet, skin side down. Drizzle olive oil over tops of filets. Season generously with salt and pepper.

Bake 15 to 20 minutes, until salmon is opaque and flaky with pulled apart with a fork.

While salmon is baking, combine all sauce ingredients. Whish until well blended.

Serve baked salmon with your favorite green vegetable. Top each filet with the lemon dill sauce and a sprinkle of fresh finely chopped dill or parsley.


To make our meal even easier, we zapped a pouch of rice in the microwave. I don't remember now which kind we used, but there are so many choices of rice and grains and rice/grain blends on the shelf. I don't use these products often, but every now and then they fill a need.


Sunday, August 13, 2023

Summer Round-Up (Part 3) plus Recipe Round-Up

No Knead Market Style Cheese & Herb Bread

By the time I am at part 3 of what's happened at the farm as summer winds down, the photos are few and far between. We have loved seeing these kiddos that we don't so often during the school year. But just as summer is winding down, so is Mimi. Might be running out of steam.

But I need to share a few recipes before I lose the printed copy or totally forget where I saw it on the internet. The bread you see above is a variation of the no knead bread I've been making for a long time. A good variation. In addition adding the cheese and herb layers, the recipe directions are slightly different. And for once, I did it just as written. The recipe is at the end of the post.  And there are a couple of other super easy recipes mixed in between.


"Pretend" knitting—but the concentration is real.
(Fortunately the tattoo is not.)


Chatting man to man.


The kids (all ages) made juice popsicles all summer.
Then I made some grownup popsicles.

WHITE WINE SANGRIA POPS

1/4 cup thinly sliced strawberries (I used cherry plums)
1/4 cup raspberries
1/4 cup blackberries (cut in half if large)
1 cup moscato wine
1/4 cup orange juice

Divide fruit between popsicle molds. (My set made four.)
Mix wine and orange juice and pour over fruit, leaving room at top
for popsicles to expand. Add handles and freeze.

(1 WW point if your mold set makes 6 pops, 2 WW points if you made 4 pops.)


Time will tell if his love of music lasts.


She graduated to training wheels!


Zero WW point dip.

Mix 1/2 cup of fat-free cottage cheese and 1-1/2 tsp
Everything But the Bagel seasoning. 


A 13th birthday celebration for "Middle Sister."
I cannot in good conscience call her Little Sister any longer.


This is ridiculously good. 

NO KNEAD MARKET STYLE CHEESE & HERB BREAD

3 cups all-purpose flour (I stick to the Kind Arthur brand.)
1 teaspoon salt
1/2 teaspoon instant yeast 
1-1/2 cup warm water (95º to 105º)
1-1/2 cups shredded sharp cheddar cheese
1/4 cup - 1/3 cup fresh chives, thinly cut
1 teaspoon dried thyme, or to taste

In a large bowl, whisk together flour, salt, and yeast. (Use the scoop-and-level measure method.) Pour in warm water and mix thoroughly. Dough will be sticky. Cover bowl with plastic wrap and set in a warm place to rise for 3 to 18 hours. 

When you are ready to bake, preheat oven to 450º. Place a dutch oven in the hot oven to preheat the pot. Let the dutch oven preheat for about 30 minutes while you continue with the dough prep. Use extra flour to flour your work surface and your hands. Use a spatula to slide dough out onto floured surface. Flatten dough, then fold dough over on itself 4 times. Layer the cheese and herbs into each fold.

Form dough into a tight ball and place on the center of a parchment baking sheet. Use the parchment to move the dough back into the mixing bowl. Cover and let rest for 20 minutes.

Take your pot from the oven and carefully remove lid. Use the parchment corners to put dough into hot Dutch oven. Use a very sharp knife and slice the top of dough to release steam. Replace cover on Dutch oven and bake for 30 minutes. 

After 30 minutes, remove top of the Dutch oven and bake for another 15 minutes, or until the bread is golden brown.

Remove from oven and remove bread from pot. Let cool for at least 10 minutes before slicing. 


I still have a few more recipes to share, so check back later. We really didn't cook a lot this summer, but we did try several new recipes that we liked. 


Wednesday, August 2, 2023

Summer Round-Up (Part 2)

Strawberry shortcake
(see recipe below)

We enjoyed all the grandchildren here this summer. Both sets have been here more than once and there was some overlap. My photos are in no way chronological. I couldn't keep up. But I've hit the highlights. 

 
Front yard fun.
Jamming with the grands.


Cousin time.


More time with cousins.
(The oldest of the five graduated from college and has moved!
We miss her but glad she found her first job.)


July 4th dessert. Make this! It's so good. 
Little Sister (who is almost 13 now) made this treat.
Use scissors to cut up marshmallows for the skewers.


Lake girl.


Champion!


Summer lake days.


Boating and swimming.


Rainy day lake poetry.


Mending Daddy-O's shirt.
She's got skills.


Farm time.


Driving lessons.


Learning to weave.


Finish a potholder and get a Popsicle.


Outside as much as possible.


She baked this all by herself.


A new recipe learned at her summer cooking camp.


 And we were the lucky taste testers.


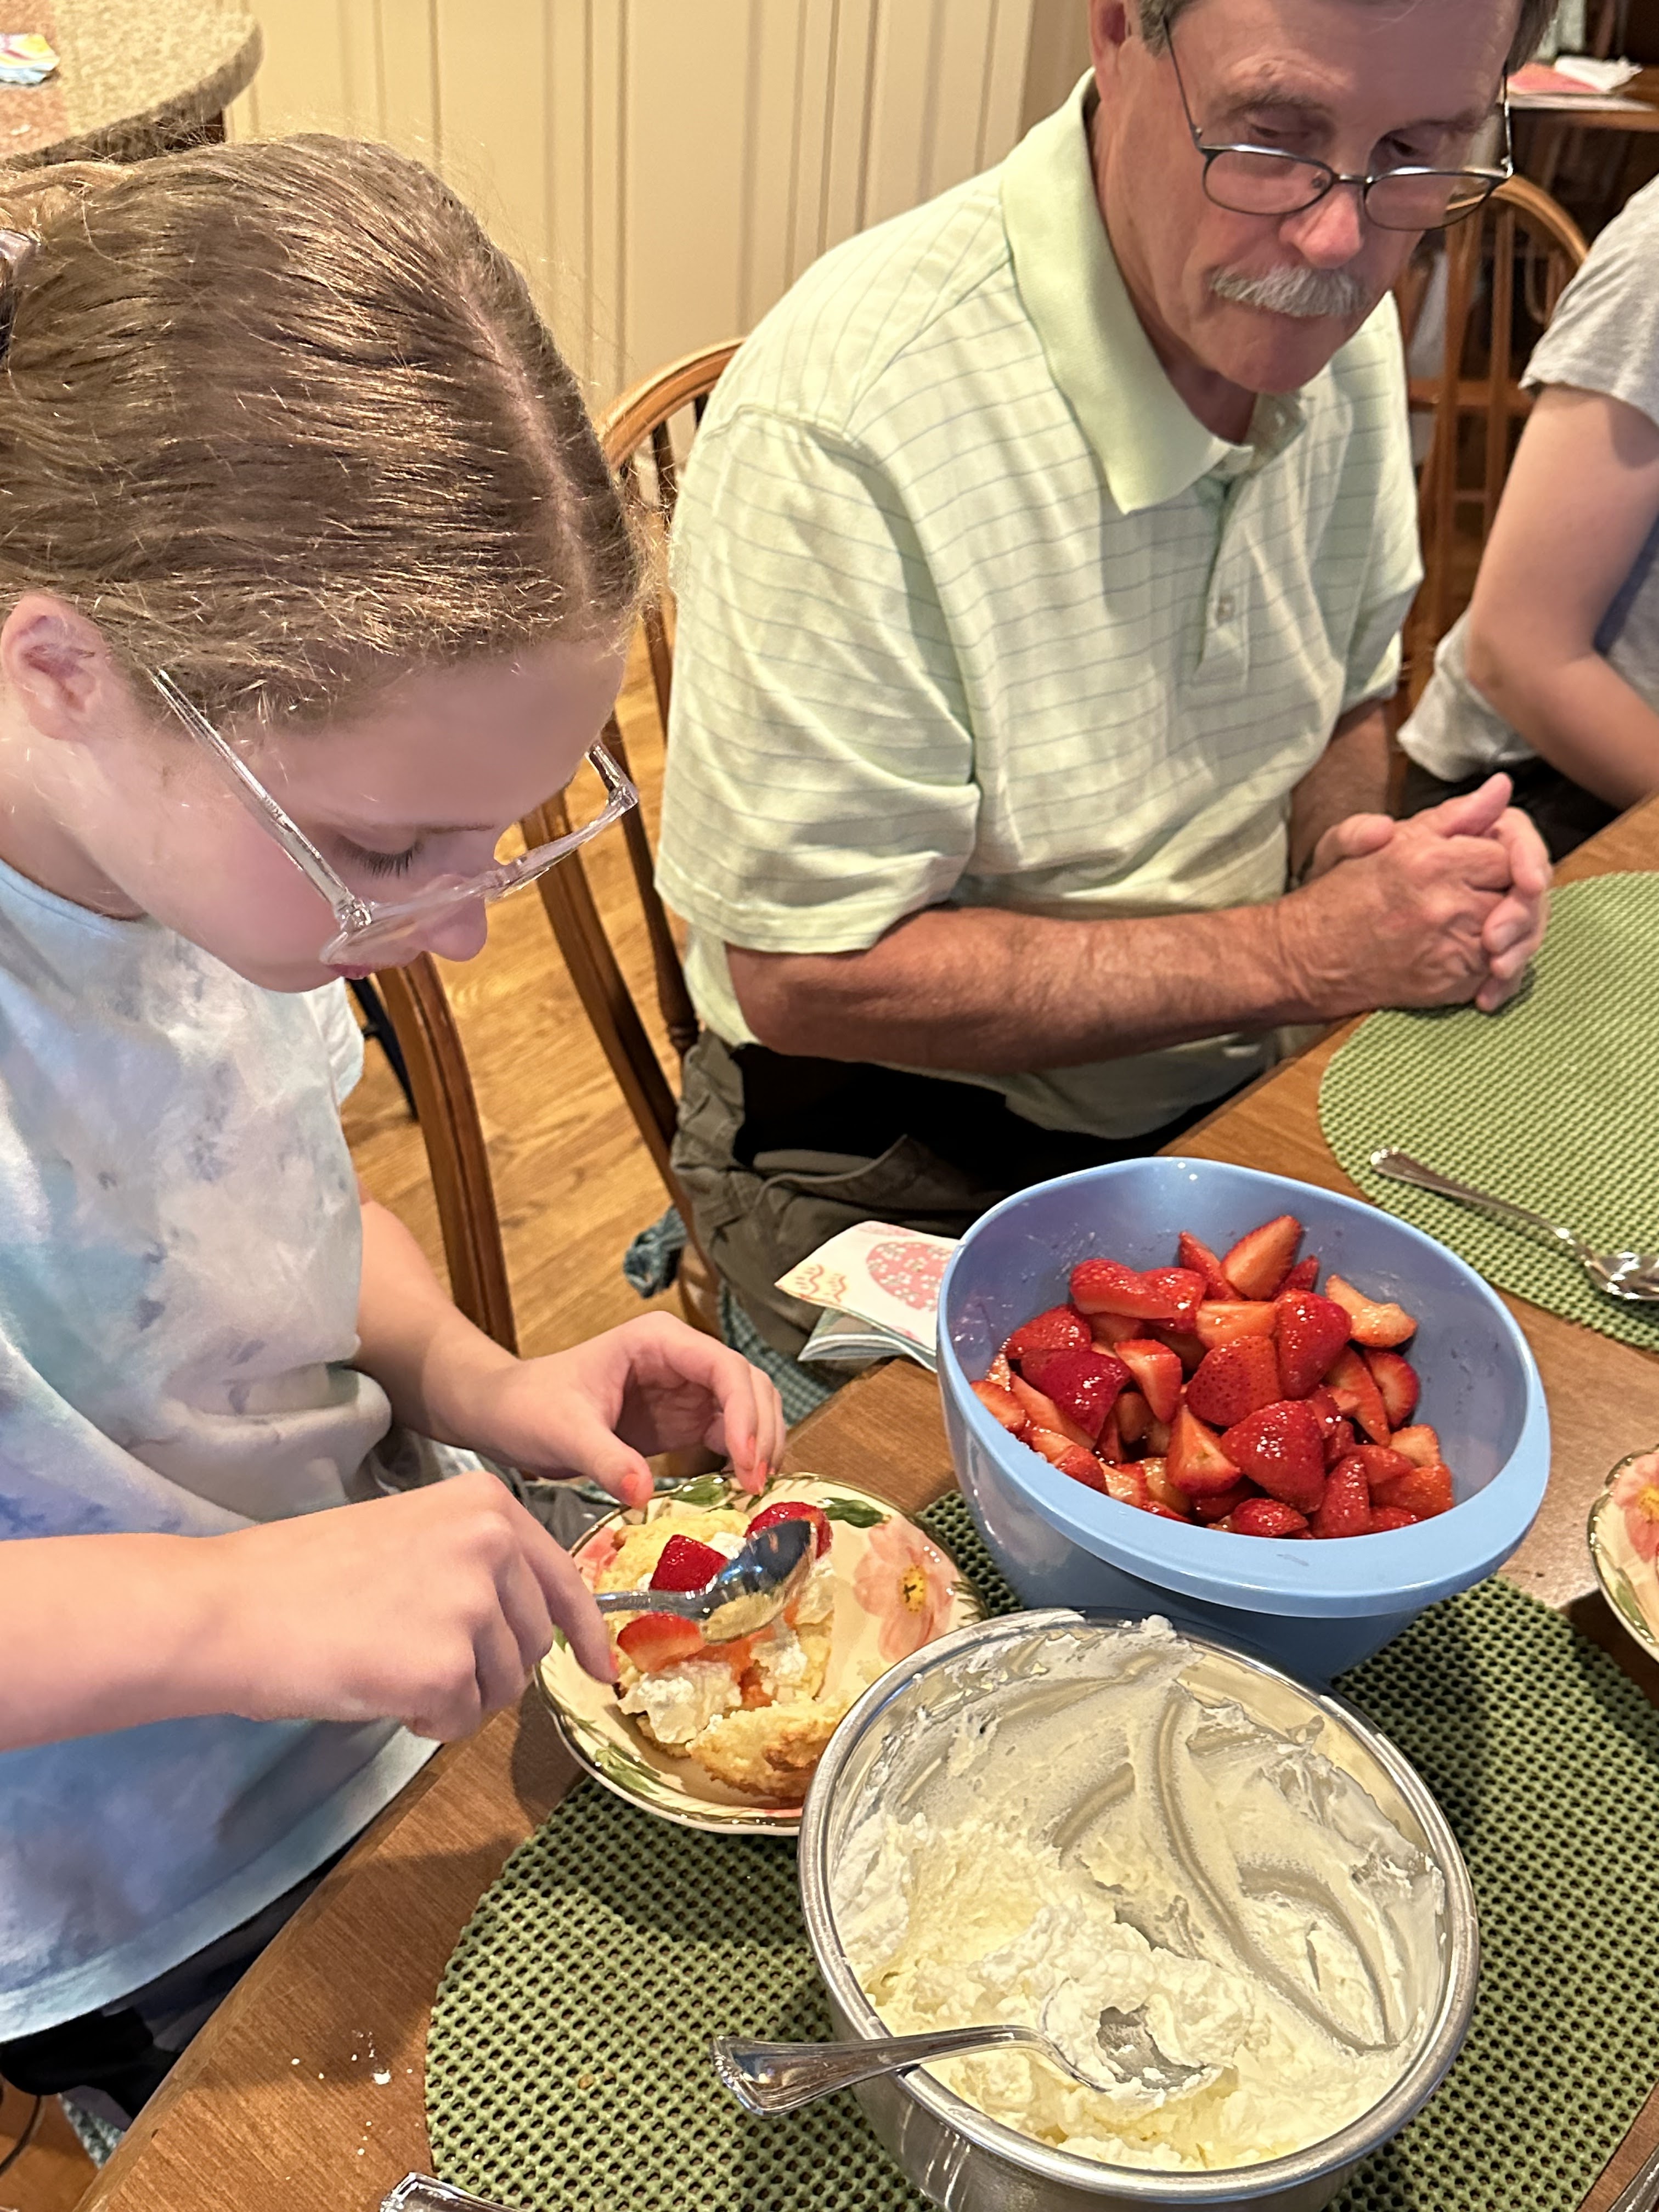
After attending a summer cooking camp, not-so-Little Sister recreated some of those recipes for us during their early summer visit to the farm. Luckily for us, it was still strawberry season here.

CLASSIC STRAWBERRY SHORTCAKE (makes 8)

2 (16-oz) containers of fresh strawberries, quartered
3/4 cup sugar, divided

1 cup whipping cream
2 tablespoons sugar

2-3/4 cups all-purpose flour
4 teaspoons baking powder
3/4 cup cold butter, cut up
2 large eggs, lightly beaten
1 (8-oz) container sour cream
1 teaspoon vanilla

Combine strawberries and 1/2 cup sugar. Cover berry mixture and let stand.
Beat whipping cream at medium speed with an electric mixer until foamy. Gradually add 2 tablespoon sugar, beating until soft peaks form.

Combine flour, remaining 1/4 cup sugar and baking powder in a large bowl. Cut butter into flour mixture with a pastry blender (or two forks) until crumbly.
Whisk together eggs, sour cream and vanilla until blended. Add to flour mixture, stirring just until dry ingredients are moistened. 
Drop dough by 1/3 cup portions onto lightly greased baking sheet. (Coat cup with cooking spray after each drop.)
Bake at 450º for 12 to 15 minutes, or until golden.

Split shortcakes in half horizontally. Spoon about 1/2 cup berry mixture onto each shortcake bottom. Top each with a rounded tablespoon of chilled whipped cream and cover with tops.
Serve with remaining whipped cream.


There was some serious effort in this recipe. So happy that she (and both of her sisters) love to cook.


Thursday, July 27, 2023

Summer Round-Up (Part 1)

Cupcakes with Easy Vanilla Frosting 
(decorated with mini chocolate chips by Little Lady)

What have you been doing for the last six weeks? It's been a busy summer here for Mimi and Daddy-O. We've had summer visitors since my last post. You can take a quick look at some of the things we did. And this is only with ONE set of grandchildren! I'll share the others in the next post.

I'm sure some good recipes will be missed but I'm trying to get caught up and  post some of the new ones we've tried this summer. Before I don't remember where I found them. This blog serves as my recipe box now.

Wading in the creek, a family tradition.


First boat ride.


Family trio.


The farm is a big playground.


Lake time.


Music lover.


Cousin time.

Good garden help.


She asked to bake. So we did.

 
I had a cake mix on hand 
which was enough for a 3-year-old to handle.
It was her idea to add mini chocolate chips to the batter.


But I had no can of frosting. Years ago when I had no frosting and was baking with the oldest granddaughter, we discovered the 1-Minute Chocolate Frosting which I've used for years now. (See Recipe Index.) But I wanted something even easier for this baking episode. This baker is 3.

A quick Google search found this recipe that is so much like the Chocolate Frosting (also in the Recipe Index) that came from a church friend years ago. I'm happy to add the vanilla version to my kitchen repertoire. It's delicious. And absolutely the easiest I've ever made.

EASY VANILLA FROSTING    (makes 1/2 cup)

1 cup powdered sugar (do not sift before measuring)
2 tablespoons softened butter
1/2 teaspoon vanilla
about 3 to 4 teaspoons of milk

Place powdered sugar, butter and vanilla in a bowl. Mix with electric mixer and combine for a few seconds.
Add milk slowly, a teaspoon at a time, until it's frosting consistency.
Beat on HIGH for about 15 seconds.

Be careful to add the milk a teaspoon at a time. If you add too much, you'll have runny frosting!

This barely made enough for one dozen cupcakes. (Confession—I threw out some of the batter. One dozen cupcakes was all we needed.) I think this could be doubled. 


Friday, June 16, 2023

Experimenting In The Kitchen

Sausage, Potatoes & Green Beans

Wouldn't you know it? The week I decide start learning more about my instant pot I read that the Instant Brands—maker of the Instant Pot—has filed for Chapter 11 bankruptcy.  Hopefully it's one of those things that the powers-that-be figure out and the regular workers keep on going. And now I hope that my own Instant Pot lasts forever.

I've had an Instant Pot for several years now. I have used it from time to time, but I've said more than once that if it died, I probably wouldn't replace it. But for reasons I can't explain I decided it was time to get bold with using it. I started with this Instant Pot recipe for dinner because I had a smoked sausage in the refrigerator. And I needed to start emptying the fridge before family arrives tomorrow and the groceries I stock will change over to groceries more suitable to larger families.

Let me say upfront that this is the kind of recipe that puts "instant" in the instant pot. So many Instant Pot recipes really aren't faster that a stovetop version. But they can cook unattended and that's reason enough for many people to embrace one.

I knew this was a gamble for out supper. I figured my husband might not want this. But I told him we had frozen pizza if supper was a dud. After we finished eating Daddy-O said, "Be sure to tell them that I really liked this. And I wasn't too sure when you told me what we were having for dinner. But this is really good!"  

Here is the recipe. So simple. So quick. So yummy. The green beans were perfectly cooked. I'll try cooking only green beans another time, using this cooking time.


SAUSAGE, POTATOES & GREEN BEANS


1 cup low-sodium chicken broth

24-oz bag small red potatoes, cut into 1-inch chunks

1-1/2 lb fresh green beans, washed & ends trimmed

13-oz package turkey smoked sausage, sliced into 1/4-inch slices

2 teaspoons Montreal Chicken Seasoning, or to taste

4 tablespoons butter, cut into 8 pieces. (That’s a 1/2 stick)


Pour broth into pot. Add the prepared potatoes, beans and sausage and sprinkle with Montreal seasoning. Give it a stir. Put butter pieces on top.


Place lid on pot. Turn valve to “seal” and press Manual button. 

Set timer to 3 minutes. (High pressure) 

When time it up, do a Quick Release. Give it all a gentle stir.


  • To make this super easy, I chose a 24-oz “steam in the bag” package of red potatoes. They are prewashed. I quartered them. 
  • Do not use canned green beans for this. They would be mushy after cooking.
  • I didn’t weigh the green beans. Bought a bag of fresh ones and trimmed ends until it looked like enough.
  • I used a 6-qt pot. 


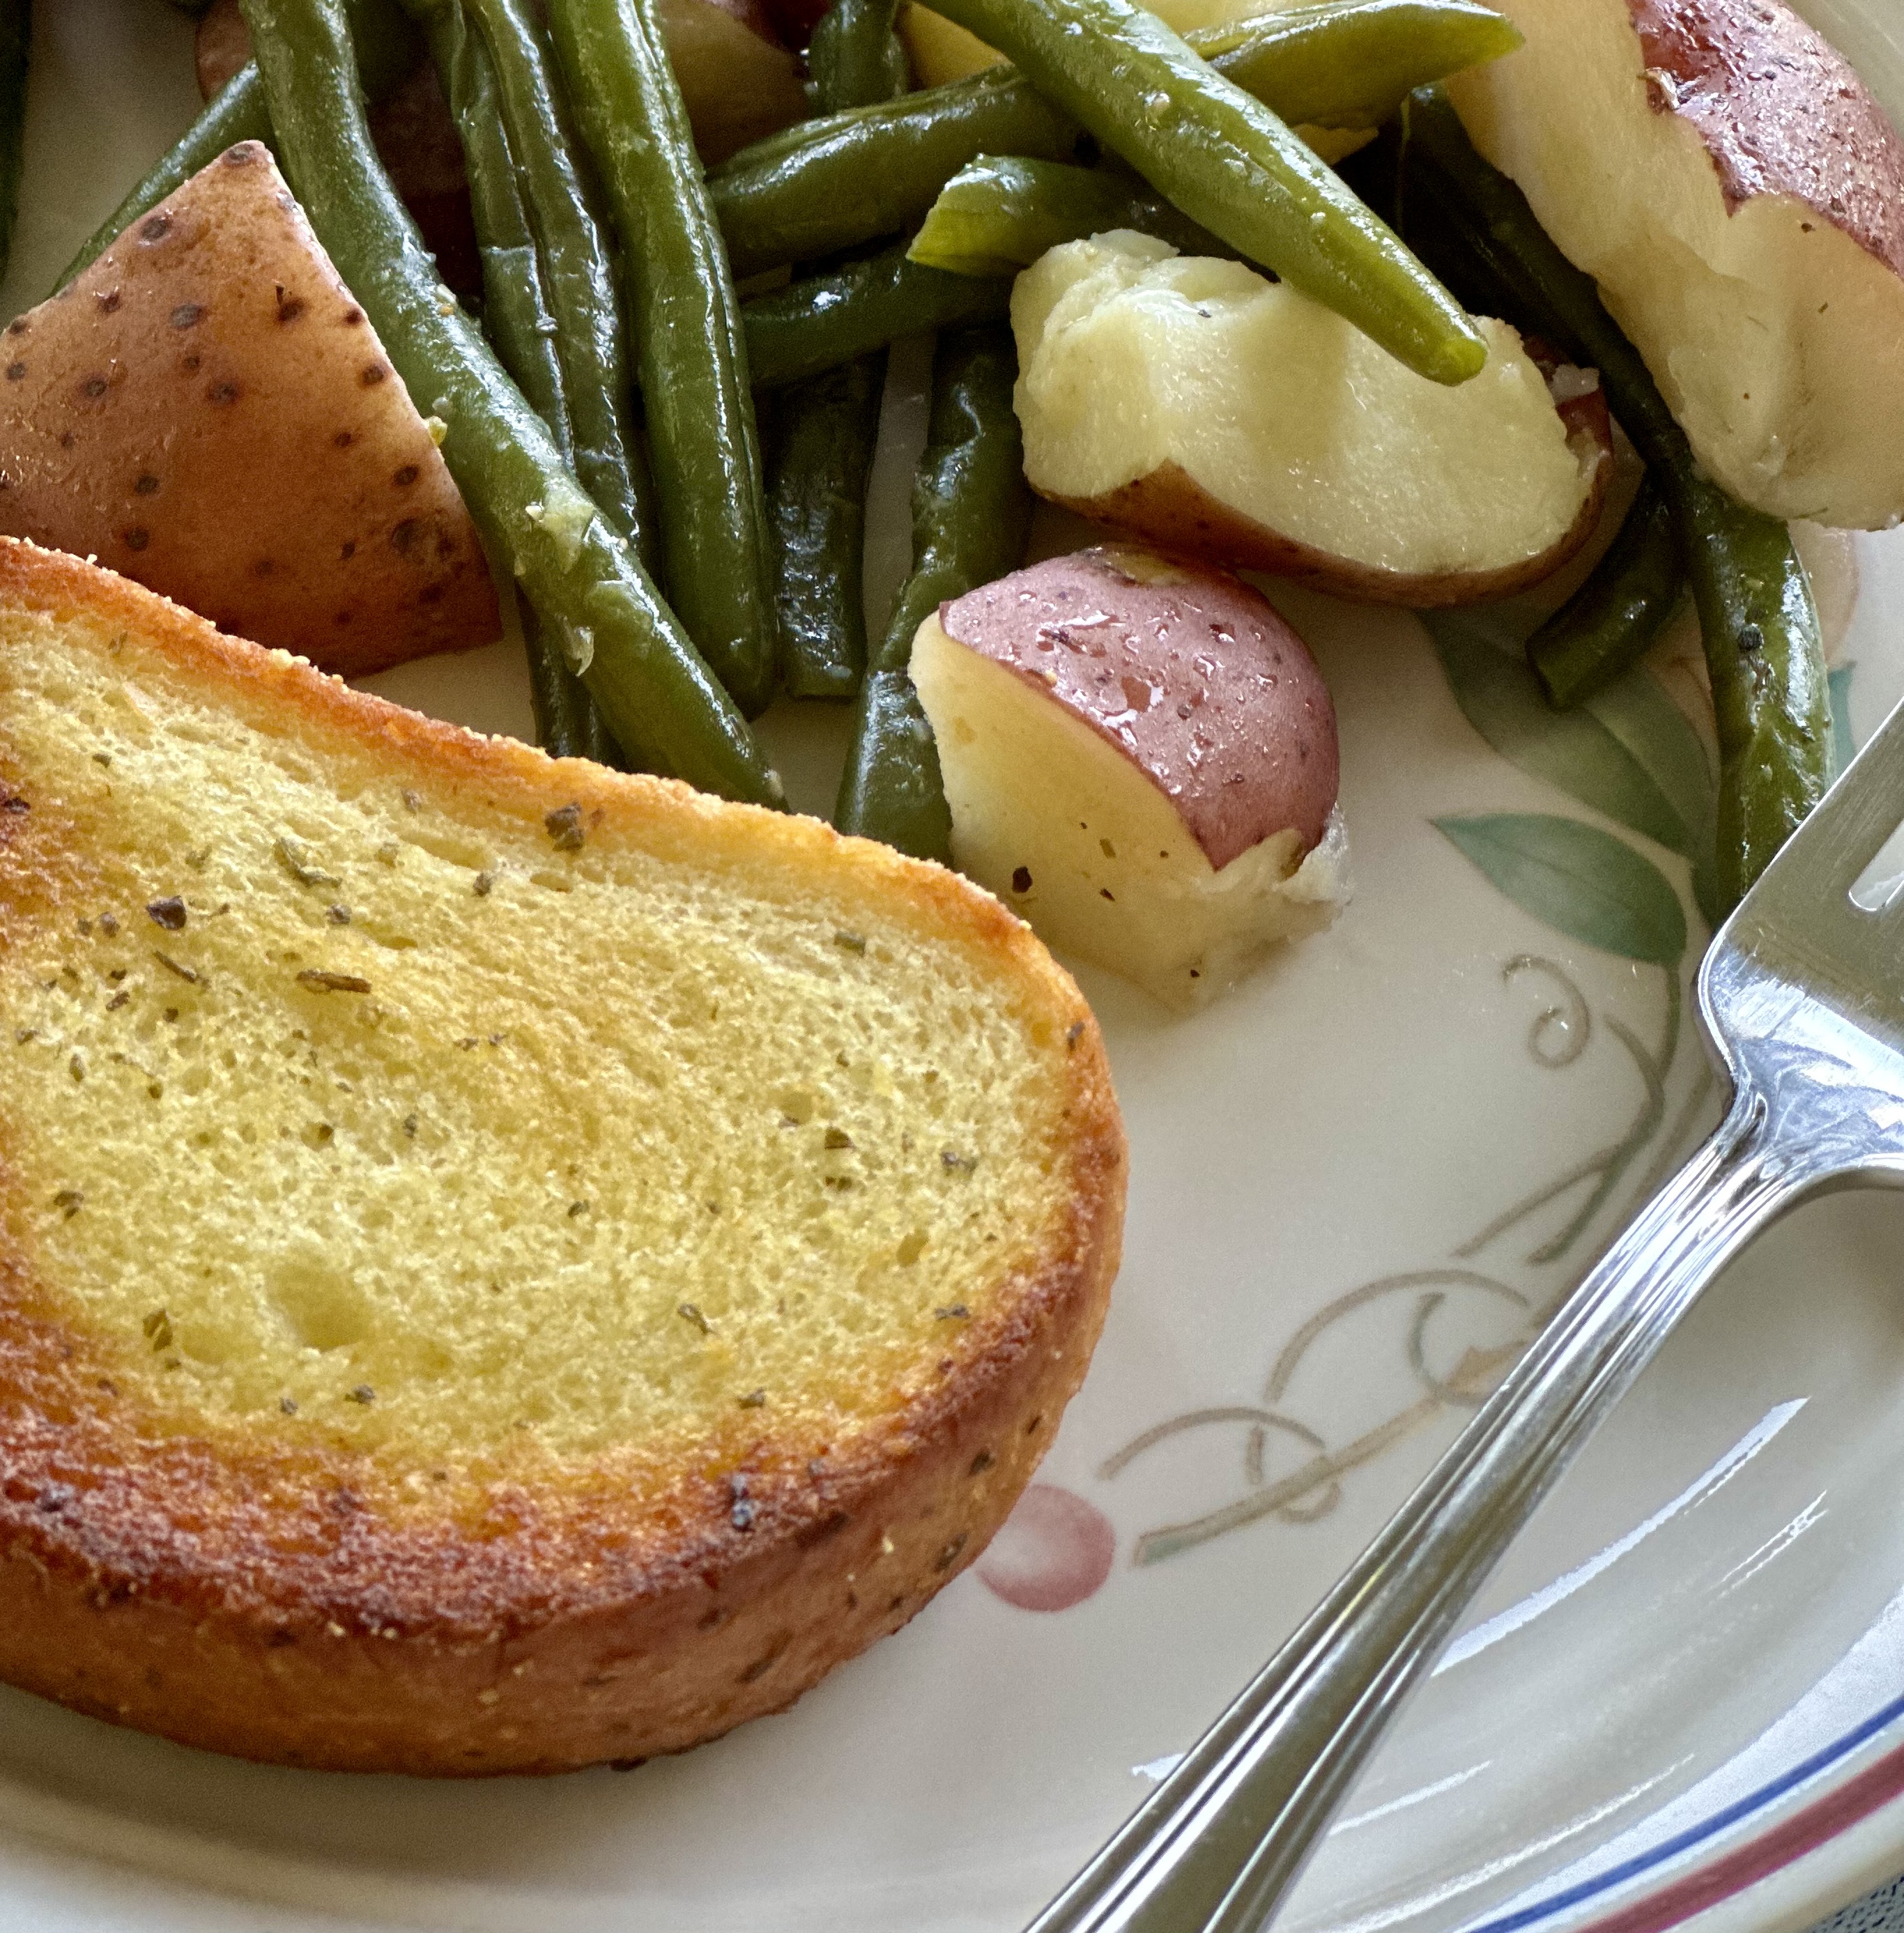
For as much as Daddy-O liked the main dish, his first words at the supper table were, "This toast is OUTSTANDING!" I won't argue. It was really good. And I used my new little air fryer. 


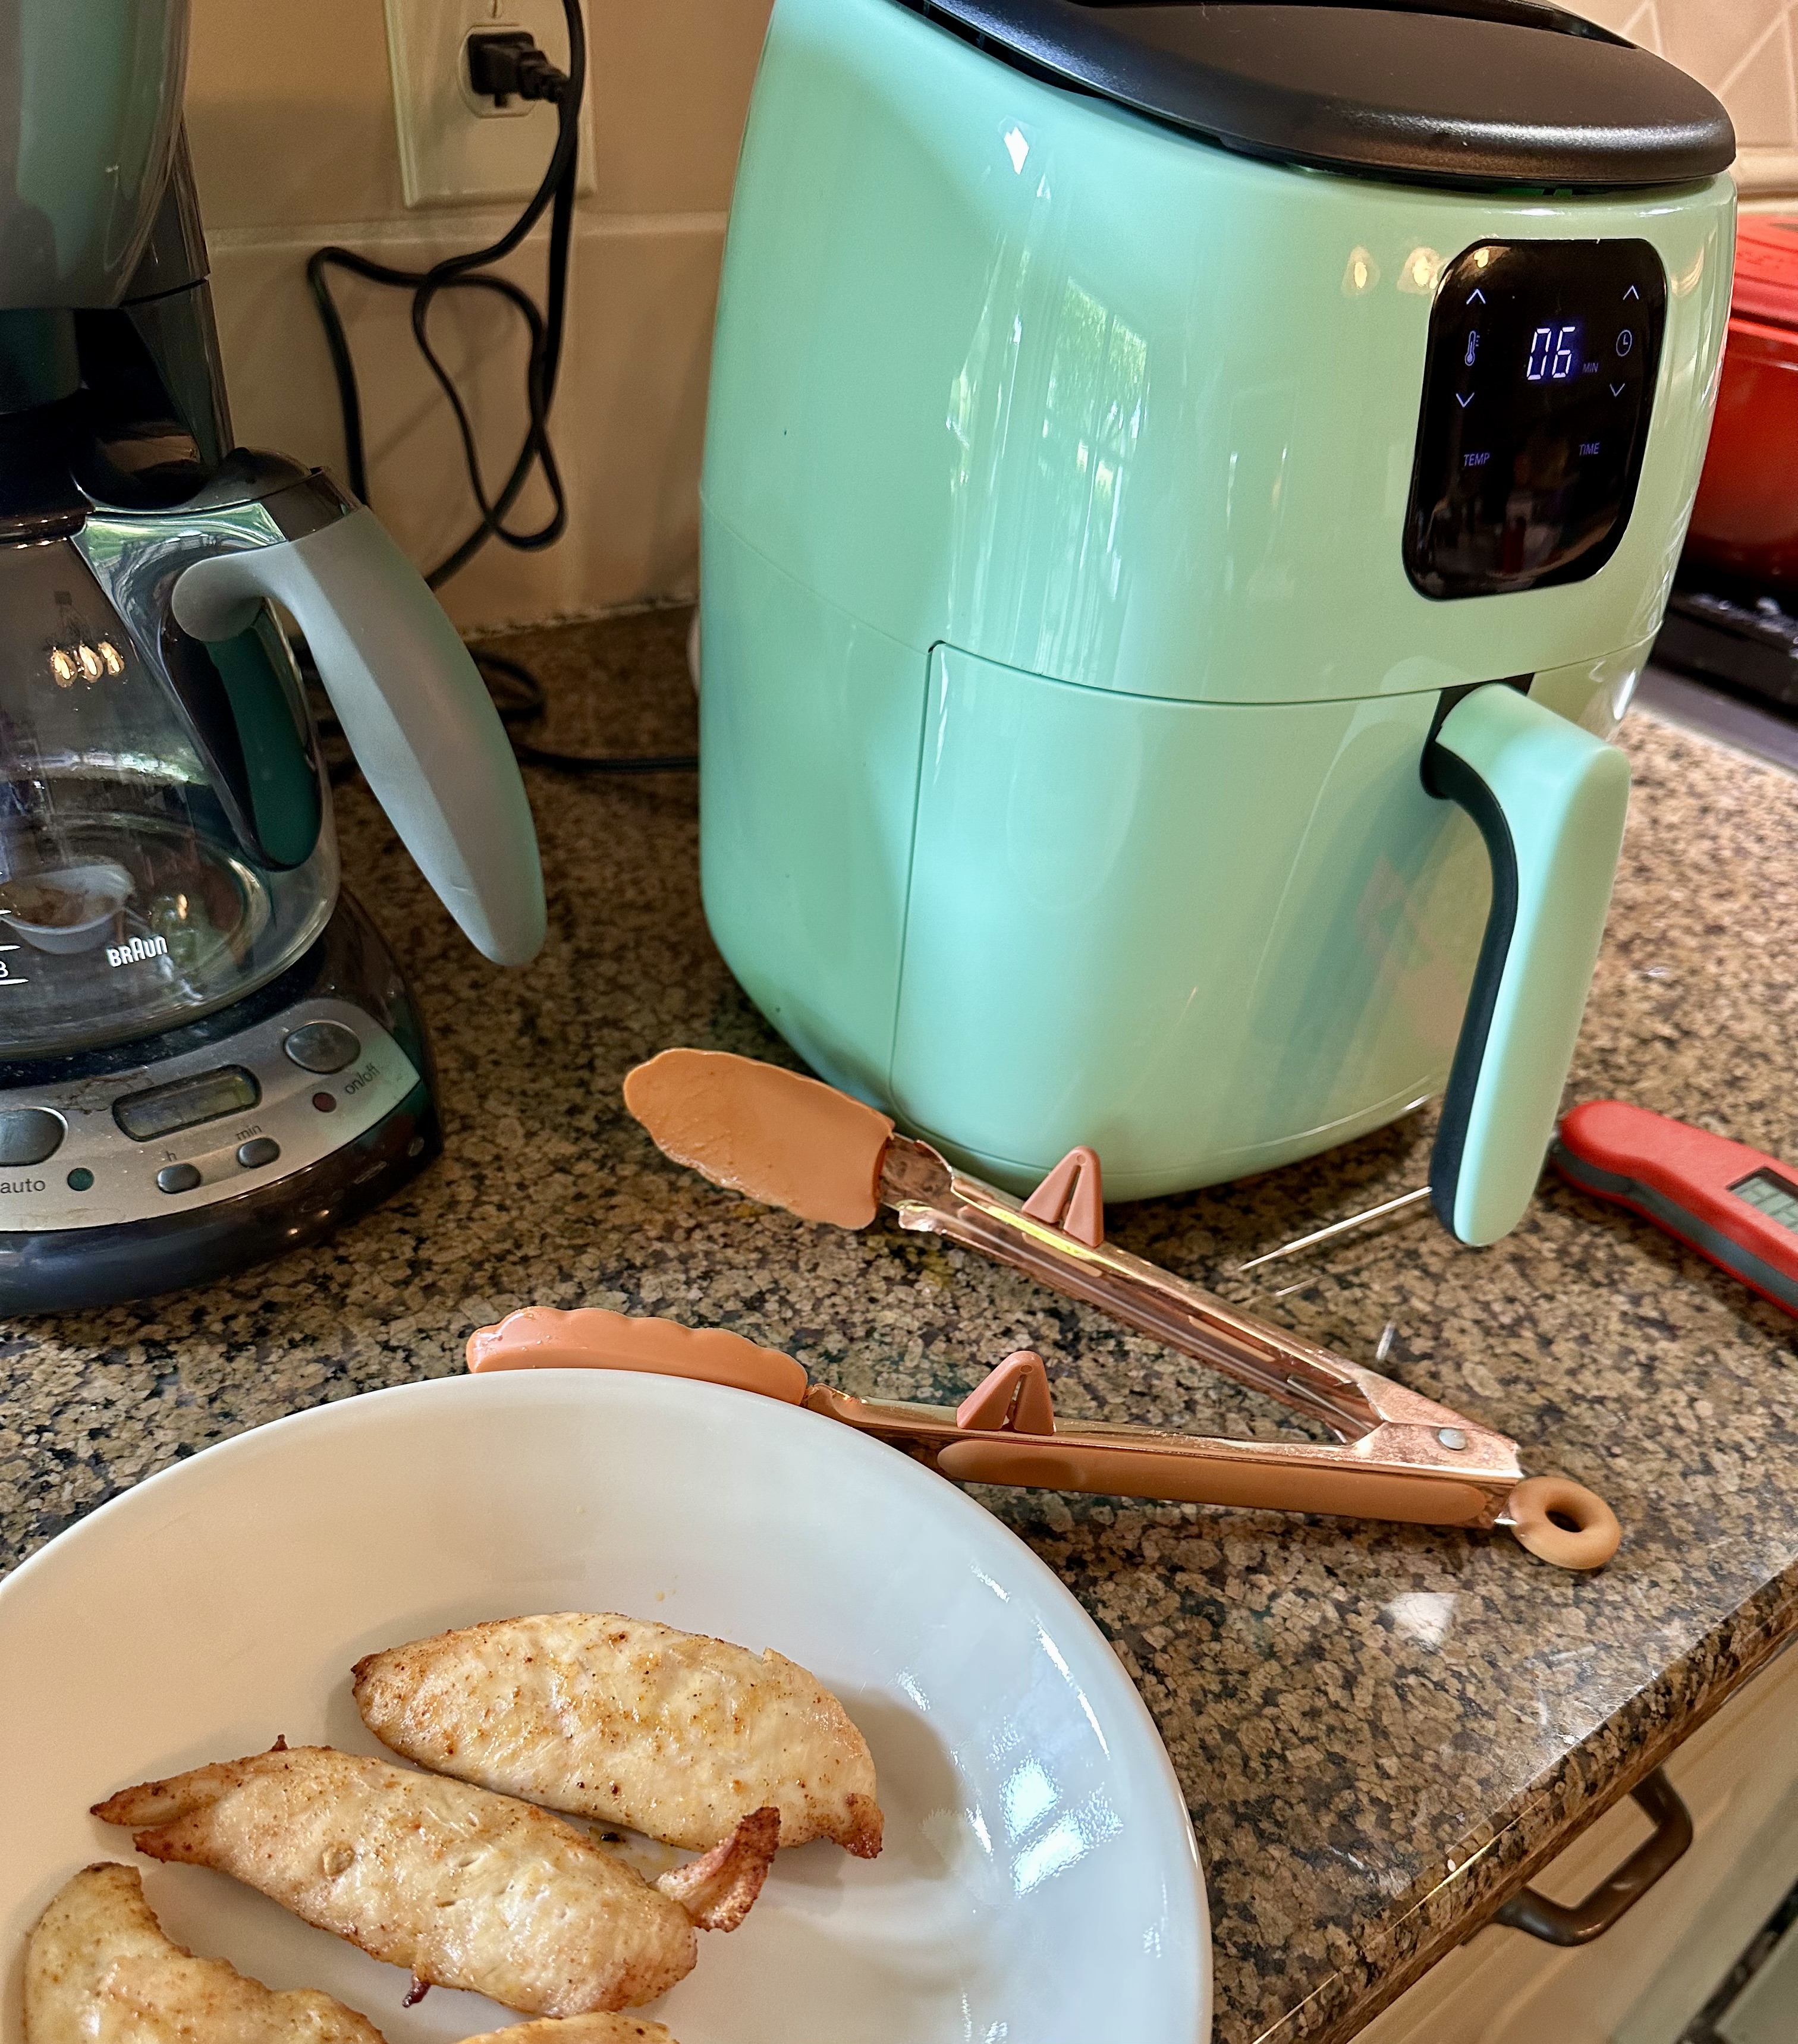
I have resisted buying one for ages when all around me raved about them. Last week I ordered Dash Mini 2.6-qt. air fryer. I've only had it long enough to try a couple of things. I had resisted an air fryer because I didn't want to have to learn to use another appliance. And I didn't want another big thing sitting on the counter. This one is small, suitable for 1 or 2 servings. And that's fine for our household. 


After looking at a few recipes, I cooked chicken strips. And when I realized I could take the basket out and look at the food. Just like looking at food in the oven to see when it's ready.  I relaxed about figuring out the exact cooking time. 


So tonight I popped a couple of slices of frozen garlic bread in the air fryer set to 400º. I checked in about 3 minutes and it looked nice and brown, but when I picked it up the bottom was soggy. So I turned it over and let it cook for another couple of minutes. And as Daddy-O said....OUTSTANDING! It was golden brown and crunchy. And it was all done in less time that it takes to preheat my oven. 


This little air fryer would only hold 2 slices, but that's all we needed.


Friday, June 9, 2023

5-Minute Lunch

Cottage Cheese Toast

How did it get to be June? Like into the second week of June already. I know lazy summer days are often secretly busy days. We might not be doing our regular schedule but it can easily be filled with summer things that will keep you just as busy. Vacations. Family visits. Gardening. (not me) Grandparent camp.

So in the spirit of needing the quickest, the easiest meal ever, here is what I had for lunch 3 days in the past week. You don't need a "recipe." Just look at the picture. 

It's cottage cheese on toast, topped with diced cherry tomatoes (salt & pepper them) and fresh basil. Then drizzle it with balsamic glaze. That's it. I did add some Everything But The Bagel seasoning the last 2 times. 

I read last week that cottage cheese is the new avocado. Whatever you call it, it seems that cottage cheese is having it's moment in the spotlight. I've always liked it. (Remember when a hamburger patty with a side of cottage cheese on a pineapple slice was called "a diet plate" in restaurants?) You can use this idea and then try other toppings. Sliced fruit on top drizzled with honey sounds pretty yummy to me.

I did use different whole wheat breads. It was all good but the sturdier kind, like Dave's Killer Bread, was my favorite.

And yes, it's really 5 minutes. Pop the bread in the toaster and while it's getting all brown and crunchy, dice the tomatoes, sliver up the basil and grab the cottage cheese from the fridge. When the toaster dings, you will be ready to pile on the toppings.

Enjoy your summer! Stay safe. And I'll see you back here when I can. Grandchildren start arriving in a few days. It's gonna be busy. 


Monday, May 29, 2023

Hey Cookie!

Chocolate Chip Cookies

We headed down the interstate over the weekend. It was a holiday, the end of school and a dance recital all rolled into one. All things to be celebrated. It was a delightful surprise to walk in the front door and find that Little Sister was in the middle of baking cookies as a welcome treat.

She has become quite the cook. She bakes. She makes entire meals now. How good it has been to watch her kitchen skills increase. You'll have to ask her mom how good her kitchen cleaning abilities are.


Baby Girl has been working hard on her tumbling skills. How she bends, flips and twists like that is beyond me! I tell her she must be made of rubber. We enjoyed the entire recital. From the tiniest ballet dancers to the graduating seniors who have studied dance for 15+ years. As a former dance mom, let me say this was the best organized recital I've ever attended. One number flowed right into the next. The program lasted about 90 minutes but it felt much shorter. It takes masterful planning for that to happen.

And we had the added pleasure of sitting in the new performing arts center that is part of the county school district. It is truly first class. Thankfully (for us) Baby Girl's recital was in the morning (there were 3 recitals that day) so we were able to go out for lunch afterward.


Then we headed home to enjoy these special cookies. There are many good recipes for chocolate cookies. This one is as good as any I've ever had. Little Girl asked for a cookbook for Christmas last December. I gave her the White Lily cookbook and she has been steadily working her way through it. I have sampled a few of her creations. Everything has been delicious.

This recipe says it make 36 cookies. Little Sister went for bigger cookies and made 24. I love that she's gaining the confidence to make a recipe her own. And I completely approve of her adjustment. These were big cookies, but not giant. They were just right. They were crisp on the edges, tender on the inside. Exactly how I like them.

Chocolate chip cookies made into ice cream sandwich.

I didn't think about a photo until I reached into the bag for a second cookie.

CHOCOLATE CHIP COOKIES (from White Lily)

1 cup unsalted butter, softened

1 cup firmly packed light brown sugar

1/2 cup granulated sugar

2 eggs, lightly beaten, room temp

2 teaspoons vanilla extract

3 cups White Lily all-purpose flour

1 teaspoon baking soda

1/2 teaspoon salt

1 (12-oz) bag chocolate chips


In a large mixing bowl, beat butter and sugars with a mixer at medium speed until fluffy, 3 or 4 minutes, stopping to scrape sides of bowl. Beat in eggs and vanilla until light and fluffy.


In a medium bowl, stir together flour, baking soda and salt. Add flour mixture to butter mixture all at once. Stir in chocolate chips. Refrigerate for at least 1 hour.


Preheat oven to 375º. Line baking sheets with parchment paper. Using 2-tablespoon scoop, scoop dough and place 3-inches parts on prepared pans.


Bake until bottoms are golden brown, 8-10 minutes. Let cool on pans for 5 minutes. Remove from pans to wire racks and let cool completely.


Makes 36 cookies.


NOTE:  Little Sister used the next larger size scoop and made 24 cookies and adjusted the baking time accordingly.


The Kitchen Tip in the cookbook says you can freeze the scooped dough balls for up to 3 months and then bake them a few at a time when you want warm cookies.