Showing posts with label bread. Show all posts

Saturday, November 8, 2025

Bazaar Baking

Sourdough Bread—also known in my house as" Mimi Bead"

It might be time for you to revoke my blogger license. I'm reposting a very old blog—with the SAME recipe that I posted last time. The recipe is that good. I've been too busy baking to write something new. And this is a reminder that you still have time to make the starter and surprise your family with fresh bread for Thanksgiving. I have baked so many batches of this bread getting ready for a holiday bazaar at our church. Over and over and over. This morning, It's all dressed it up and heading to church shortly. 

The hardest part of the recipe is the planning ahead. Making so many batches this time, I figured out that for my daily schedule, I could stir up the dough about 7:00-8:00 PM and let it rise overnight. Then punch it down and shape it about 7:00-8:00 AM. It would rise for about 5 hours and I could bake it around lunch time. 

I know this likely doesn't suit your day but it gives you an idea about timing the whole process. Shift it around to match your day.

This recipe is my variation of one that was published in The Greenville News over 50 years ago. I tweaked it to suit me.


Thursday, December 1, 2011

"Mimi" Bread


It's easier to buy a loaf of bread at the store but it can't compare with the aroma of freshly baked bread made in your own oven. It makes the house smell divine. Years ago I taught a bread baking class and I discovered that many people were afraid of recipes involving yeast. So here is a recipe that doesn't involve yeast except for making the starter. It's the easiest bread recipe that I know. It's the one I use most. I have been taking this bread to our Thanksgiving family dinners for years and years.

Big Sister calls it "Mimi bread." I consider that a compliment of the highest order. (Who do you think often gets the first loaf?) If you want to bake some for the holidays, make your starter now since it takes 5 days to get it ready.


1 cup starter
1/4 cup sugar
1/4 cup oil
1-1/2 teaspoons salt
1-1/2 cups warm water
6 or more cups bread flour (use the extra to flour the surface for kneading)

Mix bread ingredients. (I use a wire whisk to mix in the first 3 cups, and then use a spoon for the last three cups.) Place in large bowl sprayed with PAM.  Lightly spray dough with PAM.  Cover with plastic wrap.  Let stand and rise at least 8 hours.
Punch down dough and knead on floured board about 10 times.  Divide into 3 parts.
Spray three 8-inch loaf pans with PAM.  Shape dough and place in pans.
Cover loosely with plastic wrap.  
Let stand and rise until pans are full, about 5 to 6 hours.
Bake at 350 degrees for 30 to 40 minutes, or until brown and bottom sounds hollow when tapped. Cool on a wire rack.

Whole wheat bread:  Use 2 cups whole wheat flour and 4 cups bread flour.

To feed starter:  Remove 1 cup for baking (or discard) and feed with 1/3 cup sugar, 3 tbsp. instant potatoes and 1 cup warm water.  Mix well and let stand 8-12 hours.  Then refrigerate.  Store in plastic container with slits cut in lid. Feed every 3-7 days. (My favorite container for storage is a large Cool Whip container. Cut an "X" in the lid to let the starter breath.)

To make starter:  Double the feeding recipe.  Put in a glass or plastic container, loosely covered.  Let set out for 4 days.  Then add one pack dry yeast.  Let stand another 24 hours.  Use 1 cup for the first batch or store in refrigerator for up to 7 days.

This bread freezes beautifully. It makes a great gift. 


When our daughters were younger and I had more people to feed every day, I baked a lot of bread. I kept a batch of starter going for five years then. Now, I usually bake just around the holidays and through the winter months. So I make my starter just before Thanksgiving and will keep it going until spring. Or until I get tired of baking it. We never get tired of eating it.

You really do have to feed the starter every few days. If you are not baking, discard a cup of starter and then feed it and let it stand for 8-12 hours. Last year I sent starter back with Jessica when she was home at Thanksgiving. We made up batches of sugar and potato flakes measured into plastic snack-size bags, ready to feed the starter. Drop all those little bags into a larger ziploc bag. That makes it really convenient.

I'll be baking a double batch for the bake sale at our church next weekend. If you don't want to bake it yourself, stop in and buy a loaf!


Saturday, October 11, 2025

Baking Season Has Arrived

Mimi Bread Starter

It's that time of year. The time that many of us bake more often than we usually do. Whether it's for fall festivals, holiday bazaars, church bake sales, gifts for neighbors or teachers, it is time to at least think about what you can make.

This morning I stirred up starter for what my grandchildren call "Mimi Bread." It's typically referred to as sourdough because it uses a starter, but it isn't true sourdough. What it IS, is delicious! At one point when my girls were growing up, I kept the starter going for 5 years. At this very moment, I haven't made any in a couple of years.

But I got a request to make some for a bake sale for a holiday bazaar our church is hosting. (Daddy-O was thrilled because he will get some.) I pulled out the recipe. I made it so often for a very long time, I had this recipe laminated. If you have any thoughts of trying this, be aware that it takes the starter 5 days to "do its thing" before you can use any. I mixed mine this morning and stuck a post-it note to the bowl to remind me which day I need to add the yeast.

This recipe is beginner friendly. In the last few months, my "grown and gone" granddaughter made it for the first time and a friend asked for the recipe right after I had sent it to Big Sister. Both had to make the starter. And both of them baked beautiful bread. Don't be afraid.

**THE STARTER DIRECTIONS ARE AT THE BOTTOM OF THE RECIPE.**

SOURDOUGH BREAD

1 cup starter
1/4 cup sugar
1/4 cup oil
1-1/2 teaspoons salt
1-1/2 cups warm water
6 or more cups bread flour (use the extra to flour the surface for kneading)

Mix bread ingredients. (I use a wire whisk to mix in the first 3 cups, and then use a spoon for the last three cups.) Place in large bowl sprayed with PAM.  Lightly spray dough with PAM.  Cover with plastic wrap.  Let stand and rise at least 8 hours.
Punch down dough and knead on floured board about 10 times.  Divide into 3 parts.
Spray three 8-inch loaf pans with PAM.  Shape dough and place in pans.
Cover loosely with plastic wrap.  
Let stand and rise until pans are full, about 5 to 6 hours.
Bake at 350 degrees for 30 to 40 minutes, or until brown and bottom sounds hollow when tapped. Cool on a wire rack.

Whole wheat bread:  Use 2 cups whole wheat flour and 4 cups bread flour.

To feed starter:  Remove 1 cup for baking (or discard) and feed with 1/3 cup sugar, 3 tbsp. instant potatoes and 1 cup warm water.  Mix well and let stand 8-12 hours.  Then refrigerate.  Store in plastic container with slits cut in lid. Feed every 3-7 days. 
(My favorite container for storage is a large Cool Whip container. Cut an "X" in the lid to let the starter breath.)

To make starter:  Double the feeding recipe.  Put in a glass or plastic container, loosely covered.  Let set out for 4 days.  Then add one pack dry yeast.  Let stand another 24 hours.  Use 1 cup for the first batch or store in refrigerator for up to 7 days.

This bread freezes beautifully. It makes a great gift.


One reason I like this recipe is that it makes 3 loaves from one baking. Daddy-O, of course, will get a loaf from my first round. The other loaves will go into the freezer for the sale. And I'll have time to make before the bazaar that happens in 3 weeks. 


Other bread recipes that are also good for gifting or bake sales: 

Pumpkin Bread This also makes 3 loaves. No yeast required. Just stir and bake. Also freezes well.

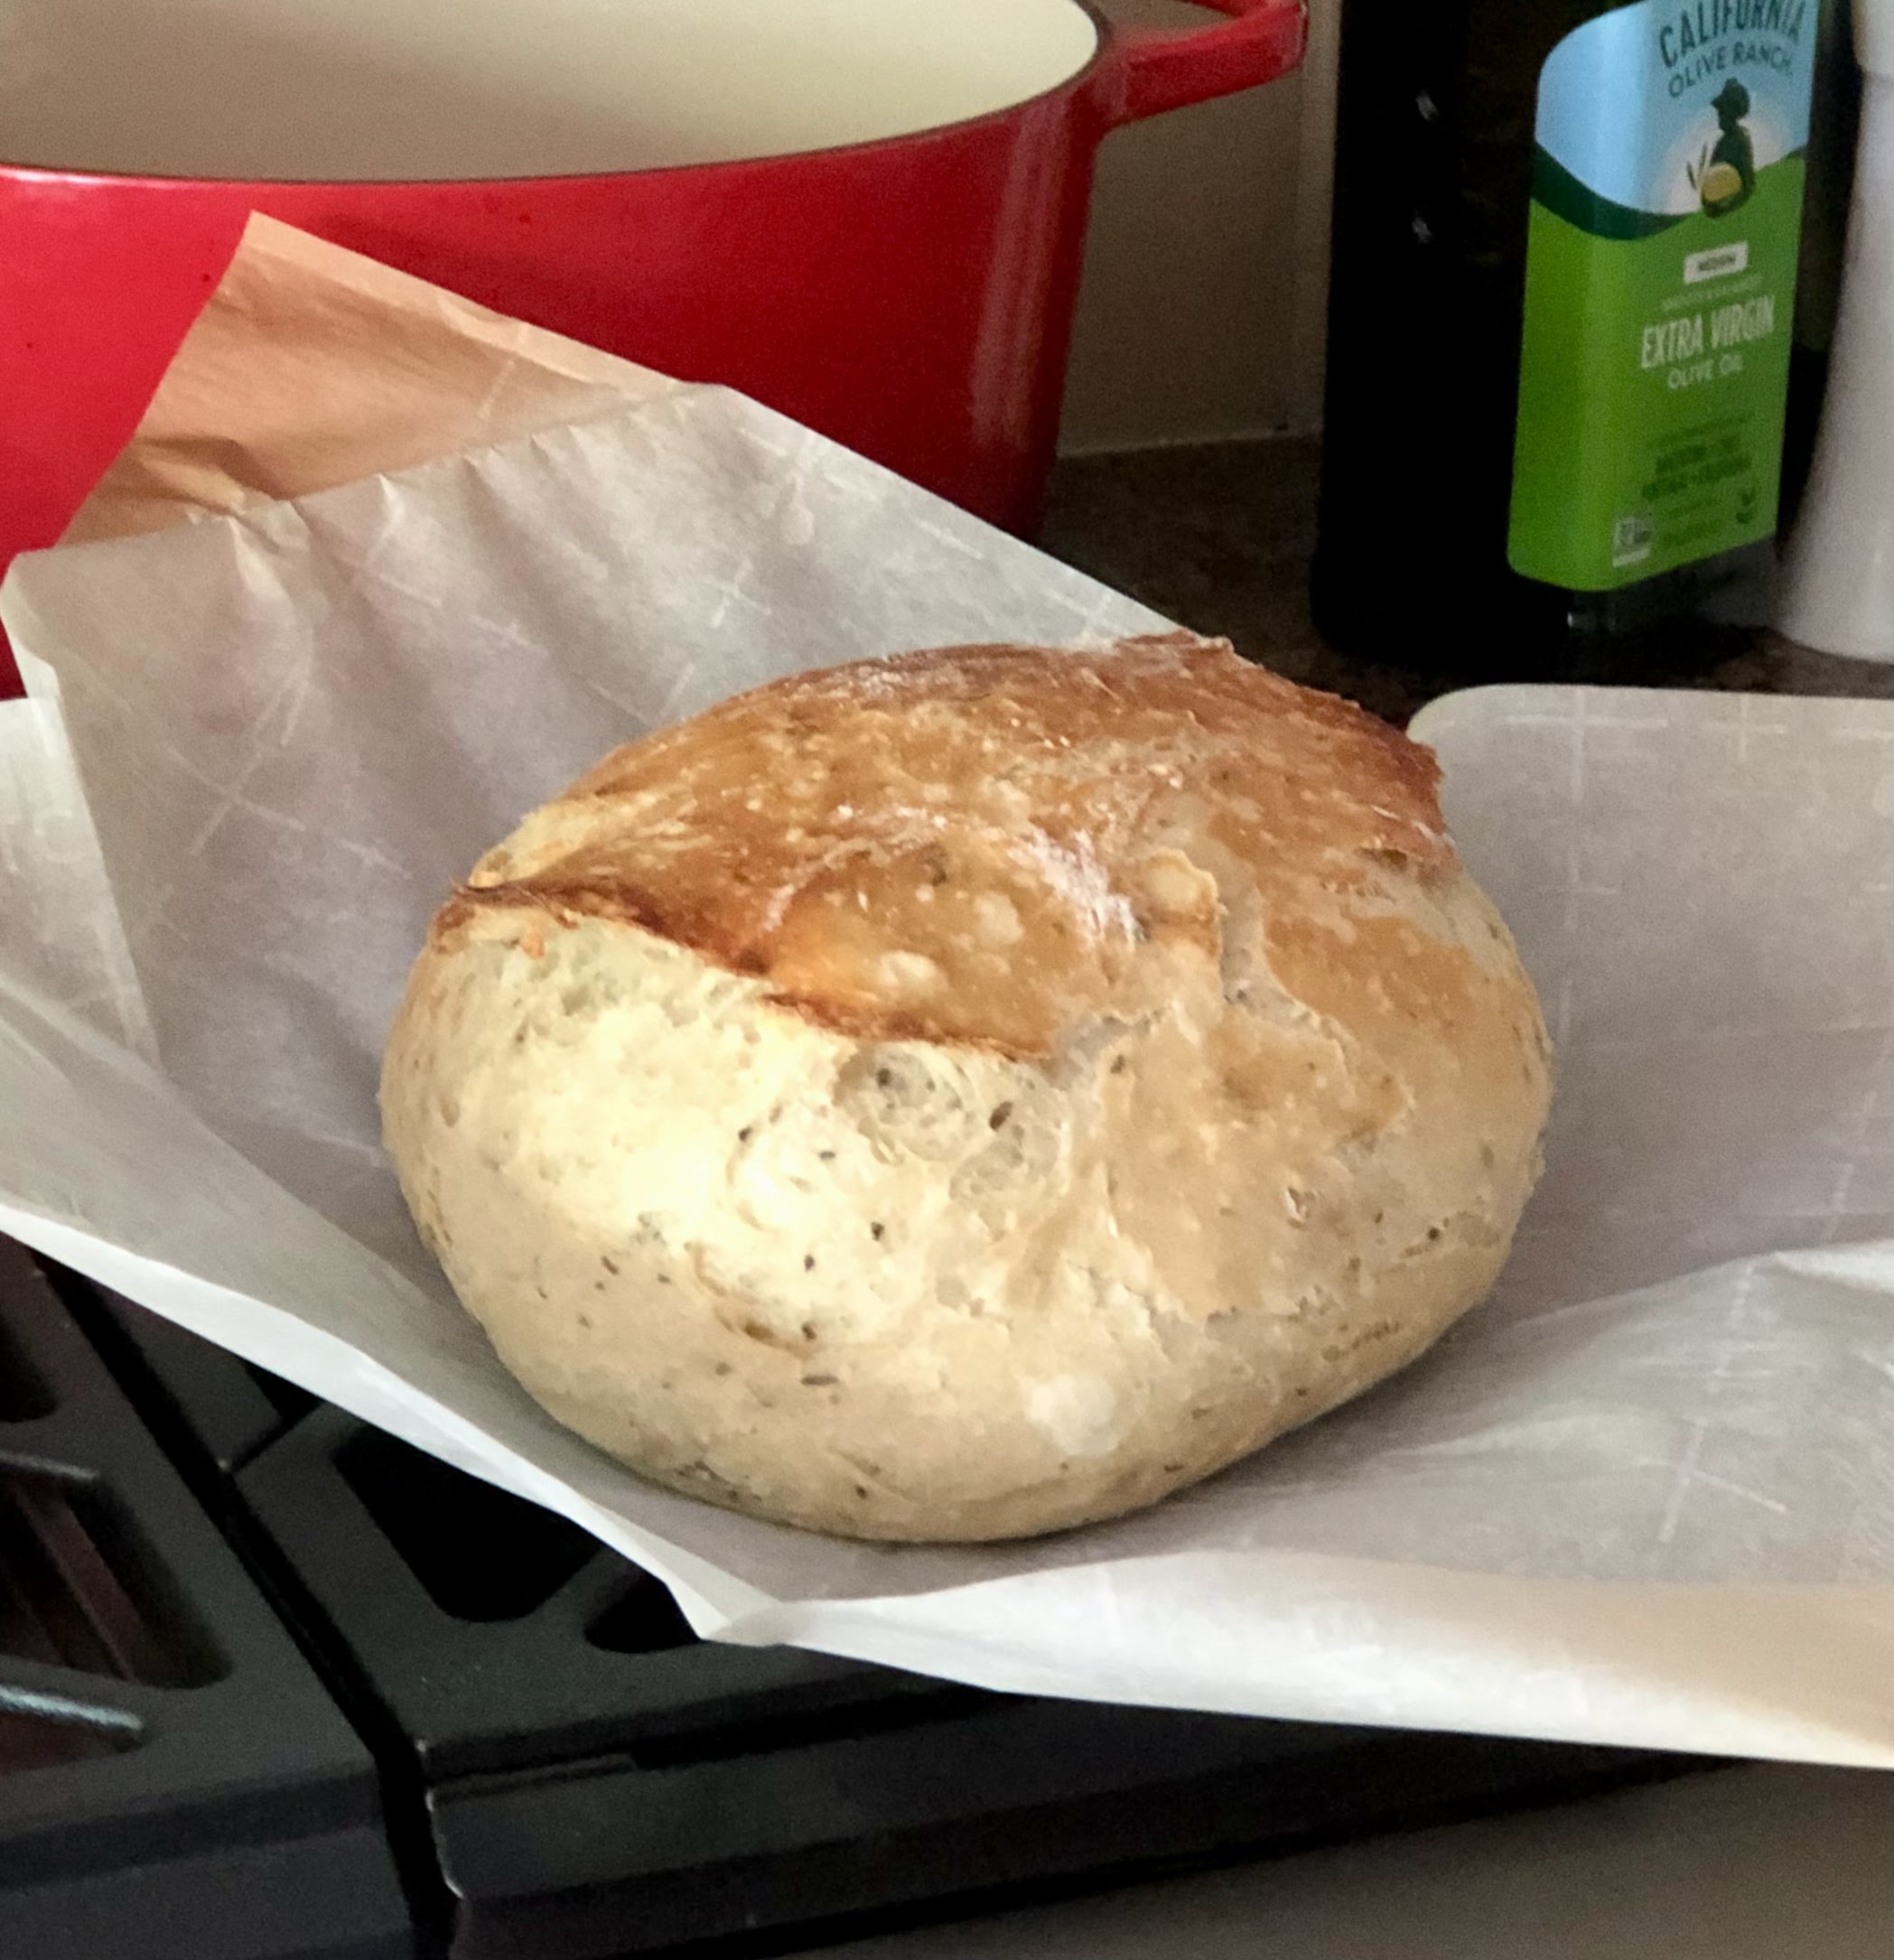
No-Knead Artisan Bread  This is delicious and doesn't require starter—or planning ahead time to make the starter. But it only makes one loaf. I was asked to make 8 loaves for a church dinner a couple of years ago. And I did. I baked one loaf a day and froze them.


**My bread photos are from previous posts about this recipe. But the loaves always look the same. ๐Ÿ˜Š


Thursday, February 15, 2024

Cornbread In A Jiffy


Goodness! How did two months pass without me posting here? Time seems to go by faster as I get older. And we've been crazy busy. But I do have a new recipe I want to tuck into my "online recipe box"—that would be the recipe index here on the blog. 

Since my last post we have celebrated Christmas, New Year's and three birthdays. Had family in residence for most of those big days. Who has time to write with toddlers in the house? I spent a long weekend at a knitting retreat. And I had a mother/daughter weekend away for an early milestone birthday. More doing. Less writing.


Yesterday was the begin of Lent. In our small town the churches that are located next to each other on Main Street join together for a service and lunch on each of the six Wednesdays of Lent. Our church serves the lunch the first two weeks. Our menu is always the same. The first week is a soup and cornbread lunch. I made a new-to-me cornbread recipe yesterday in addition to my usual one. Recipe is at the end of this blog.


When the house emptied out after the December/January holidays I picked up my knitting again. Several little baby hats were mailed to other states for friends expecting new grandchildren. Next on my "to knit" list are hats for another grandbaby and a great-grand baby! I've lost count of how many I've made, but I know it hovers around 100 now.


A big reason I've not posted as much is that I'm been pouring my time into a bucket list item. I want to play jazz piano. I've played piano forever. But jazz piano is a different creature. Currently I'm taking an online class. An actual class that includes homework. I'm learning Summertime now. Not this sheet music version—this is my music from the 1960s—but learning the song structure and learning how to improvise. It's a challenge. I can feel sparks in my little gray cells as I learn so many new things!


Daddy-O has been busy with a lake project. It was time to replace the lake wall. No one expected a record amount of rainfall just as this started. It's taking a while. Fingers crossed it all gets done before summer.


Now back to the new recipe. It was so easy. Yesterday I made two batches of my Corny Cornbread to take to church. Then decided it would be a good time to try this quick recipe also. The two of us in this household wouldn't eat an entire pan of it. But a church crowd might.

JIFFY QUICK CORNBREAD

2 boxes of Jiffy cornbread mix
1/2 cup sour cream
1/2 milk (whole, low-fat or fat-free)
2 eggs
3 tablespoons honey

Preheat oven to 375ยบ. Spray a 9x13-inch pan with cooking spray. (Spray the measuring tablespoon while you're at it.) 
Put all ingredients in a large bowl and stir to mix. Stir until all ingredients are incorporated but do not over mix.
Pour into prepared baking pan.
Bake for 25 minutes until slightly golden brown. Do not overtake!


That's it. So easy to stir up. It's a very different texture that my usual. Different taste also. But it's was good. It's nice to have options. I pretty much like all the cornbreads but the sweet ones fall further down my list. Surprisingly, this recipe isn't really sweet. Keep this version in mind for a busy day!


Sunday, August 13, 2023

Summer Round-Up (Part 3) plus Recipe Round-Up

No Knead Market Style Cheese & Herb Bread

By the time I am at part 3 of what's happened at the farm as summer winds down, the photos are few and far between. We have loved seeing these kiddos that we don't so often during the school year. But just as summer is winding down, so is Mimi. Might be running out of steam.

But I need to share a few recipes before I lose the printed copy or totally forget where I saw it on the internet. The bread you see above is a variation of the no knead bread I've been making for a long time. A good variation. In addition adding the cheese and herb layers, the recipe directions are slightly different. And for once, I did it just as written. The recipe is at the end of the post.  And there are a couple of other super easy recipes mixed in between.


"Pretend" knitting—but the concentration is real.
(Fortunately the tattoo is not.)


Chatting man to man.


The kids (all ages) made juice popsicles all summer.
Then I made some grownup popsicles.

WHITE WINE SANGRIA POPS

1/4 cup thinly sliced strawberries (I used cherry plums)
1/4 cup raspberries
1/4 cup blackberries (cut in half if large)
1 cup moscato wine
1/4 cup orange juice

Divide fruit between popsicle molds. (My set made four.)
Mix wine and orange juice and pour over fruit, leaving room at top
for popsicles to expand. Add handles and freeze.

(1 WW point if your mold set makes 6 pops, 2 WW points if you made 4 pops.)


Time will tell if his love of music lasts.


She graduated to training wheels!


Zero WW point dip.

Mix 1/2 cup of fat-free cottage cheese and 1-1/2 tsp
Everything But the Bagel seasoning. 


A 13th birthday celebration for "Middle Sister."
I cannot in good conscience call her Little Sister any longer.


This is ridiculously good. 

NO KNEAD MARKET STYLE CHEESE & HERB BREAD

3 cups all-purpose flour (I stick to the Kind Arthur brand.)
1 teaspoon salt
1/2 teaspoon instant yeast 
1-1/2 cup warm water (95ยบ to 105ยบ)
1-1/2 cups shredded sharp cheddar cheese
1/4 cup - 1/3 cup fresh chives, thinly cut
1 teaspoon dried thyme, or to taste

In a large bowl, whisk together flour, salt, and yeast. (Use the scoop-and-level measure method.) Pour in warm water and mix thoroughly. Dough will be sticky. Cover bowl with plastic wrap and set in a warm place to rise for 3 to 18 hours. 

When you are ready to bake, preheat oven to 450ยบ. Place a dutch oven in the hot oven to preheat the pot. Let the dutch oven preheat for about 30 minutes while you continue with the dough prep. Use extra flour to flour your work surface and your hands. Use a spatula to slide dough out onto floured surface. Flatten dough, then fold dough over on itself 4 times. Layer the cheese and herbs into each fold.

Form dough into a tight ball and place on the center of a parchment baking sheet. Use the parchment to move the dough back into the mixing bowl. Cover and let rest for 20 minutes.

Take your pot from the oven and carefully remove lid. Use the parchment corners to put dough into hot Dutch oven. Use a very sharp knife and slice the top of dough to release steam. Replace cover on Dutch oven and bake for 30 minutes. 

After 30 minutes, remove top of the Dutch oven and bake for another 15 minutes, or until the bread is golden brown.

Remove from oven and remove bread from pot. Let cool for at least 10 minutes before slicing. 


I still have a few more recipes to share, so check back later. We really didn't cook a lot this summer, but we did try several new recipes that we liked. 


Thursday, May 25, 2023

Hay Season, Cabbage Casserole, Fried Cornbread

Cabbage Casserole & Fried Cornbread

Before I got busy doing other things this morning, I did a quick check in the pantry. I've been cleaning out all over the house. I only threw away a couple of things, but I did find some tomato juice with a "best by..." of last week. That reminded me of a recipe I haven't made in ages and it uses tomato juice. 

I've said a million times that the hardest part of cooking supper is deciding what to cook. The tomato juice  decided it for me. And that made for an easy supper. 

This casserole is quick to put together and it's a complete meal in one dish. It makes a lot. If you are a household of two like us, be prepared to enjoy leftovers or find someone to share it with. We will be having leftovers tomorrow. No kitchen duty for me!

Take note that it bakes in the oven for an hour and a half. Be sure to start early enough to have it done at supper time.

CABBAGE CASSEROLE

1/2 head of cabbage (medium-size), finely chopped
salt
1/2 cup uncooked white rice
1/2 cup diced onion
1 lb. lean ground beef, browned
salt & pepper
1-1/2 cups tomato juice

Preheat oven to 350 degrees. Spread half of cabbage in a 9x13-inch baking dish. Sprinkle with salt. (Don't be too skimpy.) Add rice, onion and ground beef in layers over cabbage. Spread remaining cabbage over top. Sprinkle with salt and pepper. Pour tomato juice over all. 
Cover dish with foil. Bake for 1-1/2 hours, or until done. Let stand, covered, a few minutes after you remove it from the oven. 


I usually let that one dish be the entire meal but tonight I tried a new-to-me recipe. It's really an old, old one but I had never made fried cornbread. Man, it was quick and easy. And good enough that Daddy-O had a second piece. He doesn't like cornbread. But he liked this kind. (He liked it best with molasses.) It's crunchy on the outside, tender on the inside. 


Fried Cornbread

I didn't actually measure anything. There isn't any need to. It's that easy. 

FRIED CORNBREAD

self-rising cornmeal
buttermilk
canola oil, for frying. 

I used about a cup of cornmeal because I only wanted to make enough for the two of us. 
Stir in enough buttermilk, a little at a time, to make a fairly thick batter. If it gets too thin, add a little more meal. 

Heat a little oil in a skillet—like you would to cook pancakes. Spoon batter into hot pan. Let it brown and turn the hoecakes over. ("Hoecake" is another name for fried cornbread.) Turn down the heat to be sure that the batter cooks all the way through. 


This supper is about as Southern as it gets. We really like the cabbage casserole, but I've never quite known what to put with it. Cabbage and cornbread. Why didn't I think of this sooner? It was a winning combination. Just right to feed the farmer when he came in from the field.


Daddy-O has been busy on the tractor all week. It's hay season. First, you cut the hay. Next, you tedder the hay. I call that part "fluff and puff." Tossing the freshly cut hay around helps speed up the drying process. Then , you rake the hay into rows. Finally, it's time to bale the hay. And about half the time, the weather will mess up one of the steps. So far, this has been a perfect weather week for "making hay while the sun shines."


Sunday, November 6, 2022

A Stew By Any Other Name

Alabama Camp Stew

I'm almost embarrassed to share this recipe—because it's a bunch of cans dumped in a pot. Almost embarrassed. But I'm doing it because it tasted good, it was so easy to make AND Daddy-O went back two times for more.

I came across this recipe on the food blog Southern Plate years ago. Christy, the writer, is from Alabama. What made me remember the recipe was that she said if you have these cans in your grocery cart, when you check out, the cashier is likely to ask if you're making camp stew. That's why she calls it "famous."


At the beginning of the pandemic I stocked up on shelf stable foods when we weren't sure if the grocery stores would stay open. I remembered this recipe and bought all the cans, printed out the recipe and put the cans and recipe together in a box and added the box to my pantry stash. 

Thankfully those days are behind us, but I realized I liked having a food stash. Not as big as my pandemic stash, but extras of things that we use often. Our closest grocery store is 7 miles away. That's a 14 mile, 25-minute round trip drive to the store and back if I find out I'm out of sugar mid-recipe. So I keep extras on hand. 

Yesterday I was going through my stored foods and checking expiration dates (that's part of storing extras at home) and saw that the tomatoes in my camp stew box needed to be used. Tomatoes, unlike many canned foods, should not be used long past the expiration date.

After a long day of working around the house, this easy recipe was worth a try last night. And it sounded like good football watching food. So glad I finally tried it.

I imagine some of you will have a hard time finding the canned pork or beef BBQ. I found it on the bottom shelf at our Ingles store. But knowing that I have readers in California and Maryland and other far flung states, I googled "camp stew" to find other ways to make this. There are recipes for cooking fresh meat. Some bought BBQ from their local barbecue joint. And one person said that instead of canned, she subbed refrigerated BBQ, such as Lloyd's, found in the refrigerated section, near the mashed potatoes, at the store. 

And to be honest, if you're from California or Maryland, you're probably horrified by dumping all these cans together and would never make this anyway. Right?  In my google search, I did find this fun story about How Camp Stew Became A South Alabama Icon. Read it and learn.

I found a zillion versions of this stew online. Sometimes called camp stew, sometimes called Brunswick stew, depending on where you live. One of our friends has a stew cooking every now and then and sells quarts of Brunswick stew that we like. This recipe has a similar flavor. He uses chicken and pork that he has smoked. If you don't need to make gallons of stew, try this one pot recipe.

ALABAMA CAMP STEW (or Brunswick stew if you live in another state)

3 (14-oz) cans diced tomatoes

14-oz can whole kernel corn

14-oz can butter beans or lima beans

1 onion, chopped

2 (10-oz) cans Castleberry’s Pork or Beef in BBQ sauce

10 or 12-oz can chicken breast


Dump all cans, including the liquid, and chopped onion into a large saucepan. (Mine was 4-1/2 qt.) Bring to a boil, then reduce heat and simmer for 30 minutes to 1 hour, stirring occasionally, making sure the bottom doesn’t scorch. 


Made with the Castleberry's pork, the stew had a little kick. And it's a little sweet, like my friend's Brunswick stew. You can do anything you want with the recipe. Add hot sauce if you want it even hotter. Add a diced potato, leave out the corn or add more corn. Use leftover rotisserie chicken instead of canned. Use all chicken (add BBQ sauce) if you don't eat meat. Tinker with seasonings.

What to serve with the Camp Stew? We just had crackers. But this cornbread would be an excellent choice. I made these two pans last Sunday to take to church for a vegetable soup and cornbread fund raiser.

Two batches of Corny Cornbread

CORNY CORNBREAD

1/2 cup vegetable oil  (plus extra to grease the pan)
1-3/4 cups self-rising cornmeal mix  (make sure it's cornmeal mix)
1 cup cream-style corn (frozen or canned)
2 eggs
1 cup sour cream
1 cup grated cheese

Preheat oven to 375 degrees. Generously grease a cast iron skillet or a 7x11-inch baking pan. Preheat pan in the oven while you're mixing the batter.

Mix all ingredients together in a large bowl, stirring with a wooden spoon or rubber spatula until combined. Pour batter into the preheated pan. Place pan in the oven and bake until golden brown, about 30 minutes.


Tuesday, June 21, 2022

You Need No Knead!

Crusty No Knead Artisan Bread

Yesterday morning I decided that maybe I needed to add something to the main dish salad that I was taking to book club last night. It was my turn to bring supper. Homemade bread is always a good addition to...well, anything.

This recipe has been all over the internet for years. It's appeared here more than once. But after a few of the "book ladies" asked some questions last night, I'm posting it again and hope I've answered their questions. I've listed my tips for this recipe and tweaked the recipe itself to make it clearer. I hope.

Let's get the tips out of the way...

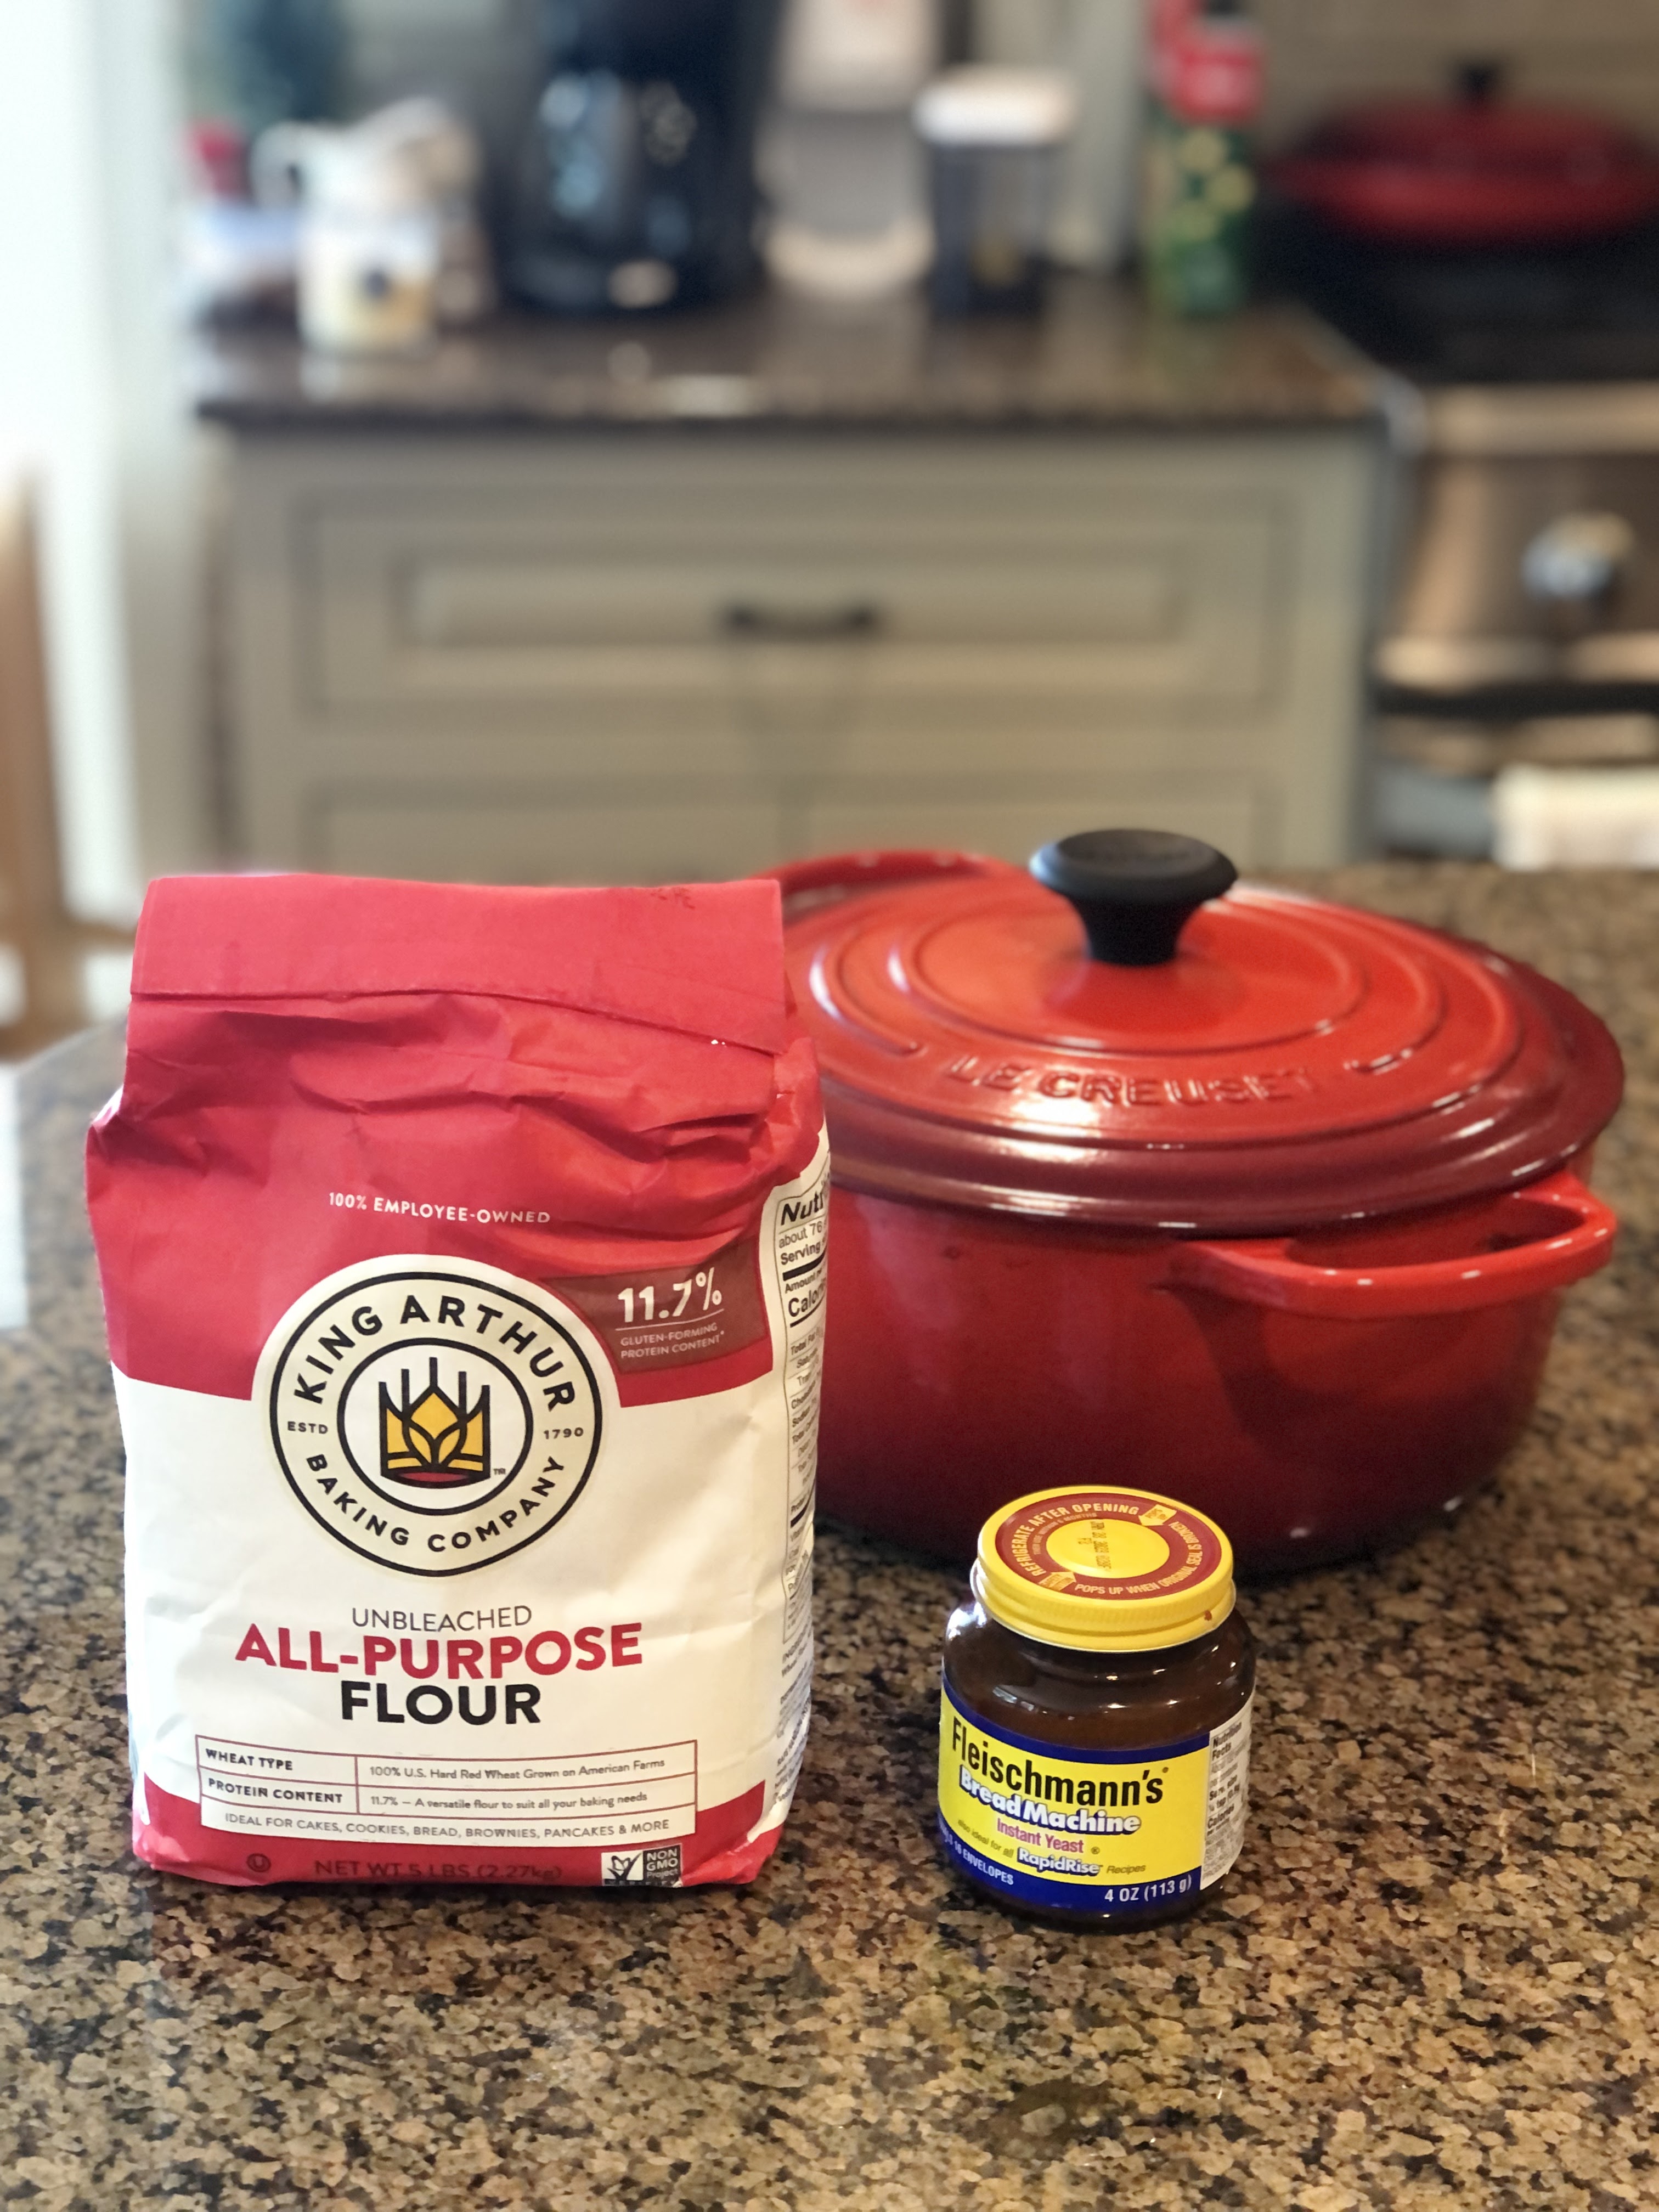
  • I use King Arthur all-purpose flour because of it's higher protein count. My other "go to" all-purpose flour is White Lily, a soft wheat flour that just doesn't work here. Or in the yummy cinnamon roll recipe we love. Or the dinner rolls I've made several times. If you live somewhere outside of the Deep South, I'm sure there are other brands of "hard wheat" all-purpose flours in your store, but I'm sticking with what I know works. 
  • Measure the flour by scooping it up and leveling it. I don't use my typical "spoon and level" method here.

  • I discovered that the Fleischmann's bread machine yeast in a jar is instant yeast. You need to use instant yeast. The bread machine (no, I don't own a bread machine) yeast in a jar sits right beside the little packets of yeast in your grocery store. There are other brands but make sure you use instant.

  • We have wonderful tap water here that comes from a watershed in the mountains of the county just to our north. So I use hot water straight from our tap. If your water tastes like it comes from a chemical plant you probably don't want to use that. Use whatever water you drink and heat it to 118-120ยบ. I just tested the actual temperature of my hot tap water. It's right at 120ยบ. Much hotter than that and you'll kill the yeast.

  • I no longer preheat the Dutch oven, like most recipes do, before plopping the bread dough into it. I've done it both ways. Both ways work. But there are no burned fingers using the cold pan method.

  • If you don't have a Dutch oven, any large 4-6 qt. pot with a lid works as long as it can go into a very hot oven. 

  • Once you've mixed the ingredients—I stir together the dry ingredients with a whisk, then use a heavy spoon to mix in the water—cover your mixing bowl with plastic wrap and let it rise. The "cover with a damp towel" doesn't work here.
  • My perfect rising spot is on top of my cold toaster oven right under the under-counter lights. I did not always have under-counter lights, so that's surely not a requirement. Back in the dark ages, I'd set the bowl on top of the  warm TV. That's not an option any more. Just avoid the air condition vents. If your spot isn't as warm as mine, the dough might take a little longer to rise which is okay.

  • The rising time is a huge range. Yesterday mine rose about 7 hours. It can sit up to 24 hours. I really thought it hadn't risen much but it was time to bake if I was taking it to book club, so I went ahead with the next step and crossed my fingers.

  • This truly is a no-knead bread. I scrape the sticky dough out of the bowl with a spatula onto a floured piece of wax paper. Then I flip the blob of dough over and pick it up, dust off the excess flour and round it into a ball, tucking the ends under as I work so that the top is smooth.

  • Place the ball of dough onto a piece of parchment paper and use the paper to place it into the Dutch oven. I like the precut baking sheets. Yes, the paper will stick out of the pot when you place the lid on. The paper will get dark as it bakes, but it won't catch on fire. The paper is also useful at the end to lift the bread out of the hot pot.

Don't be afraid. It's only flour, water and yeast. Give it a try. 

CRUSTY NO-KNEAD ARTISAN BREAD

3 cups all-purpose flour, (I use King Arthur—scoop & measure)
1/2 teaspoon yeast (I use Fleishmann's BreadMachine Instant yeast from a jar)
1-1/2 teaspoon sea salt
1 tsp to 1 tbsp herbs or seasoning, optional (I used Herbs de Provence—no herbs is also good) 
1-1/2 cups hot water (I use hot tap water)

Put flour into a large mixing bowl. Sprinkle yeast, salt and herbs over flour and stir to blend. Stir in water until it's all moist. Lightly spray top with cooking spray to keep dough from drying out. Cover with plastic wrap and let sit for 4-24 hours.

Dump dough (which is very sticky) onto a well-floured counter or mat. Form into a round or oblong loaf. (Whatever fits into your pot.)  Tuck the dough under as you shape it, so that the top is smooth.

Place dough onto a piece of parchment paper and use the edges of the paper to set the dough down into a Dutch oven

Bake, covered, at 425 degrees for 30 minutes. Remove lid and bake for another 10-15 minutes until golden brown. Carefully remove from hot pan and let cool for 10 minute or so before slicing. (The crust is nearly rock hard straight out of the oven, but it will soften and be easier to slice as it cools.)


Best NEW TIP...to cut a circular load of bread, cut the loaf in half. Place the cut side down on your cutting board and then slice it from one end to the other. I wish I had a photo of the sliced bread to show you. But I had not intended to post this recipe until we talked about it last night and several questions came up.


Tuesday, April 20, 2021

Our Book Club Salad Supper

Our salad supper

We all have our favorite recipes that we use again and again. Today's post is about several of those recipes that go together really well. I'm documenting this combination so that when I need a supper plan again, I'll have this list ready. (I've linked each recipe title to the previous blog post if you want to see better photos, or read more about the recipe.)

Surely I have mentioned our book club here before—a small group of friends gather most weeks to chat, to catch up on the news, to knit, to share a meal...and occasionally we talk about books. This book club has also done pool walking, hula hooped and hiked. We are a versatile group. 

We take turns providing supper. Sometimes it's an adventure—like making aรงaรญ bowls. Supper has also been as simple as frozen pizza. It doesn't really matter as long as we get to eat together. I'm so sorry I didn't make photos of last week's meal. It included the best key lime pie for dessert. All I know is that Joanne needs to make one again so that I can get a photo and share the recipe here. And we would get to eat it again! 


Last night it was my turn. As I was setting out the food, I overheard someone saying, "The hardest part about bringing the food is deciding what to make." That's usually the case with me, but this time I knew exactly what I wanted to bring. All of these recipes are favorites of mine. All are easy to make. And all are served cold, so I could pack it all in coolers and not worrying about transporting hot foods or heating things up there. Even though these are favorite recipes, I don't think I've ever served them all at once. But I did love how these dishes went together.

I prepared the bean salad the day before so that the flavors could blend. And I cooked the chicken the day before, too. I told Carol I felt like I was guilty of "recipe appropriation" because we all think of the bean salad as "her" recipe. So happy she shared it with all of us years ago.


1 (15.5 oz.) can light red kidney beans
1 (15.5 oz.) can black beans
1 (6.5 oz.) can mushroom stems & pieces
1 (8 oz.) can sliced water chestnuts (I cut into smaller pieces)
1 (2 oz. ) jar diced pimento
frozen white corn (amount about equal to the kidney beans)
frozen green peas (amount about equal to the kidney beans)
1 bag frozen shelled edamame beans, cooked according to package directions
1 rib celery, finely chopped, optional (I used this)

1/4 cup canola oil
1/2 cup apple cider vinegar
1/2  to 3/4 cup sugar (I used 1/2 cup)
1/2 teaspoon salt

Drain and rinse canned vegetables. Cook and cool edamame beans. In a large bowl, mix drained beans, pimento, mushrooms, and water chestnuts. 

Combine oil, vinegar, sugar and salt in a small saucepan and bring to a boil. When cool, pour over vegetables and refrigerate. Vegetables will keep in refrigerator for up to two weeks.

Yes, you add the corn and peas frozen. No cooking. I did cut the slices of water chestnuts into smaller pieces. I'm sure if there is something that you don't like here, you can leave it out. 

The next morning (day of the supper) I mixed up the orzo salad first. The hardest thing about making this is chopping the baby spinach. I like to take the large stems off and that can be done while the water comes to a boil and the orzo cooks. Then it's just all stirred together. My usual recipe, posted here, is actually half a recipe. This time I doubled everything since I was feeding more than the two of us. That might have been overkill, but we will happily eat leftovers for the rest of the week. 

ORZO SPINACH SALAD

1/2  box (16-oz) orzo, cooked according to package directions
1/2 bag (5-oz) baby spinach, roughly chopped
1/3 cup chopped red onion (use the amount that you want)
4-oz. container crumbled feta cheese
1/4 cup olive oil
1/4 cup balsamic vinegar
1/2 teaspoon dried basil
1/4 teaspoon pepper (I used a few grinds of fresh pepper)

While orzo is cooking, mix the dressing--oil, vinegar, basil, pepper. Set aside.
Drain orzo thoroughly when done. Stir in chopped onion, spinach and feta. Whisk dressing again. Pour dressing over the pasta and mix to coat thoroughly. Cover and refrigerate until chilled.


After I put the orzo salad in the refrigerator, I chopped the chicken for the chicken salad. There are hundreds of ways to make chicken salad. And I've never had one I didn't like. I've made several versions, including a hot chicken salad. The yogurt version on the blog is delicious, too. But this time I just made the one I make most often. Because I make it regularly I can mix it up in a hurry. When I'm in a big hurry, I use a 12-oz can of chicken breast, well drained and broken up. It's surprisingly good. It makes great sandwiches. Make the celery, apple and cheese match the amount of chicken.

CHICKEN SALAD

3 boneless, skinless chicken breasts (that's 1 package at my store)
1/2 - 1 teaspoon Lawry's seasoning salt (I just give it a good shake)
1 large rib celery, diced fine
1 medium red apple, diced (I leave the peel on for color)
1/2—3/4 cup shredded sharp cheddar cheese
sprinkle of salt
a good squeeze of fresh lemon juice
enough Duke's mayonnaise (or other good quality mayo) to make it spreadable

Cook chicken in water with seasoning salt added until tender, about 40-45 minutes. Let cool in broth, until cool enough to handle. Chop chicken medium-fine. In a large bowl, add in celery, apple and cheese. Add in enough mayonnaise to make it spreadable. I start with 3 or 4 big tablespoons full and stir and then add more, one spoonful at a time, until I get the right amount. (Because chicken breasts and celery and apples are different sizes, it's hard to be precise with a mayo measurement.) Stir until well blended.

Cheddar Beer Bread

Before lunch, all the salads were done with plenty of time to chill before I packed it in late afternoon for travel. After lunch I decided to stir up some cheese bread. If you say "but I can't bake bread" this recipe is for you. It stirs up like muffin batter. No yeast. No kneading. No rising time. And it's so so good. 

CHEDDAR BEER BREAD

3 cups all-purpose flour

1 tablespoon baking powder

3 tablespoons sugar

1/2 teaspoon salt 

1/4 teaspoon black pepper

1 cup shredded sharp yellow cheddar cheese, divided 

1/4 cup melted butter, divided

1 (12-oz) bottle or can of beer

Preheat oven to 375ยบ. Spray an 8-1/2-inch loaf pan with PAM (or similar) cooking spray. 

In a large bowl, mix together flour, baking powder, sugar, salt, pepper, 3/4 cup shredded cheese, and 3 tablespoons of the melted butter. Add the beer and stir well. Batter will be sticky. Pour batter into loaf pan.

Top with remaining shredded cheese and drizzle with the remaining butter.

Bake bread for 45-55 minutes, or until top is golden and a toothpick inserted in center comes out clean.

General rule is to check the bread at the shortest baking time and see if it needs more. All ovens are different.


I used my favorite set of nesting bowl to serve everything. These are melamine bowls with lids so they are perfect for packing. Because I was determined to use all five bowls, I put lettuce leaf cups for the chicken salad into one and found a box of gluten-free cheese crackers (Good Thins, Three Cheese flavor) to put in the tiny one. A well-known restaurateur told me years ago that food service is all about presentation. He was right. I really think that supper last night tasted better because of the pretty bowls. It's the first time I've used them all together. 


NOTICE:  If you subscribe to this blog by using the email widget on the sidebar (I have removed it,) that feedburner service is being retired in July 2021. It is not being replaced. There are other ways to sign up for an RSS feed. I do not know how to do that, but maybe you (or a grandchild) know how. If I can find someone to help me migrate the email list of over 1200 to a different service I'll do so. But at the moment, that is way above my skill set.