Showing posts with label meatless. Show all posts

Monday, February 1, 2021

The Best Vegetarian Chili


I have a thing about naming recipes "The Best...." or "The Ultimate..." That is always a subjective call. Today's recipe was named "The Best Instant Pot Vegetarian Chili" and I will say that this recipe might be worthy of the title. I have been making similar vegetable chilis or bean chilis for years and years. Everything from the simplest "open the cans, dump and heat" to others that called for more seasonings, sometimes using packets of ranch dressing mix or chili mix." But this combination of seasonings is a winner. I had all the spices on my shelf—except coriander. I have never owned a bottle of coriander in my life. So I just left that out. And I was totally happy with the result.

This looks like the longest list of ingredients. But it's actually a very simple recipe if you don't mind dicing several peppers and an onion. I've said this before but I'm going to tell you again. With a long list like this, here's what I like to do:
  • Gather all ingredients before you start. Make sure you have what you need.
  • Measure the spices into a small cup before you start cooking. I move a spice bottle from the left side of the recipe to the right as I measure so I know what I've done should I get interrupted. It happens.
  • Make the long recipe easier to read. Divide the recipe ingredients into groups—if you print the recipe out, draw a line between the groups.  I divided this one up as I typed.
See? There is nothing special there. But trust me, these steps make everything easier. 


VEGETARIAN CHILI (for Instant Pot)

1 tablespoon olive oil
1 red bell pepper, diced
1 green bell pepper, diced
1 yellow or orange bell pepper, diced
1 red onion, diced
5 cloves garlic, minced

1 cup chicken or vegetable broth (I used 1 tsp of Knorr Chicken bouillon in 1 cup hot water)
15-oz can kidney beans, drained & rinsed
15-oz can black beans, drained & rinsed
15-oz can pinto beans, drained & rinsed 
1 cup corn kernels, frozen or canned (I like Green Giant Steam Crisp corn)
28-oz can crushed tomatoes

1 heaping tablespoon chili powder
1 teaspoon ground cumin 
1 teaspoon unsweetened cocoa powder
1/2 teaspoon garlic powder
1/2 teaspoon paprika
1/2 teaspoon smoked paprika
1/8 teaspoon red pepper flakes (or to taste)
couple of splashes of low-sodium soy sauce

Turn your Instant Pot to Sauté and give it a couple of minutes to heat. Add olive oil, bell peppers, onion and garlic. Sauté for 3-4 minutes, stirring a few times as it cooks, until vegetables are slightly softened. Stir in remaining ingredients.

Close Instant Pot and cook on High pressure for 4 minutes. Once the cooking is done, let the pot natural release for 5 minutes, then quick release the remaining pressure.

Serve the chili with your favorite chili toppings, such as shredded cheese, sour cream or tortilla chips.

IF YOU DON'T HAVE AN INSTANT POT, make this on the stovetop. Sauté the peppers, onion and garlic. Then add the remaining ingredients, stirring to combine. Bring to a boil. Reduce heat and simmer for 30-60 minutes, stirring occasionally. 


You can go back and check the original post and see the recipe with the two ingredients I left out—coriander and salt. Plus, she has other tips. She says if your Instant Pot has a tendency to show the "Burn" warning, you can stir in the broth, then add the remaining ingredients without stirring. You can stir after it has cooked.

We topped our chili with tortilla chips, so neither of us missed the salt. And it was plenty good without the coriander. I have cooked for 50+ years without using that. So I'm pretty sure if I buy a bottle, it won't get used much. But then, maybe I will try adding it to see what I've been missing all these years.

This chili had a more complex flavor than most I've vegetable chilis I've made. The smoked paprika and the cocoa gave it a depth of flavor that my less complicated versions lacked. It's loaded with peppers, but when you taste it, the amount does not overwhelm. The flavors are balanced. The textures of the soft beans and the crisp corn are just right. The crushed tomatoes made this a thick hearty chili. So. You tell me. Is this the "best" vegetable chili ever? By golly, I think it might be!

You know I always ask my cattle farming husband for his opinion. "Well, it's not hamburger steak smothered in onions." Then he went back for more. I interpreted that as, "Yes. This is really good." We had a freezer incident last week. Everything thawed out, so we ended up cooking 5 beautiful filet mignons that night. A couple of those were grilled rare and frozen again for another time. (Not sure how that will work out.) But Daddy-O had plenty of red meat that week. I do like to mix in some meatless meals along the way. First, because I really like meatless meals. And second, because it is a good choice from a health standpoint. 


Friday, August 28, 2020

Let's Do The Can Can


Vegetable Chili

We watched the weather news this week as the path of Hurricane Laura aimed towards the Texas/Lousiana coast. I have been thinking about those who will be impacted. One of the widespread problems likely will be power outages. When it covers a huge area, it can last for days.

Which brings me to today's recipe. It's a vegetable chili made from canned ingredients. Now I am totally in favor of fresh foods. And most of us use frozen vegetables to some extent. But canned vegetables have lowly status for many of us. But take a minute and think about it. If you are buying fresh produce, out of season, it may have been shipped thousands of miles to get to your grocery shelf. (Grapes from Chile? Peppers from Mexico? Blueberries from Canada? These foods have traveled more than I have.) So it may not be as fresh as you think. Frozen fruits and vegetables are a good choice as these items are prepped and frozen soon after picking. They will keep in your freezer for months. But our lowly canned vegetables can last for years in your pantry.


Canned foods are good for an emergency stash even if you are not a fan in general. Most canned vegetables will last beyond the date on the can. Google for specific information. The big exception is canned tomatoes. Because of their high acidity. you need to be mindful of the date and use them up accordingly. In fact, good management is good for all groceries. Unpack your groceries and put them away like the stock boy at the market. Put the new items toward the back of the shelf, pulling the older items forward. That's a good habit to acquire. 

If this truly is for your emergency stash, make sure you have a manual can opener. That electric can opener is not going to help you if the power is out. 


Are canned vegetables healthy? Canned vegetable count toward your daily servings of vegetables. They go from field to can while the vegetables are still fresh and full of nutrients. Do they have as many nutrients as you'd get from grocery store fresh vegetables? It depends. The "fresh" tomatoes may have been picked a long time before you buy and use them, losing nutrients as they travel across the country. One big concern is that canned foods are high in sodium. Look for salt free or low sodium items. READ YOUR LABELS. Some cans of beans contain nothing but beans and water and maybe salt. Others have additives to maintain color, etc. But canned vegetables/fruits still can be a better choice than those highly processed "food like substances" or bought fast food. But let's not get crazy from thinking about this. 

We are all suffering from decision fatigue right now. All I'm saying is it's not a bad idea to have a recipe or two or three that can be prepared with ingredients from your pantry shelf. This can be your backup plan if something happens to keep you from going to the store. (Like a pandemic quarantine?) And there are some tasty options. I like to keep an assortment of beans, peas, tomatoes and tomato sauce on hand. And there is almost always 100% juice packed pineapple—chunks, tidbits, and crushed—in the pantry. Canned pumpkin puree is another staple. 


I have been following one of the new WW (formerly known as Weight Watchers) plans since the quarantine started. I am not new to WW. This is yet one more time for me. It's one good option to keep track of what and how much you are eating. Makes me pay attention to what I put in my mouth. This recipe started with a WW recipe I found online. A couple of adjustments made it mine. Years ago I often did a much simpler version of this—three cans (corn, kidney beans, diced tomatoes) and a teaspoon of chili powder. This one has a little more flavor to it. And it's still as easy.


VEGETABLE CHILI

2 teaspoon olive oil
1 clove garlic, minced (I used 1 teaspoon from a jar)
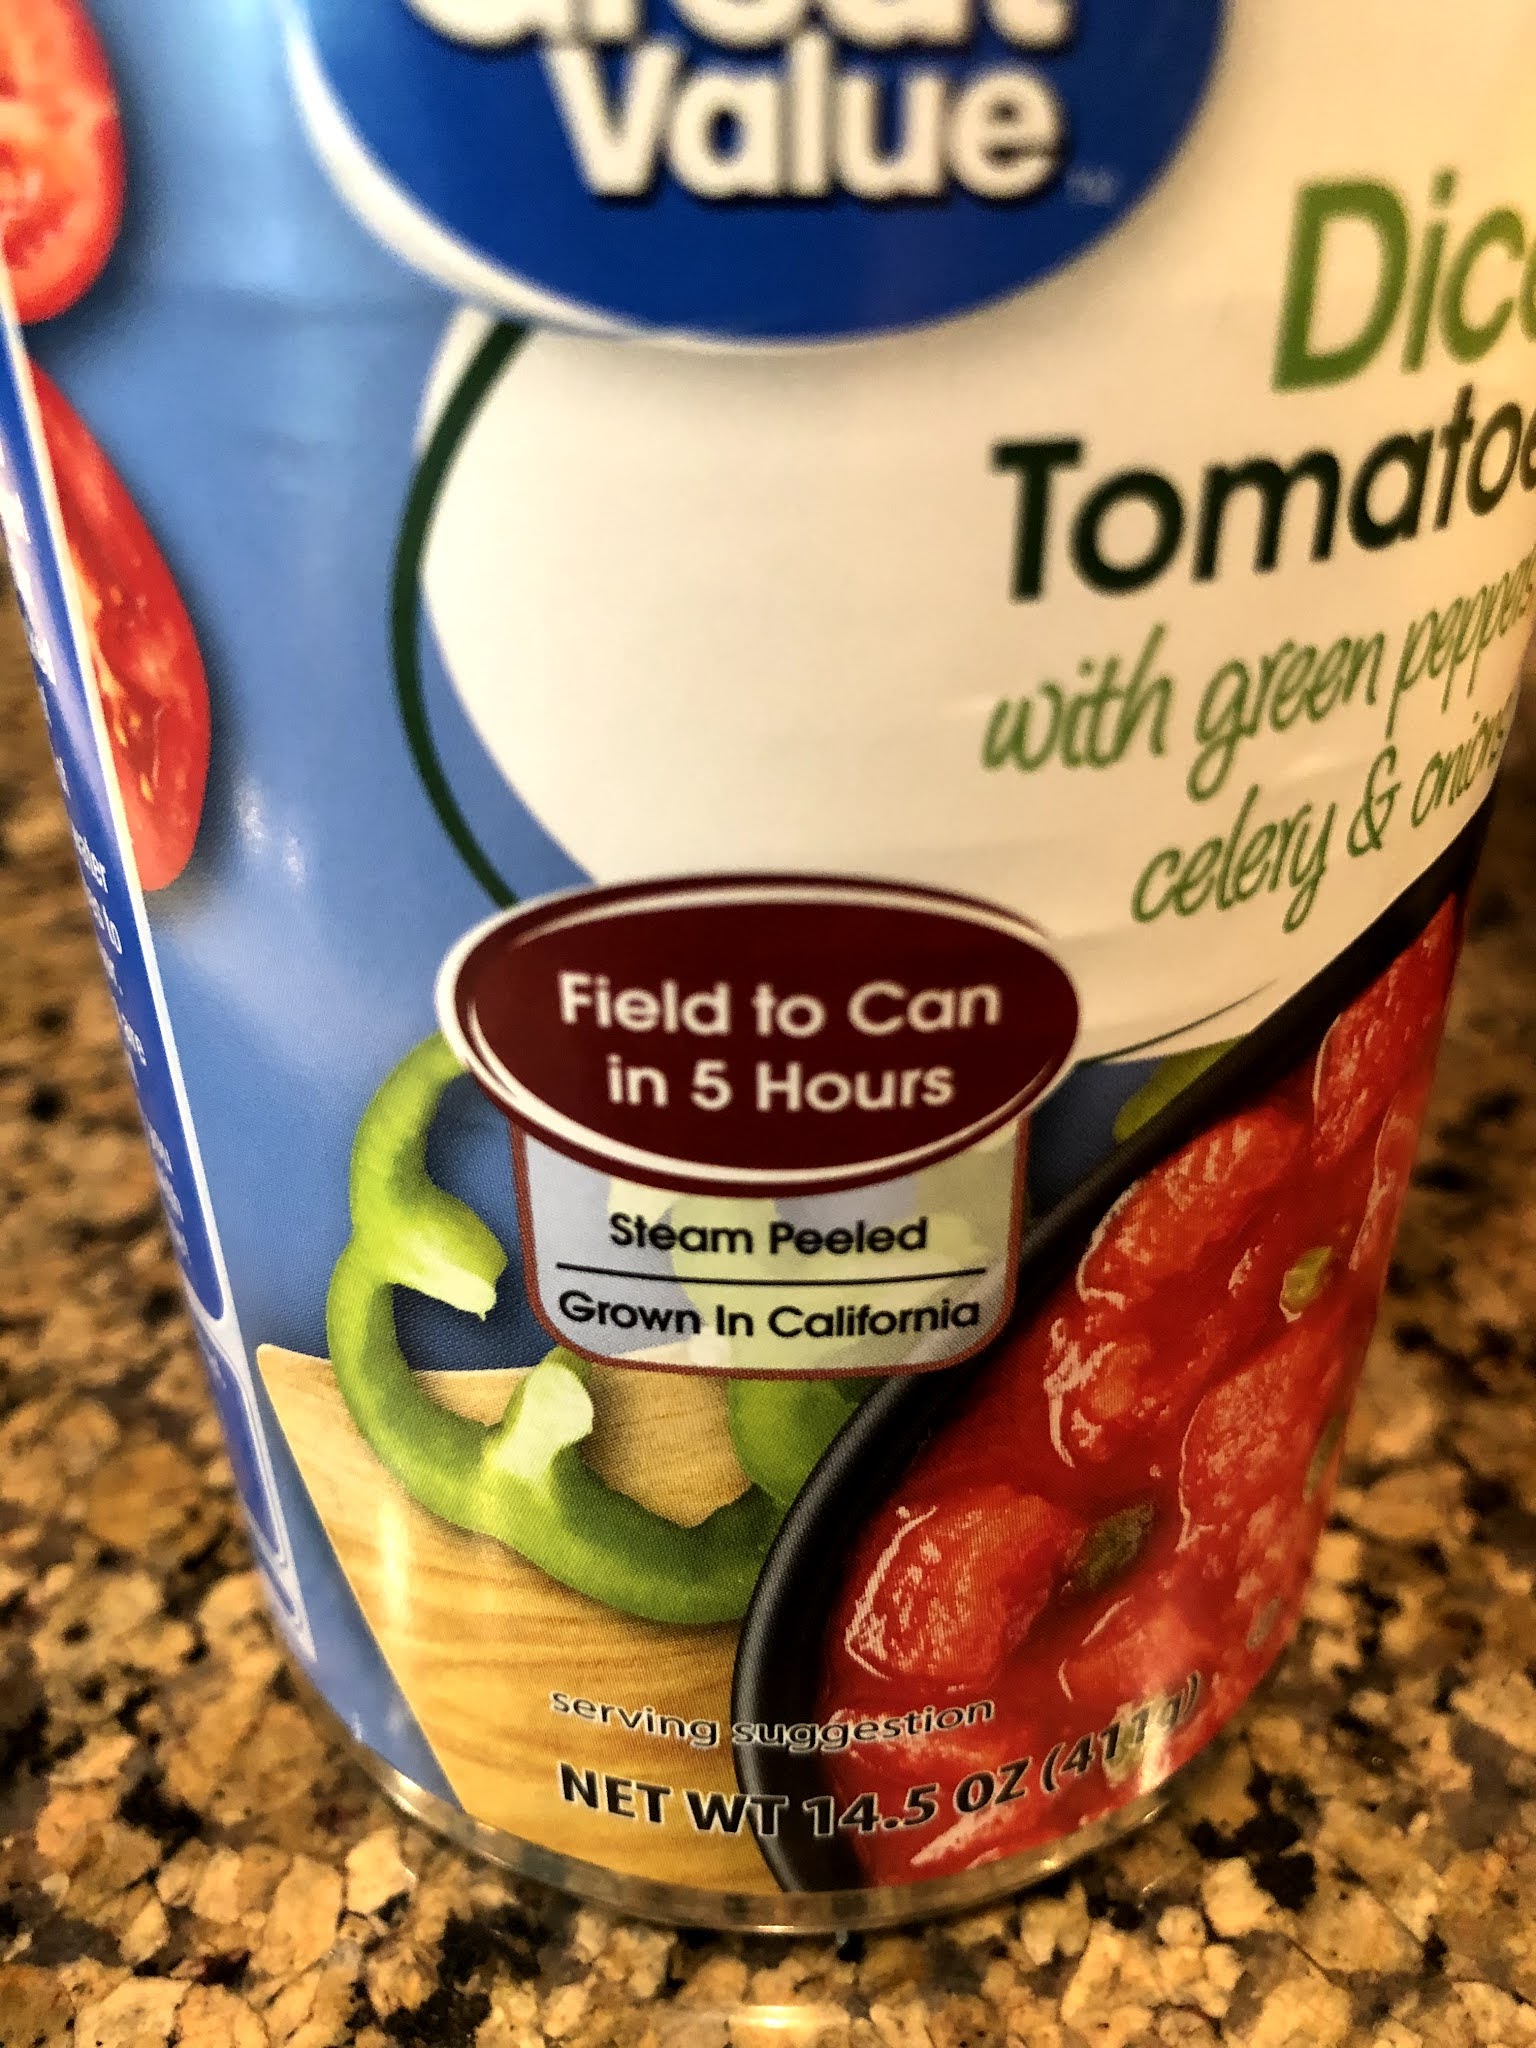
1 (15-oz) can diced tomatoes (mine had green peppers, celery & onions)
1 (15-oz) can light kidney beans, drained and rinsed
1 (15-oz) can whole kernel corn, yellow or white, drained
1 (15-oz) can no-salt tomato sauce 
1/2 cup water
1 tablespoon chili powder
1/2 teaspoon dried oregano
1/2 teaspoon crushed red pepper flakes (adjust to your desired level of hot)
1/4 teaspoon dried minced onion flakes
1/4 teaspoon black pepper

Heat oil in a large saucepan. Add garlic and cook, stirring frequently, about 1 minute being careful not to burn. Stir in remaining ingredients. (It's helpful to measure the spices before you start.) Bring chili to a boil and let simmer 5-10 minutes to let flavors blend. 

Can serve topped with cheese, or over brown rice or a baked potato. 


I made this to have my lunches decided for the next several days. (Did I mention decision fatigue?) This was so much better the next day. So making it ahead would be a good thing. 

Here are some other "mostly made from cans" recipes that my friends and I have made over the years. Carol's Taco Soup even adds canned chicken. And it's yummy! And Missy's Santa Fe Soup has ground beef and onion, but then it's canned vegetables. You will notice the flavor profile of all of these are similar. It's a good things these are flavors I like. This marinated vegetable salad call for celery, onion and green pepper, but it's still mostly canned vegetables. And the recipe for Spiced Fruit Compote has been in our family for so long that I've forgotten where it started. These canned fruits are spiced up and make a tasty side dish. It's good for the novice cook who needs to take a dish to add to the table.  


Tuesday, August 4, 2020

Just Cook It


2020. We are halfway through this very strange year. I've kind of forgotten what "normal" was like. (Is there actually such a thing as "normal"?) The last weeks and months we've all made adjustments. We've given up things. Some have had devastating losses. We have not. But still, it's been hard...not seeing grandchildren, not having dinner with friends, not planning trips and on and on and on. Other things have almost been a relief to jettison. I pretty much have given up makeup except for an occasional swipe of mascara. Schedules are (mostly) a thing of the past. 

While I have not counted consecutive meals I've cooked (like some of you do,) you know it's a lot. Months and months of meals. I've given up measuring ingredients much of the time. (If you are baking, do not do this.) Doing things differently keeps me from going bonkers. I've been "just cooking." Since I tend to stick to uncomplicated meals, that isn't the hardest thing to do. 

So last week on the same day that Daddy-O plunked down bucket #3 of grape tomatoes, a good friend posted Instagram photos of her supper. Pasta with grape tomatoes. I took that as a sign. I needed to make what she did. Except she told me the recipe came from a brand new magazine that I didn't have. Too new to find the recipe online. 

By 5:30 I realized if I didn't do something quick, there would be no dinner on the table. So I decided to make a wild stab at copying Missy's supper based on the photo. And it was delicious.


There was no actual recipe but in the interest of making this again, I'm writing down what I did (as best I can remember.) I'm making good guesses at amounts because like I said, I didn't measure anything. Feel free to do your own guesswork. 

GRAPE TOMATOES & PASTA (serves 2 to 3)

1/4 cup olive oil
2 cloves garlic, minced
3 cups grape tomatoes
1/4 cup fresh basil leaves, cut in thin strips
salt & pepper to taste
pinch of sugar (optional)
3 tablespoon fresh grated parmesan 
1 tablespoon balsamic vinegar
fresh mozzarella pearls
8 oz whole wheat thin spaghetti

Heat oil in a large skillet to low. Add garlic, stir and cook about 2 minutes, being careful not to burn it. Add whole grape tomatoes. Cook over medium heat about 5 minutes until tomatoes begin to soften. Break up some of the tomatoes. (I used a potato masher to mash up some of the tomatoes—maybe half of them. This releases juices that will help make a sauce.) Season with salt and pepper, add a pinch of sugar if tomatoes are very acidic. Stir in basil.

Cover and let simmer 10-15 minutes until the tomatoes are soft. Grate fresh parmesan over the sauce. Add balsamic vinegar. Stir to combine.

While sauce is simmering, cook spaghetti to al dente. Using tongs lift cooked spaghetti straight into the sauce. (Save a little pasta cooking water and add a spoonful or two to thin sauce if you need to.) Remove skillet from heat. Toss cooked spaghetti with tomato sauce. Poke mozzarella pearls down into the pasta. Cover and let sit a few minutes to let mozzarella melt.

Top with more Parmesan and garnish with basil. Serve.


Cattle farmer Daddy-O really liked this supper. Even though it had no meat, he kept saying, "This is really good!" Since the tomatoes are still coming in fast and furious and there is plenty of basil in the garden, I need to make this again soon. Might as well use up the other half of that box of spaghetti!

For the record, Missy sent me the recipe she used a couple of days later. My version was remarkably like hers. I mean—look at the photo. You can see what's in the dish. You know that olive oil, garlic, salt & pepper are basics. And parmesan is in most pasta dishes. I had mozzarella pearls that needed to be used, so in they went. All ingredients except the pasta could be eaten without cooking at all, so you could cook it more or cook it less. Any way you do it, it's not going to hurt you. There is no required doneness level for safety. That's pretty much all you need to know. Go for it.

Now for a question...is there one silly thing you've missed during this stay-at-home time? For me, it's been people watching. We live out in the country between a small town and a smaller town. In a normal time we don't see lots of folks, but now I find myself craving people. I seriously have found myself a few times driving around after I've picked up my grocery order looking for people. Any people. People walking to their cars in a parking lot. People going into the drug store. People walking their dog. And it makes me feel a little better. What about you?


Monday, August 6, 2018

Baked Bowties w/Tomatoes, Spinach & Mozzarella

Baked Bowties w/Tomatoes, Spinach & Mozzarella

Here is a recipe that I've posted before, but it's been ages since I made it. Maybe you've forgotten about this one, too. Or, maybe you've never see it if you are new here.

It was our dinner on the first night of Mimi Camp. Mommy brought the girls to the farm and they arrived just as this was coming out of the oven. Both little girls ate heartily. Maybe it was because they were excited about camp. But they must have also loved the pasta because they had seconds. When we finished the meal, we made an official declaration that "Mimi Camp has begun."

This recipe is great for serving to your vegetarian friends. Or, for the nights you want a meatless meal. I won't wait so long before I make it again.


BAKED BOWTIES with TOMATOES, SPINACH & MOZZERALLA

3 cups uncooked bowtie pasta*
1 can (14.5 oz.) diced tomatoes, undrained 
2 cups Alfredo pasta sauce (I used a 15-oz refrigerated Buitoni sauce)
1 cup shredded mozzarella cheese 
2 handfuls baby spinach

Heat oven to 350 degrees. Spray a 2-quart baking dish with PAM. Cook and drain pasta as directed on package.

Meanwhile, in a saucepan, heat tomatoes to boiling. Reduce heat to medium and cook uncovered for  6 to 8 minutes, stirring occasionally, until liquid is nearly evaporated. Stir in spinach just to wilt it.

Put Alfredo sauce into a microwave-safe bowl and heat for about 90-seconds to heat. Stir in shredded cheese. Heat another 30-seconds and stir until cheese melts. (Mine usually is not totally melted.) Mix in tomato-spinach mixture. 

Put pasta in the baking dish and pour sauce over it. Stir gently to mix it all. 

Bake uncovered, about 30 minutes, or until hot in center.


*Make note this does not take a whole box of pasta—if your box is 16 oz. 

Mommy makes this at home and says she adds more spinach to hers. And she coarsely chops the spinach, too.


Tuesday, August 30, 2016

Feeding The Farmer


More than once I've been asked "What do you do on the farm?" And my standard reply is, "I feed the farmer." No, I don't drive a tractor. I don't help fix fences. I have manned the gate in the cattle pen when Daddy-O was cutting cows, but that was ages ago. There are many women, including some of our neighbors, who are handy with the farm equipment. I'm just not one of them.

So I thought before I lost the right to say I feed the farmer (and my place on the farm,) I'd better get something on the table. I was gone for nearly two weeks. Then he was busy all weekend helping with the 4H livestock show. The kitchen here has been "resting." It was time to crank up the oven again.

This is a favorite pasta dish that we haven't had in a while. Sometimes I look back through the recipe index on my blog and find recipes that have slipped out of the regular rotation. This one's back to stay.


BAKED BOWTIES with TOMATOES AND MOZZERALLA

3 cups (9 oz.)  uncooked bowtie or penne pasta (measure--don't use more than it says)
1 can (14.5 oz.) diced tomatoes, undrained (with basil, garlic & oregano this time)
2 cups Alfredo pasta sauce (I used Classico Four Cheese)
1 cup shredded mozzarella cheese 
2 handfuls baby spinach

Heat oven to 350 degrees. Spray a 2-quart baking dish with PAM. Cook and drain pasta as directed on package.

Meanwhile, in a small saucepan, heat tomatoes to boiling. Reduce heat to medium and cook uncovered for  6 to 8 minutes, stirring occasionally, until liquid is partially evaporated.

Put Alfredo sauce into a microwave-safe bowl and heat for about 90-seconds. Stir in shredded cheese. Heat another 30-seconds and stir until cheese melts. 

Stir in spinach into hot tomatoes just to wilt it and then mix the tomato-spinach mixture into the alfredo sauce.

Put pasta in the baking dish and pour sauce over it. Stir gently to mix it all.

Bake uncovered, about 30 minutes, or until hot in center.


This is an all-time favorite for supper. It's also a great dish to take to someone. It's a simple dish. No strong flavors. It falls in the comfort food category. I have taken it baked and ready to eat. And I have taken it ready for them to bake, so that it's hot when they want to eat. Take this, along with a salad and maybe a dessert and they'll love you forever. 

It still makes me smile when I remember a friend who stopped me at church a couple of weeks after I had dropped this meal off at their house after he'd had been sick. He gave me a hug and told me, "If I wasn't already married, I'd marry you!" He was totally teasing me (his grandchildren are the age of my daughters,) but I'm pretty sure he liked the pasta.


Wednesday, February 24, 2016

Roasted Red Pepper Tomato Soup

Roasted Red Pepper Tomato Soup

I saw this recipe on laaloosh.com a few weeks ago and immediately printed out the recipe and bought the couple of ingredients that I didn't have on hand. Then the cans of tomatoes sat on top of the printed recipe on the kitchen counter for longer than I planned.

But the fact that I had put the ingredients and the recipe together meant that I didn't forget to try this soup. Daddy-O walked through the kitchen as I was making this and commented that I was going to a lot of trouble to make supper. But it wasn't "trouble." I did chop the onions and carrots, but the rest was just stirred together. Maybe it's a good thing he thinks I worked really hard cooking supper. Shhhh! Let's not tell him any different.


I am still loving the Le Crueset Dutch oven I got for Christmas and was glad to have another new recipe to make in it. Daddy-O looked at the soup at this point and volunteered to eat the leftovers for supper. I told him that he gave me this wonderful pot and now he was going to have lots of soups to try. His reply? "You know, you CAN make other things in that pot. Like roasts. Pasta." Point taken. Before the week is over, I'll let him pick a recipe.


But when the soup was done, he liked it. He told me he thought I was making plain ol' vegetable soup (which I love) with chunks of vegetables in it. (Vegetable soup is not his favorite.) When he saw that it was a thick creamy tomato soup, all was good in his world again. He went back for seconds.

Add a grilled cheese sandwich on the side and tell your family supper's ready.

ROASTED RED PEPPER TOMATO SOUP

3 tablespoons olive oil
2 medium onions, chopped
2 medium carrots, peeled and chopped
3 cloves of garlic, minced (or 1-1/2 tsp of jarred minced garlic)
2 (32-oz) cans diced tomatoes
1 (6-oz) can tomato paste
1 (15-oz) jar roasted red peppers, drained (my jar was 12-oz)
2 tablespoons dried basil
3 cups low-sodium chicken broth
1 teaspoon salt
1/2 teaspoon freshly ground black pepper
3/4 cups sour cream (I used light sour cream)

In a large stock pot (mine was 5.5 qts) heat the olive oil over medium heat. Saute the onions and carrots for 8-10 minutes, until the carrots are tender. Add the garlic and cook for one more minute. Stir in the tomatoes (with juice), tomato paste, red peppers, basil, broth, salt and pepper.

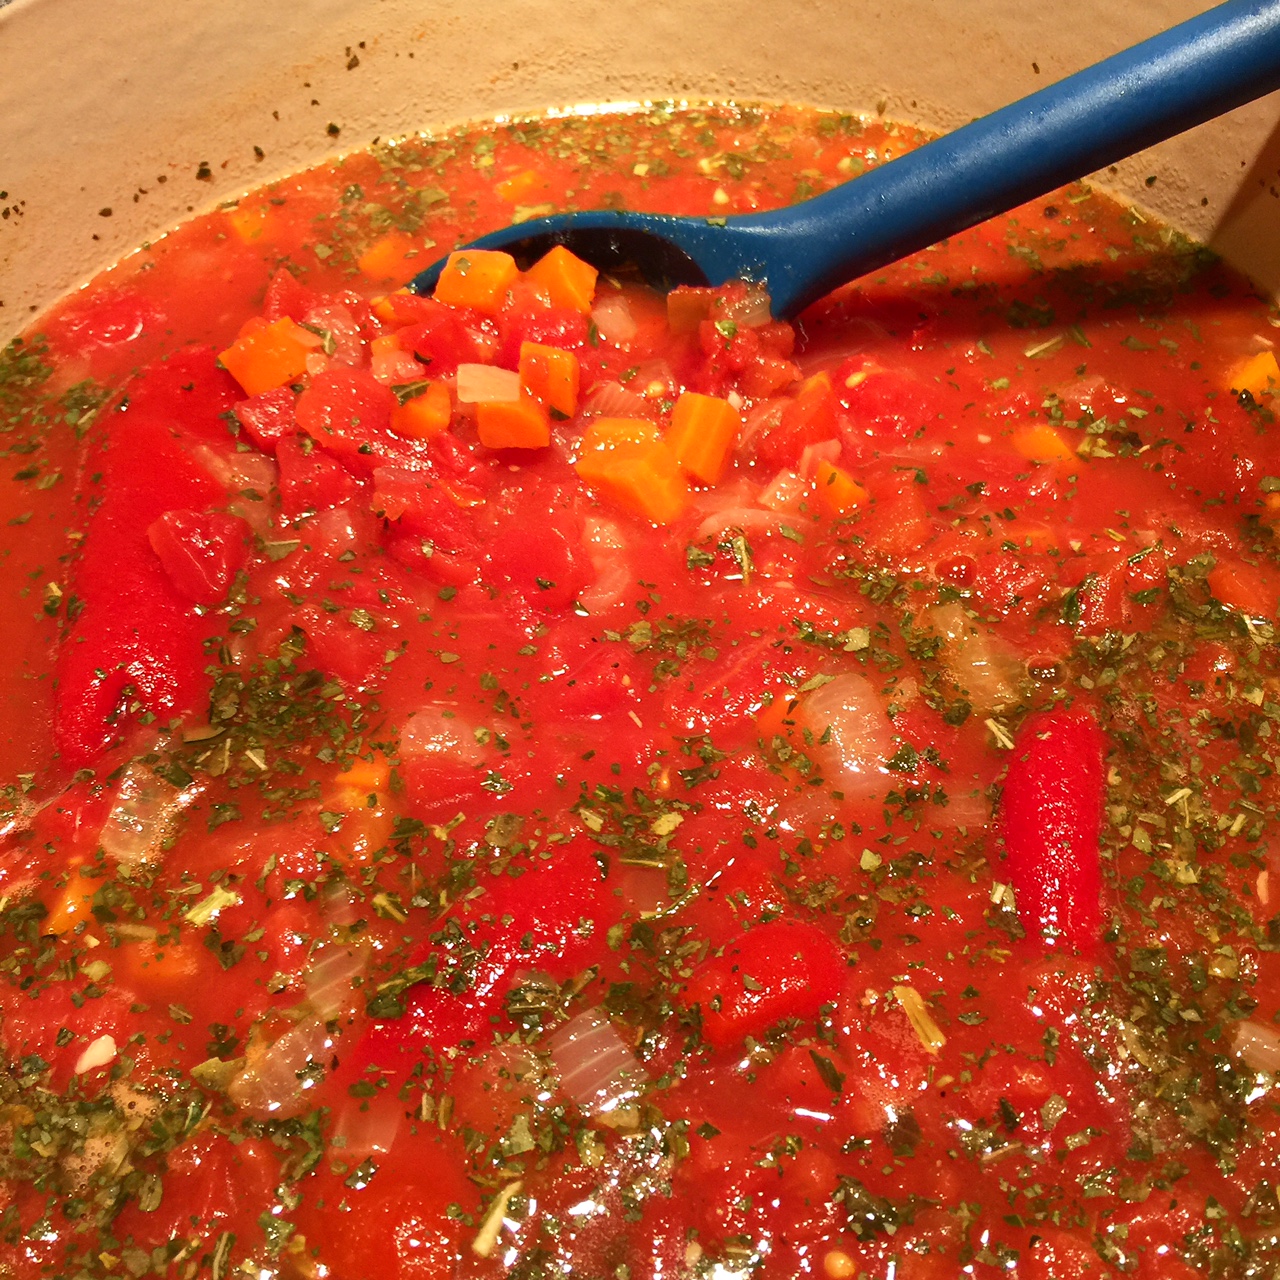
Bring soup to a boil, then lower heat and simmer, covered, 20-30 minutes, stirring occasionally. Remove soup from heat and stir in sour cream. Using an immersion blender, puree soup. (Or, puree in small batches in a blender.) Taste and adjust seasoning.

Serves 8  

Laa Loosh says this soup freezes well. I'll find out because some of this is already in my freezer.


If you make a few soups that need to be blended and don't own an immersion blender, you might think about adding one to your wish list. It is so much easier than transferring a hot soup in small batches to a blender. I gave one to Mommy for Christmas and when she made her tomato soup recipe, she said, "Oh my. This is much easier to make than before." 


If you are counting points for Weight Watchers, Laa Loosh says a serving of about 2 cups is 4 Smart Points if you use light sour cream. But trust me, this does not taste like a "diet" recipe.


Tuesday, July 21, 2015

Last Of The Summer Squash

Baked Ziti with Summer Vegetables

Did any of you ever watch Last Of The Summer Wine? It was a wildly popular sitcom on BBC, lasting 27 years if my math is right. We used to watch it every Saturday night on our PBS station. Tonight I thought about that show as I cooked the "last of the summer squash." (Doesn't quite have the same ring as "last of the summer wine," does it?) The last of the yellow squash. The last of the zucchini. Both of these vegetables are readily available at the grocery store, but this was the last from our garden.

I have been hanging on to this recipe for a few weeks now. And last night I knew if I didn't make it right then, I would have missed my chance if I wanted to use our garden produce. I found the original recipe online from Cooking Light.

Well, mine isn't quite as "light" as the original but I think it still qualifies as healthy. I upped the amount of pasta and cheese—but only a little. I just knew that Daddy-O would be happier with a little more of the good stuff.

I did ask him if I had sufficiently hidden the yellow squash. He really doesn't like yellow squash. He said he could still see it. I meant could he taste it. When he went back for a big second helping, I knew I had succeeded. He did suggest that it might be even better with some crumbled bacon added to it. I won't argue with that. Maybe next time.


This is such a lovely light pasta dish. Very unlike the heavier meaty pasta recipe I posted yesterday. (Which is also wonderful.) We will for sure make this one again. Even if I buy the vegetables at the store.

BAKED ZITI WITH SUMMER VEGETABLES

5 oz. uncooked ziti (that's about 2 cups)

1 tablespoon olive oil
2 cups chopped yellow squash
1 cup chopped zucchini
1/2 cup chopped onion

2 cups chopped tomato
1 teaspoon jarred minced garlic

1 cup shredded mozzarella cheese, divided
2 tablespoons chopped fresh basil
2 teaspoons chopped fresh oregano
3/4 teaspoon salt, divided
1/4 teaspoon freshly ground black pepper

1/2 cup ricotta cheese
1 large egg, lightly beaten

Cook pasta according to package directions. Drain.
Preheat oven to 400 degrees.
Saute squash, zucchini, and onion in olive oil for 5 minutes. Add tomato and garlic and saute 3 minutes more.
Remove from heat and stir in pasta, 1/2 cup mozzarella, basil and oregano, 1/2 tsp, salt and pepper.
Combine ricotta, egg and 1/4 tsp. salt. Stir into pasta mixture.
Spoon into 9x9-inch baking dish which has been sprayed with PAM. Top with remaining 1/2 cup mozzarella.
Bake at 400 degrees for 15 minutes, or until bubbly and brown.

Makes 4 servings.


We only had fresh cantaloupe (also from our garden) on the side. It was a perfect light summer supper.

I used Ronzoni Ziti No. 2 pasta. I did weigh my pasta and then measured it so that I could give you the amount in cups. I know not everyone has a scale. I have found a kitchen scale is a tool that I use often.

I had a couple of garden tomatoes, but I used grape tomatoes from the store this time. They were so easy to cut into quarters. I'm saving the big tomatoes for BLTs today.

I really think fresh herbs are the way to go in this recipe. And I was able to find them at the grocery store in my very small town. So you likely can find some, too. But if you don't have fresh herbs, the rule of thumb is 1 tablespoon of fresh herbs = 1 teaspoon dried herbs. (There are 3 teaspoon in 1 tablespoon.)


Thursday, February 26, 2015

Make Mine Meatless

 Black Bean Butternut Squash Chili

You have seen what kind of cooking has been going on in my kitchen for the past couple of weeks—steaks, potato pancakes, apple cake, and brownies. I was so ready for healthy food. And it was COLD yesterday! We needed a stew or chili.

So what do you fix that's healthy and hearty and warming? Instead of browsing the internet for recipes, I looked back through my own recipe index. This meatless chili was just what I wanted to make. It's easy to put together and it makes enough to feed us a couple of times. And maybe a little will go into the freezer for later.

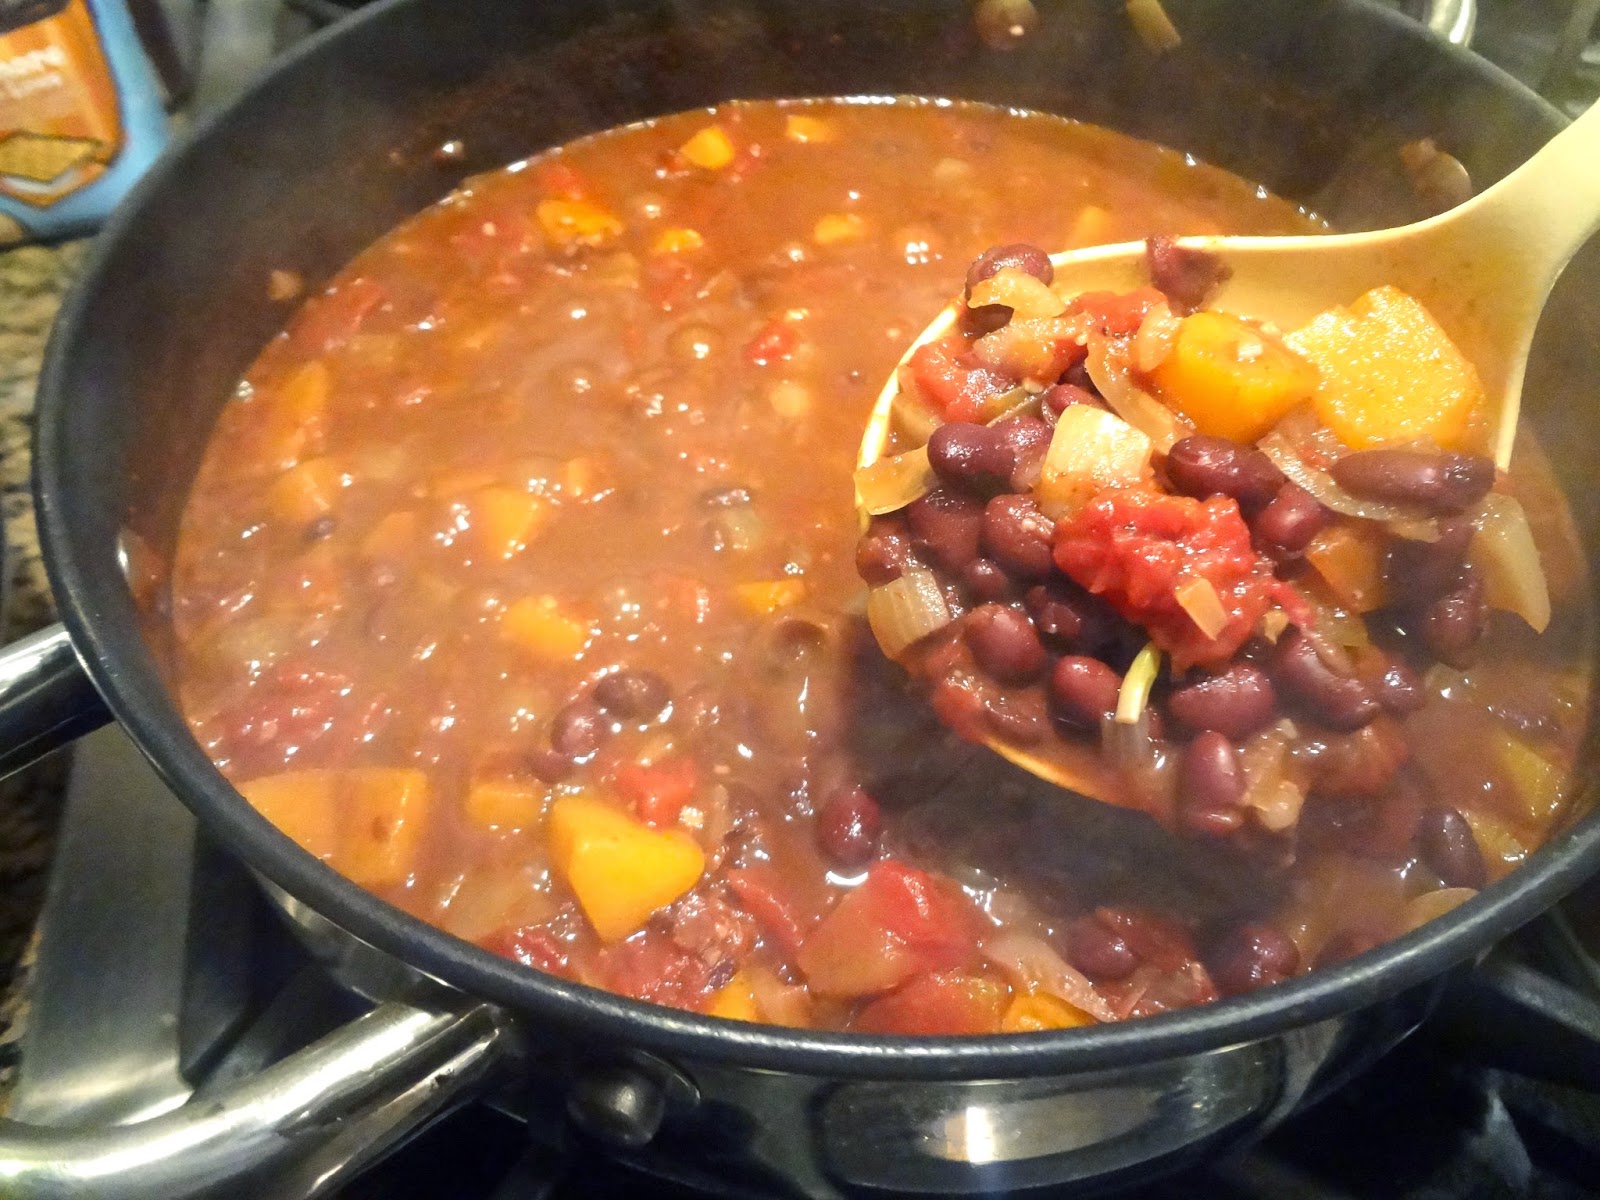
Trust me. This recipe is good. Daddy-O, "mister meat-and-potatoes", had seconds. He likes this chili. It is an odd combination of ingredients that really work. The cocoa and cinnamon give it a smoky aroma and a rich taste. 


BLACK BEAN BUTTERNUT SQUASH CHILI

1 medium red onion, chopped
2 (14-oz.) cans diced tomatoes (one can had green peppers & onion)
2 (15.5-oz.) cans black beans (do not drain)
2 cups cubed butternut squash (1 small squash)
4 garlic cloves, minced (or 2 tsp of jarred minced garlic)
1 tablespoon chili powder
1 tablespoon ground cumin
2 teaspoons unsweetened cocoa powder
1/4 teaspoon cinnamon
1 cup water

Combine all ingredients in large pot. Bring to a boil. Lower heat, cover and simmer for 60-90 minutes, stirring occasionally. (You can also use your slow cooker  and cook on HIGH for 3-4 hours.)

      Optional toppings: crushed tortilla chips, shredded cheese, sour cream


If I had the option to buy fresh cubed butternut squash like some of you do, this would be the easiest recipe ever. But even though I had to peel and cube the squash and dice the onion, it was cooking in just a few minutes.

It just dawned on me—this recipe would be so easy to cut in half. We have a lot left. Not a bad thing, but sometimes you don't want leftovers. Or, maybe you are a household of one. Everything in this recipe can be divided by 2. Recipes don't always work out that way. (So, you might have a half an onion left—not a big deal.)


We had expected to wake up to a few inches of snow this morning. The governor even declared a state of emergency early yesterday in anticipation of the coming storm. Schools announced closings. Much extra news coverage last night. But the "big event" just didn't happen. I'm glad I'm not the weatherman this morning.

Monday, May 5, 2014

Caps And Cooking


During my extended stay here in the midwest, I did find minutes here and there to knit. For me that's a soothing activity when things get crazy. And things here did get crazy. There is a wonderful yarn shop just minutes away from Mommy's house, and I found friends there to visit with when I could slip away for a bit. It was nice to be so far from home and walk into this shop and be greeted with the words, "How's the baby?"  That made me feel not so far from home.

I knitted caps for Baby Girl and caps for Jessica's friends and co-workers. It was a chance to try lots of different yarns and needle sizes and to try a new ribbed hat pattern. My favorite yarn for these little caps was discontinued a couple of years ago. After working with Lorna's Lace Sock, Bamtastic, Spud & Cloe Sock, I think my new favorite is Rowan Wool Cotton. It was nice to have Baby Girl to model these assorted little newborn caps. I love making a cap because it's such a quick knit and new baby things are just cute.


Here is another recipe I made while Mommy was in the hospital. I was looking for fast and easy. It's a recipe from my home economist days. When I made this originally, it was a crustless and cooked in the microwave. I taught many microwave cooking classes when the microwave was a brand new appliance.

Now I make it in a pie shell and bake it in the oven. I am trying to get some of these recipes I like that are only in my head written down here, so that my girls can know how I do things.


For this quiche I used broccoli and onion—because that is what I found in Mommy's refrigerator. But you could use other vegetables. Or, you could do a ham, onion, cheese version. Or, add some crumbled bacon to this broccoli version. Change the cheese to match the other ingredients. Just use your imagination. Or, use up your leftovers! Precooking the vegetables is a good idea, too. Next time, I would saute the chopped onion.


I will be honest. I didn't really measure the vegetable part or the cheese. Just use enough to fill the pie shell. But the milk/egg mix is always the same. That's the part I can always remember—4 eggs and a "tall can of milk." That's what my mother called a 12-oz can of evaporated milk. It's the temperature and cooking time I needed to write down for future use.


EASY QUICHE

You can use meat and vegetable fillings of your choice, but here is roughly what I did. The critical part is the "custard" (the milk & egg part)—that stays the same regardless of the meat and/or vegetables you use.

1 9-inch deep dish frozen pie shell
4 eggs, lightly beaten
1 12-oz can evaporated milk
1/2 teaspoon salt (or to taste)
black pepper to taste

Here is what I used this time--the part I didn't measure:
1 crown fresh broccoli, steamed and chopped
1/2 cup chopped onion
1-2 cups shredded cheddar cheese

Preheat oven to 375 degrees. 
Add vegetables to the pie shell. Sprinkle cheese over. Whisk together eggs, milk, salt and pepper. Pour into pie shell over vegetables. 
Place filled pie shell on a cookie sheet and place on center rack in oven. (Put a sheet of foil under pie shell for easy clean up.) 
Bake for 40-45 minutes, until "custard" is set and top is golden brown.


While I doubt that Little Sister would ever say this was her favorite (although at Sunday School yesterday she told the teacher that her favorite food was carrots—NOT!) she did eat it and seemed to enjoy it. I always think that if a three-year-old will eat something, it will usually be liked by most other folks.


Friday, January 10, 2014

Soup, Glorious Soup


"This is quite edible." We've been married for 34 years. This is the highest praise any of my soups has ever received. Daddy-O said he this was his favorite soup ever. (Daddy-O is a meat and potatoes kind of guy, who doesn't particularly care for soup.)

Now, get ready for this—it was CAULIFLOWER soup! And I'll agree, it was really, really good. I've had the recipe lying on the kitchen counter for a couple of weeks. I bought the head of cauliflower several days ago. But I just couldn't bring myself to actually make it. Until last night. We had lunch yesterday at our favorite local restaurant. Meatloaf and smashed potatoes was the special. They make really good meatloaf.

So, to balance that delicious but filling lunch, I told Daddy-O that I was going to try the cauliflower soup for supper. He just looked at me. I think he figured I'd put it off again. But since I didn't have another plan, I pulled out the cauliflower, a carrot and a rib of celery. It's a soup that takes a little work, but none of it is hard. Takes about 30 minutes from start to finish. It's rich and creamy, filled with healthy vegetables. It makes a big pot full. I'll have it for lunch today, but there will still be some left. I will put that in the freezer and see what happens. If it's a freezable soup, this really will be a super (pardon the pun) recipe!

CAULIFLOWER SOUP
          ... adapted from Taste Of Home

1 medium head cauliflower, broken into florets (I didn't use the thick stems)
1 medium carrot, shredded
1/4 cup chopped celery
2-1/2 cups water
1 chicken bouillon cube (or 2 tsp. instant bouillon)
3 tablespoons butter
3 tablespoons all-purpose flour
3/4 teaspoon salt
1/8 teaspoon black pepper
2 cups 2% milk
1 cup shredded sharp cheddar cheese
few drops of hot pepper sauce, or to taste (I used Texas Pete)


In a large saucepan, combine the cauliflower, carrot, celery, water and bouillon. Bring to a boil. Reduce heat; cover and simmer for 12-15 minutes, until vegetables are tender. Do not drain!

In another saucepan, melt butter. Stir in the flour, salt, and pepper until smooth. (I used a whisk.) Gradually add milk. Bring to a boil over medium heat. Cook and stir for 2 minutes or until thickened. Reduce heat and stir in cheese until melted. Add hot pepper sauce, if desired.

Stir the cheese sauce into the cauliflower mixture. (I used a potato masher and then mashed the cauliflower some, so that there weren't such big pieces. Make the texture suit you.)

Makes about 2 quarts


We garnished it with a little extra cheese. And Daddy-O thought a little crumbled bacon on top would have been nice, too.  Maybe next time.


Tuesday, October 8, 2013

The Years Move On


"I decided that I would take up aging 
as a form of art." 

I read these words in a paragraph quoted on Facebook this morning. Funny. I've been thinking similar thoughts for a few months now. I think it started when Jessica took me on a hike in the Ozarks. It was fun. But I barely survived. I could feel myself moving like an old person. I know I am a grandmother, but I figured I could do better. 

So as soon as I got home, I joined the gym, found a trainer and I go faithfully to workout whether I want to or not. (It's almost fun now.) The aging process is inevitable. Might as well do it as well I can. I need to tackle this just like I would any other project I take on—Learn all I can about my topic. Then, put it into action. There is always trial and error, but I'll make progress.


I'm trying harder in the kitchen, too. We have been making lots of green smoothies for the last year. But I'm looking for ways to add more vegetables to our diet. Shhhhh! Some nights around here are meatless ones. We're not ready to give up meat (we DO live on a cattle farm, remember?) but changing the proportion of meat and plants is something we can do.

Tonight I made Mason jar salads for the rest of the week. I've wanted to try these for a while. If you search the internet, you'll find many combinations to put in the jars. I just started with a very simple one. 


Here is the recipe from Skinnymomskitchen. I made it in pint-size jars because I didn't have any wide-mouth quart jars. I adjusted the ingredient amounts accordingly. I used 1 tablespoon of dressing per jar. A quart jar will yield a main dish salad. The pint jars make a generous side salad.

MASON JAR SALAD: FRESH MOZZARELLA, TOMATO & SPINACH

10 tablespoons balsamic vinegar dressing (I used Newmans Own brand)

1 quart grape tomatoes

10 ounces fresh mozzarella

2 cups dry whole grain pasta, cooked

10 cups baby spinach

5 quart size mason jars

Divide ingredients evenly in mason jars starting with dressing, then tomatoes, mozzarella, pasta, and ending with spinach. Place lid on jar and close tight. Shake jar to coat ingredients with dressing and pour into bowl to eat.

Jars will keep in the refrigerator for 5 days. (Because glass will keep things fresher than plastic containers.)

The trick here is to put the hard veggies in the bottom to keep the cheese, greens, etc. out of the dressing until ready to eat. I should have cut the cheese into larger pieces to keep it above the dressing. My small pieces fell between the tomatoes. I'll know for next time. 

Daddy-O came in late tonight from a meeting and ate his vegetable plate for supper. He needed a little more, so he ate one of the jar salads, too. He said it was really good. The big test will be how well they taste in a few days. The internet has declared them wonderful. I'll let you know.

That quote at the beginning? The very end of the quote was this: 
"When old people are strong, it inspires young people. Then they can look forward to becoming older, rather than fearing or being disgusted by age." —Gaea Yudron, from The Beauty of Aging.


I am thankful for my friends who are older than I am and who can still run rings around me. I want to be like them. I am thankful for my friends who chose to eat healthier than I often do. I want to be like them. And someday, I hope someone wants to be like me.