Wednesday, July 27, 2022

Not The Week We Were Expecting

Greek Pasta Salad

Daddy-O is under the weather. I am mostly staying out of his way, letting him snooze. Lack of appetite is one of his symptoms. But then his medicine says "Take after breakfast and dinner." As on a full stomach. 

This recipe popped up on my computer yesterday and I had all the ingredients here. I thought it would make a nice light dinner. I mixed it up while he napped. I'm happy to say he ate this for dinner.


This recipe is the only greek recipe I've ever seen that didn't include olives. I don't like olives. I wonder if the recipe developer doesn't like them either. The only good thing I can say about olives is that it's easy to leave them out—or in this case, add them in. 

Because it doesn't have a lot of other vegetables that would need to be peeled and chopped, this salad is very simple to make. The star of this recipe is the dressing––it's really good and really easy, so keep it in mind if you want homemade greek dressing for a green salad later. 

GREEK PASTA SALAD

1 (16-oz) box penne pasta (or other short cut variety such as rotini or bowtie)
2/3 cup olive oil
juice of 1 lemon, about 1/4 cup
1/2 cup mayonnaise
3 tablespoons Cavendar's seasoning, or other greek seasoning
1 (6-oz) container of crumbled feta cheese
1 cup grape tomatoes, halved
1/4 cup fresh basil slivers

Cook pasta. While it's cooking whisk together olive oil, lemon juice, mayonnaise and greek seasoning. When pasta is cooked, drain, rinse with cold water and pour into large bowl. Add dressing mixture, cheese, tomatoes and basil. Mix until combined. Cover and refrigerate overnight.  Will keep in refrigerator for 4-5 days.


When the mood strikes—or you have vegetables you need to use up– you can change this up by adding other vegetables. Red onion, artichoke hearts, red peppers, green peppers, cucumbers are all candidates. 
Or toss in some leftover cooked chicken  and make this a main dish. 

Note: Daddy-O got up this morning and made the coffee. That's a good sign!


Tuesday, July 19, 2022

Mimi Camp Has Come And Gone


Mimi Camp this year started as soon as we got home from the lake. And unlike all the other years it started without a plan because we had been busy with the family at the lake and with the lake renovations before that. But because we had skipped two Covid years we were determined to do something. This is just a peek at a few of the things we did. And we had two recipes worth sharing. 


I crawled into bed the first night home from the lake after tucking the girls into their beds and I laid there wondering what on earth we could do in the morning. And what was I going to put in ''the box." I was hoping they wouldn't remember that we usually start our camp day by opening the official Mimi Camp box to see the clues for the day's activity. (They remembered.) I couldn't even find the actual box but thankfully had an empty box with a lid that hadn't made it to the trash dump yet. 


Early that first morning I filled it with an assortment of fruits and vegetables from the fridge. Some were wilted and about to be tossed anyway. But they were a great for creating food art. They added herbs from the garden. The girls worked all afternoon making food paintings. We talked about different ways to see ordinary things.


I can't even begin to put the rest of the week in order, but there was fishing at the pond behind the house. And a picnic. On a blanket. On the ground. 


According to Baby Girl that's the definition of a real picnic. It has to be on a blanket on the ground. We came home with no fish but it was all great fun.


Another morning they found my gallon jar of buttons in the box along with an old flannel shirt that Daddy-O sacrificed to the cause. We cut off the sleeves and cut off the cuff button and learned to sew that button back on. I wanted them to be able to button it back up. Button sewing turned out to be the sleeper hit of the week. They kept sewing buttons. Both girls agreed the hardest part was tying the knot in the thread.


I thought we would have fun going through an old cookbook of mine that has a chapter of recipes for each decade from the 1930s to the 1970s. The plan was to find a recipe from each decade. We started off with a bang and made ice cream from the 1930s the first night. This is the 1930s recipe. 

PEPPERMINT ICE CREAM

2/3 cup sweetened condensed milk
1/2 cup water
1/2 teaspoon peppermint extract
3 drops red food coloring (I was out of red, so we used green)
1 cup whipping cream

Combine the condensed milk, water, extract and food coloring. Whip cream until thick and custard like and fold into the peppermint mixture. Pour mixture into a 3-cup refrigerator tray. Freeze until partially frozen. Break mixture into chunks into a chilled mixer bowl. Beat until smooth. Return to cold refrigerator tray. Freeze until firm. Makes 3 cups.


Since our ice cream had to be green, Baby Girl said, "Isn't it supposed to have chocolate chips in it?" So we added those. And Little Sister asked, "Why can't we use your little churn?"  I explained about refrigerator freezer desserts from way back. (My mother made a great frozen lemon dessert in a metal ice cube tray.) But then thought she might be on to something. So we skipped the "beat the cream" part and mixed it all together and poured into my countertop churn. 1930s meets 2022. Worked like a charm.


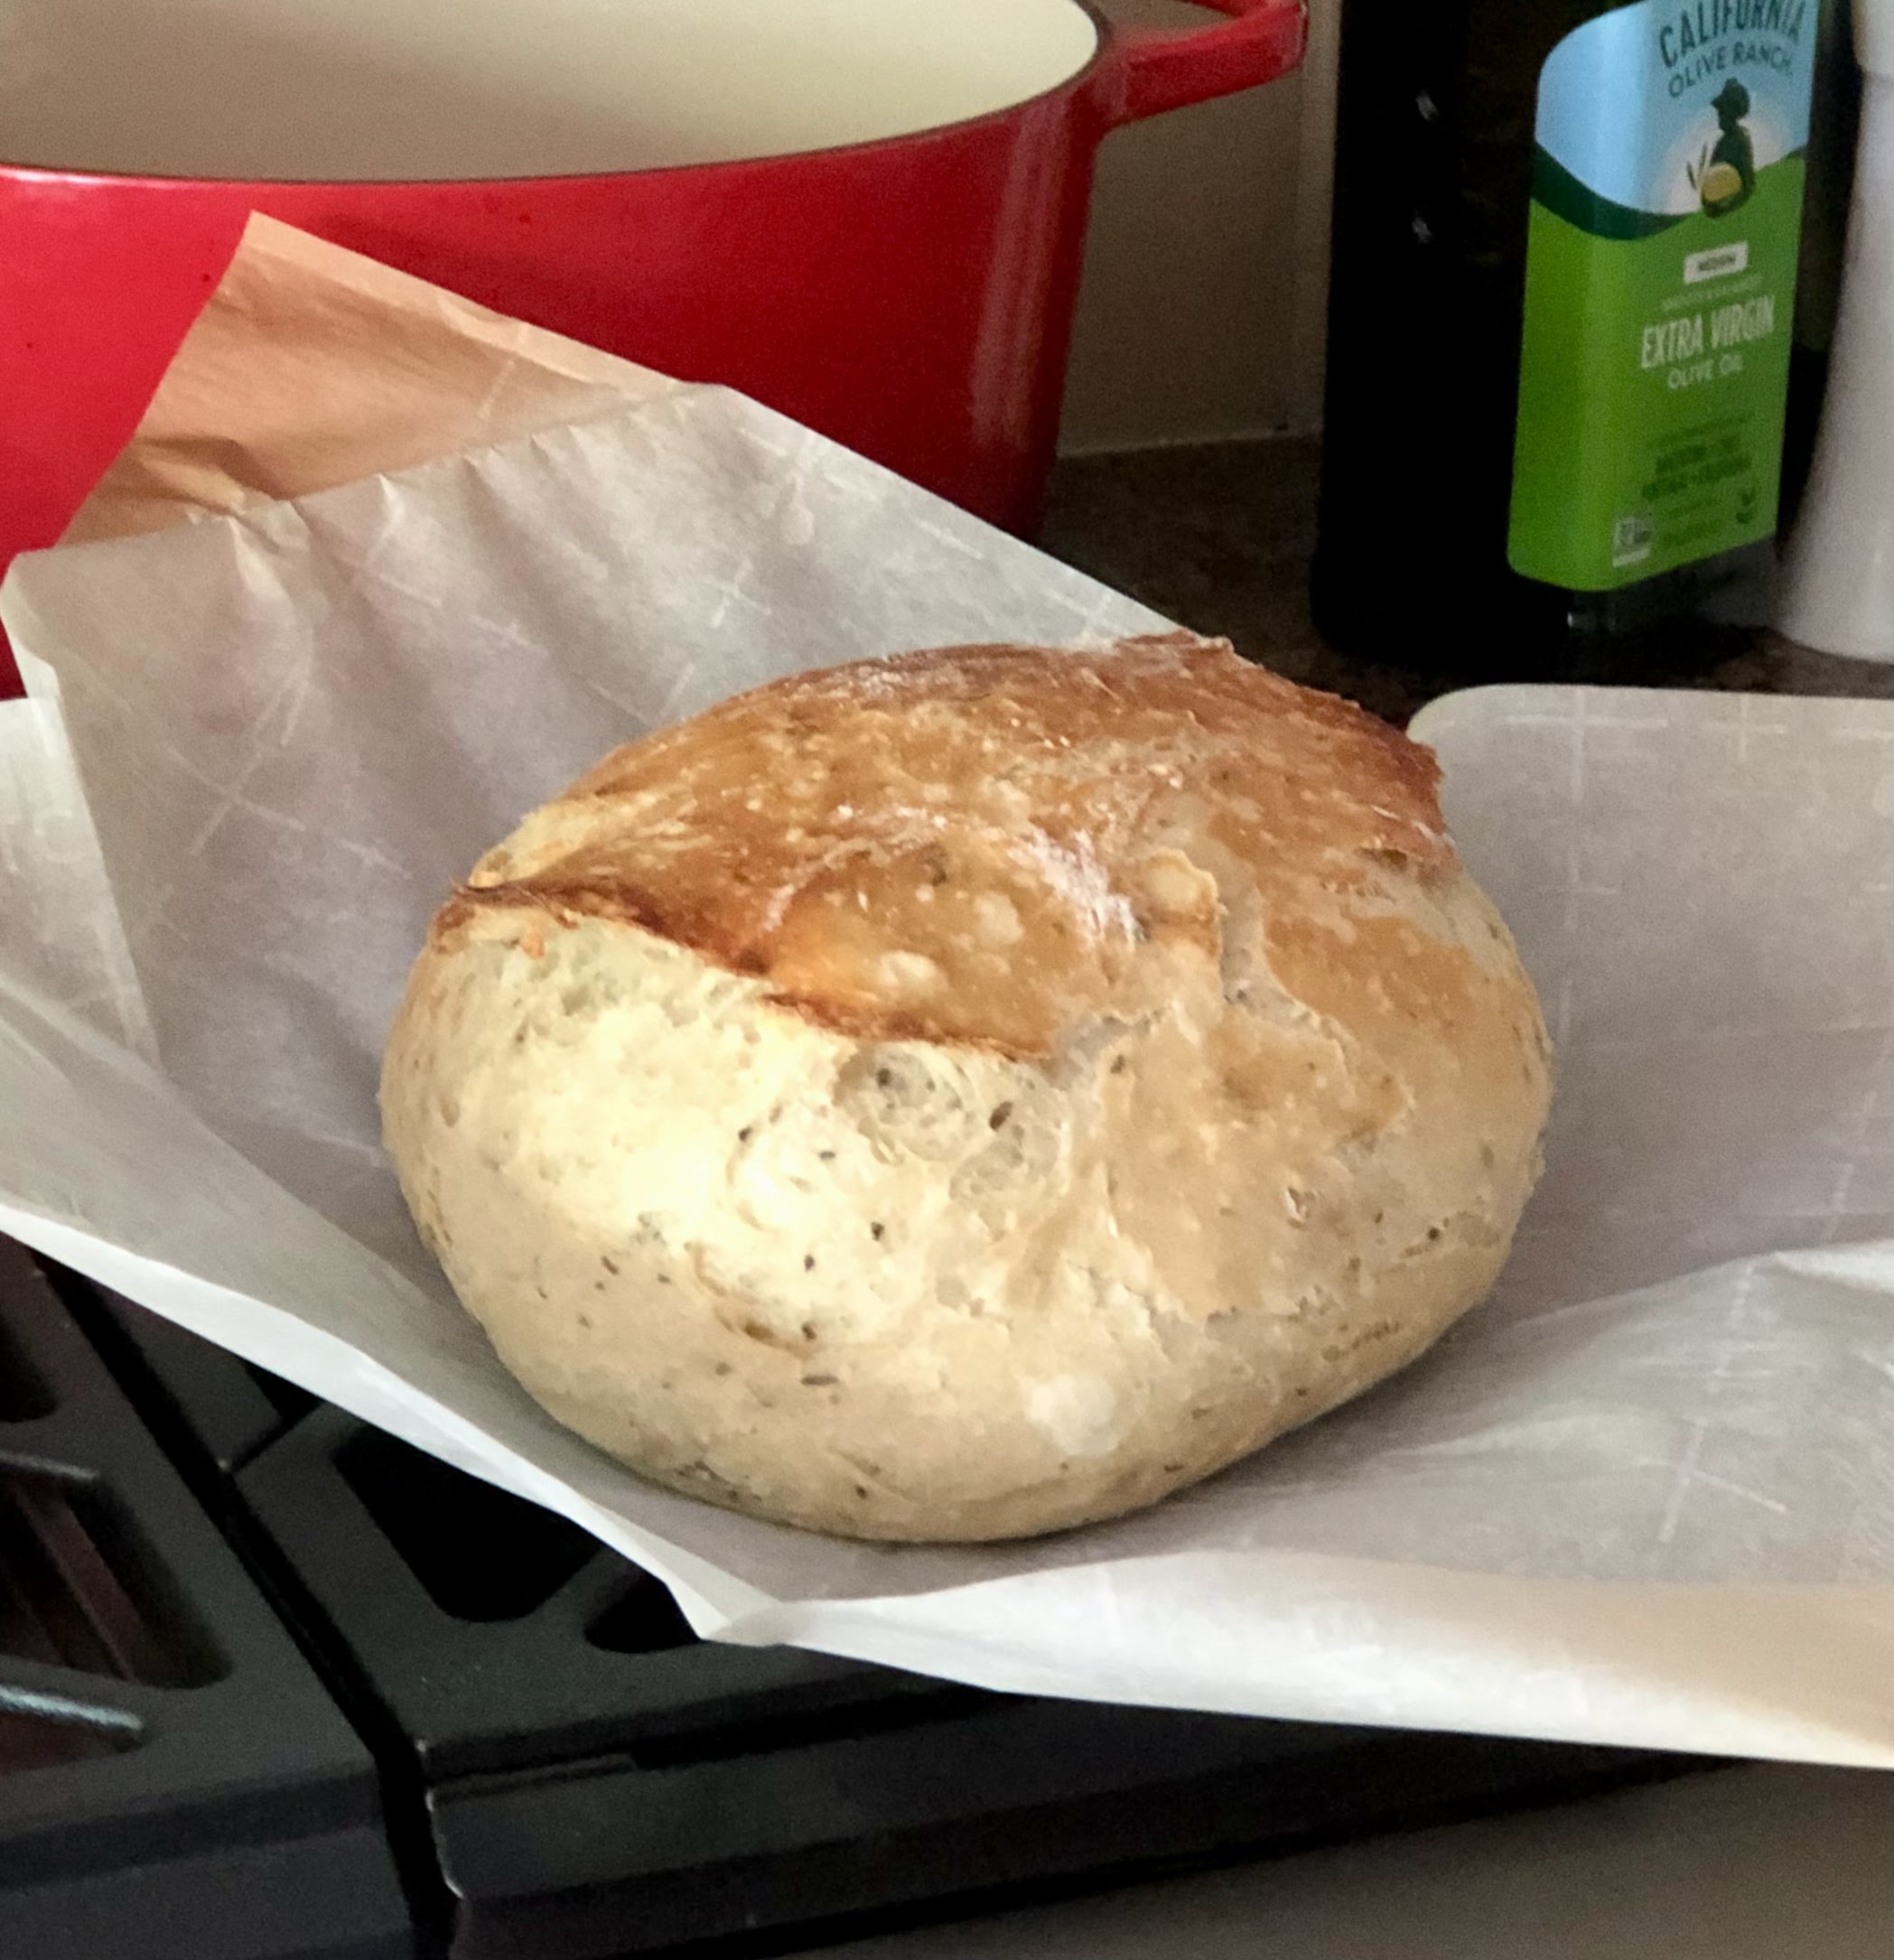
When the girls got up another morning, they found a five pound bag of flour in the box. And each girl separately made a loaf of no-knead bread. The only thing I did was move the heavy Dutch oven in and out of the hot oven. If Mimi Camp had badges, both of them would have earned the bread baking badge.


The next night Little Sister made caprese skewers for a late afternoon snack on our patio and we added some bread wedges to our tray.


And Daddy-O used the very last of the bread for French toast on Saturday morning. We didn't want to waste a crumb of their delicious bread.


Our "foods from the decades" exploration had one more success when they made brownie pudding from the 1940s. After that, they looked at the 1950s recipes and decided to abandon this project when they saw shrimp in jello. EVERYTHING was in jello in the fifties! 

BROWNIE PUDDING

1 cup all-purpose flour

3/4 cup granulated sugar

2 tablespoons unsweetened cocoa

2 teaspoons baking powder

1/2 teaspoon salt

1/2 cup milk

2 tablespoons cooking oil

1 teaspoon vanilla

3/4 cups packed brown sugar

1/4 cup unsweetened cocoa powder

1-3/4 cup hot water


Stir together flour, sugar, 2 tbsp cocoa, baking powder and salt. Mix in milk, oil and vanilla. Pour into greases 8x8-inch baking pan. Combine brown sugar, 1/4 cup cocoa and hot water; pour over batter. Bake at 350º for about 40 minutes. Serves 6 to 8. 

The chocolate sauce layer on the bottom gets thicker as it cools. We liked ours warm, not hot.


So much more happened. But this hits the highlights. If I'm a smart Mimi I'll start collecting ideas for another camp right now. Baby Girl informed me that she planned to come to Mim Camp until she finished high school. Maybe college. "By then I'll have learned all that Mimi knows." 



Monday, July 11, 2022

Lake Week with Family

 
We just got home from a week at the lake. The week started with a family gathering on the Fourth of July. After missing two Covid years we were back in full force. There had been two weddings since our last gathering so had new faces this time. 


There were 29 assorted cousins from multiple generations. it was so good to see faces that we had not seen in a couple of years. And of course, the food is always good. The fellowship is even better.


For the remainder of the week it was our immediate family. This time it included a 5-month old baby and a toddler who, as she proudly told everyone, turned 2-1/2 on July 4th. So it was crazy busy times for the entire week. We raced to keep everyone fed and to keep the littlest ones in dry diapers. I had forgotten how hard young mamas work.


Lucky for us, Little Sister and Baby Girl (who have really outgrown their blog names--but they like them!) are willing and able helpers. They kept babies entertained, helped out in the kitchen and ran back and forth between our old cabin and the new cottage. Saved us a million steps.


Little Sister volunteered to make an appetizer one night. We have basil growing by the back door so caprese skewers were quick and easy to make. Alternate grape tomatoes, mozzarella pearls and folded fresh basil leaves on small skewers. Drizzle with olive oil, season with salt and pepper and drizzle with a balsamic glaze. They were gobbled up before I got a good photo!


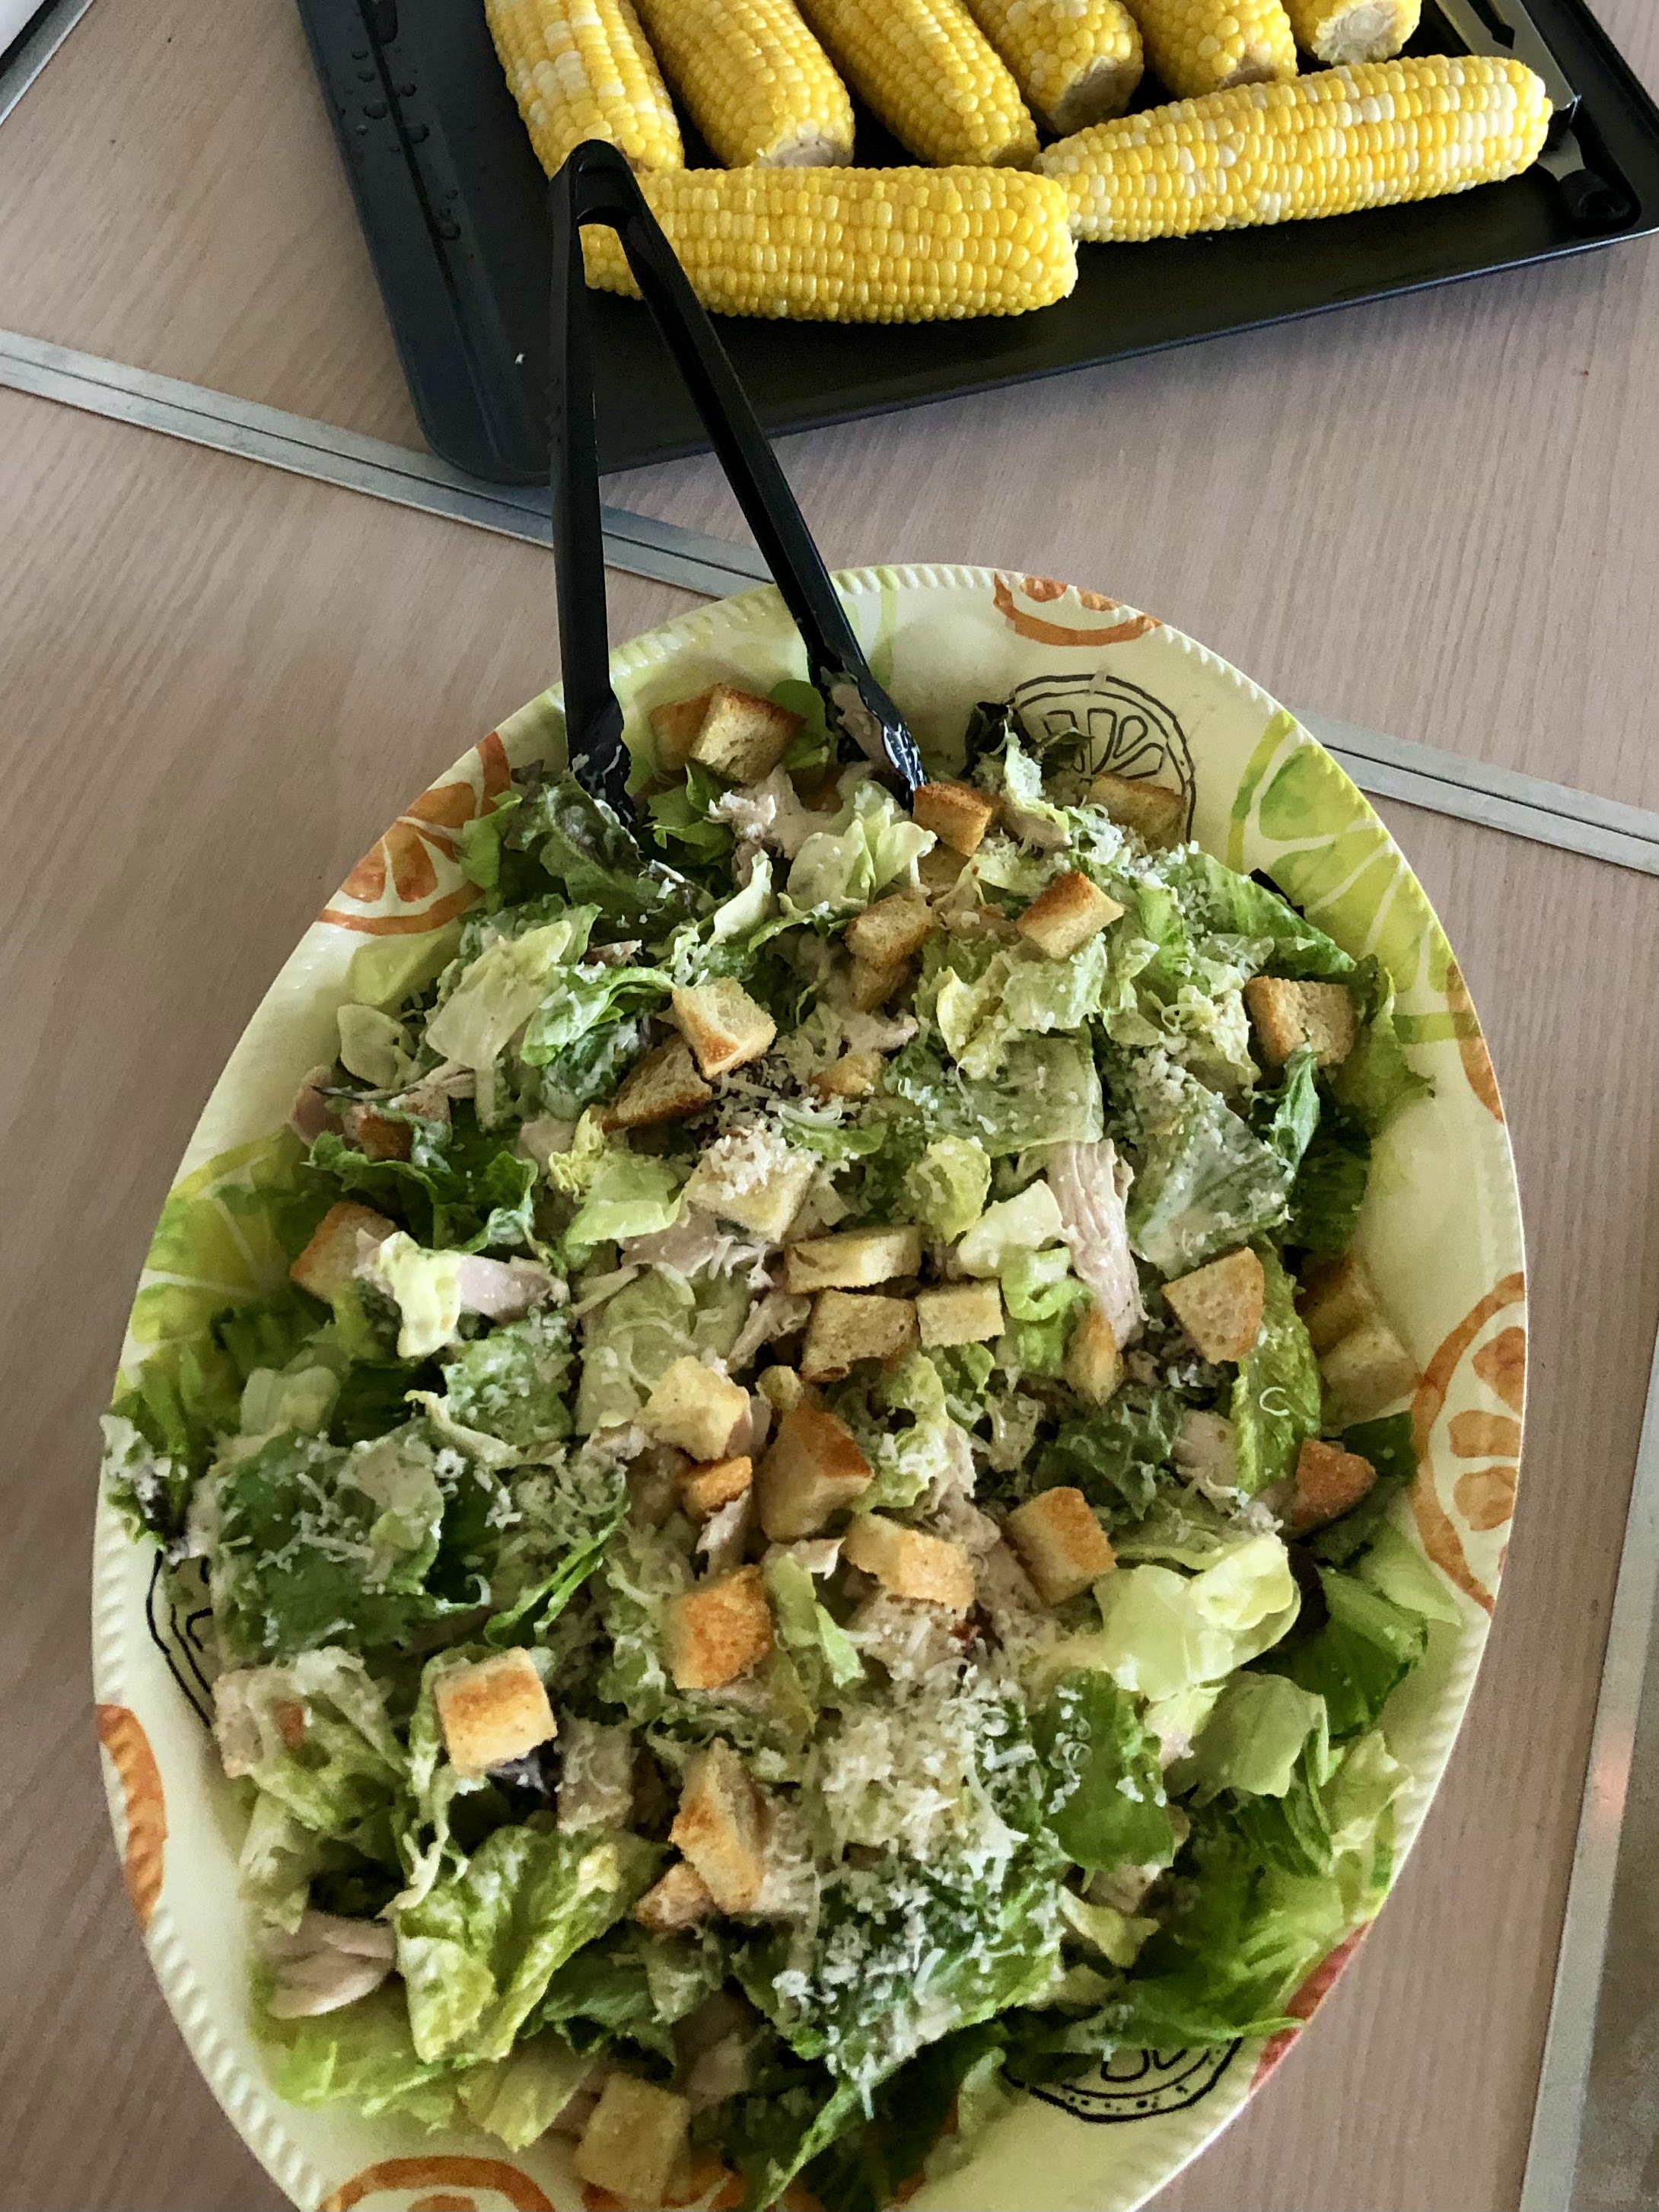
We had one meal at the beginning of the week that was good enough for a repeat at the end of the week. Mommy makes a Baby Kale & Chicken Caesar Salad at her house on her regular rotation. She uses the recipe from Real Simple. It's super healthy with lots of fresh dark green kale and shredded Brussel sprouts and uses a homemade Caesar dressing. It's delicious.


But at the lake we took the Real Simple recipe and made it REALLY simple. This time we used more preprepped ingredients so that it was only a matter of quick assembly. We did keep the homemade croutons. The second time we had it at the lake, we added fresh corn and cantaloup from Daddy-O's garden. It was a perfect summer supper.

Here is how we did it.

CHICKEN CAESAR SALAD

1 bag hearts of romaine
1 bag butter lettuce
1 bottle Panera Caesar salad dressing (look in the refrigerated section)
1 rotisserie chicken from the deli
1/3-1/2 cup grated fresh parmesan cheese
1 loaf sourdough bread (we used a round loaf from 
Publix bakery)
shaved fresh parmesan for topping

Cut or tear bread into cubes and place in single layer on a lined baking sheet. Drizzle with olive oil and toss with hands to coat. Season with salt and pepper. Bake in preheated 425º oven for about 10 minutes, or until golden brown. Set aside to cool.

Pull chicken from the bones into bite size pieces. In a large bowl, mix lettuces and chicken. Sprinkle with grated cheese. Pour dressing over and toss to coat. Transfer to a large serving platter. Sprinkle croutons over and top with shaved parmesan.


The homemade dressing was very good. But the bottled Caesar was a pleasant surprise. The Panera brand was a cut above the other bottled brands I've had. I bought a couple of extra bottles to have on hand.

Mimi Camp starts today, so I'll be away from the computer for at least a week. Maybe I'll have something to share from our camp week at a later date.


Tuesday, June 21, 2022

You Need No Knead!

Crusty No Knead Artisan Bread

Yesterday morning I decided that maybe I needed to add something to the main dish salad that I was taking to book club last night. It was my turn to bring supper. Homemade bread is always a good addition to...well, anything.

This recipe has been all over the internet for years. It's appeared here more than once. But after a few of the "book ladies" asked some questions last night, I'm posting it again and hope I've answered their questions. I've listed my tips for this recipe and tweaked the recipe itself to make it clearer. I hope.

Let's get the tips out of the way...

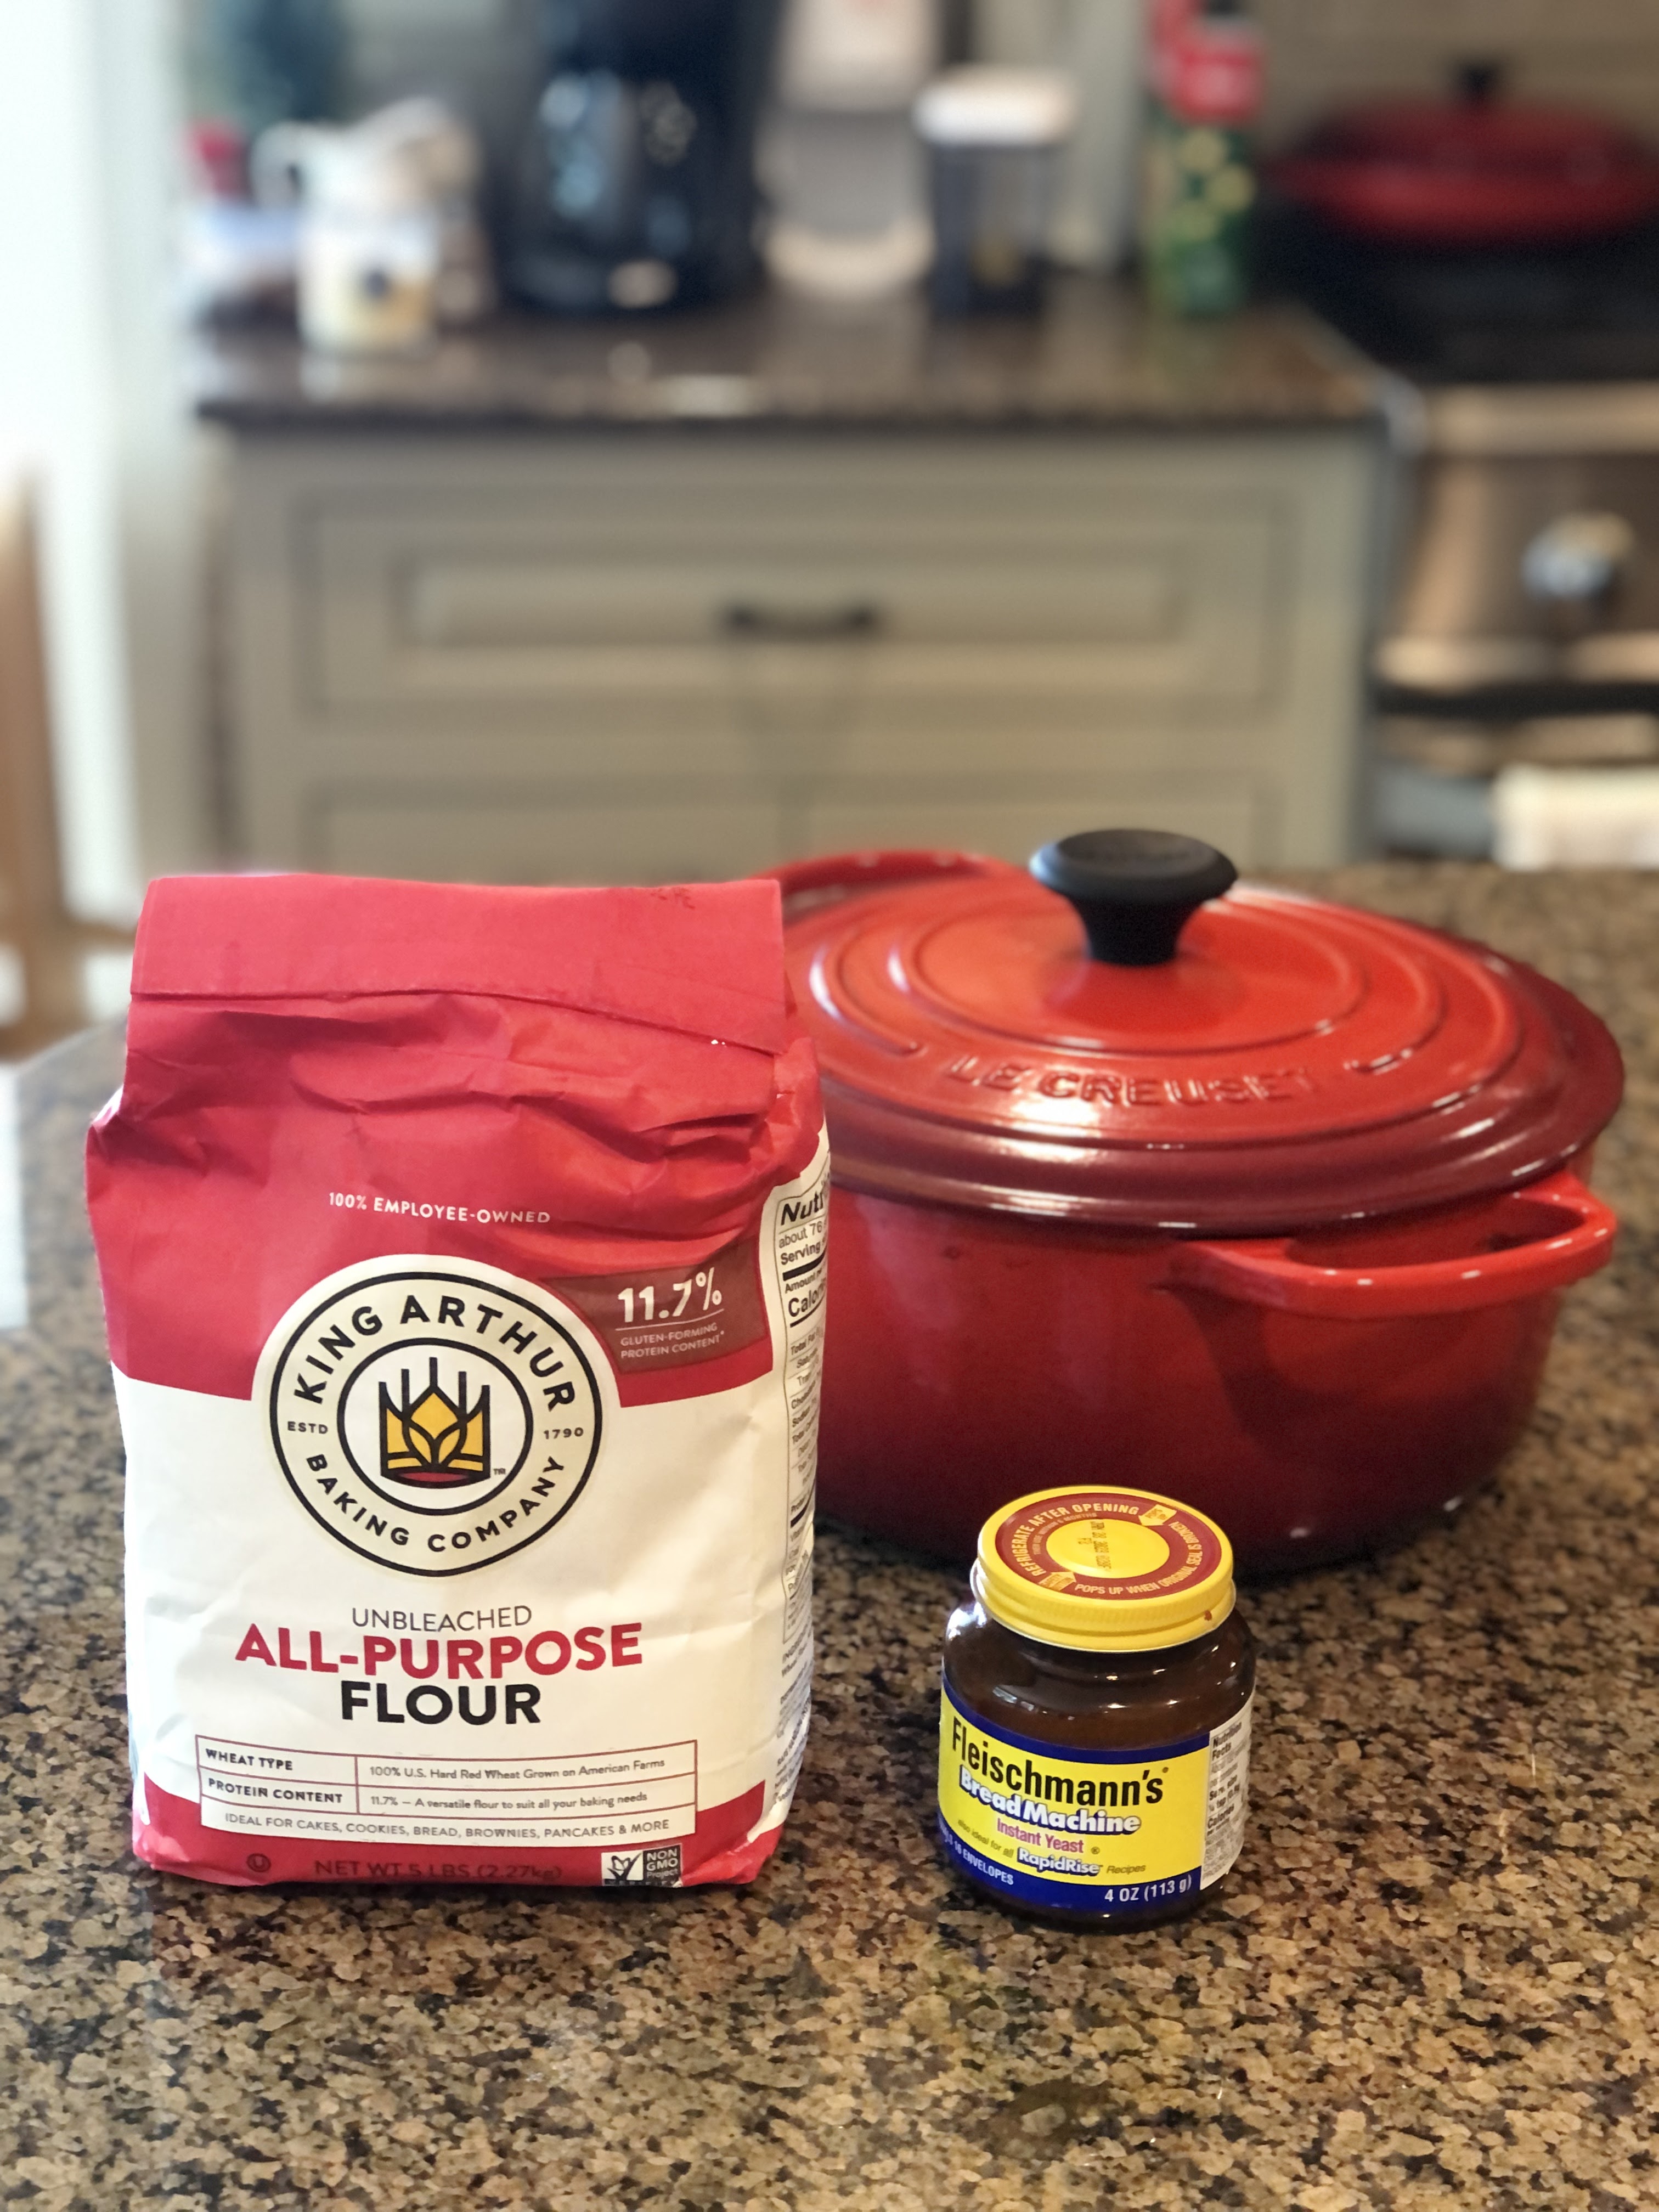
  • I use King Arthur all-purpose flour because of it's higher protein count. My other "go to" all-purpose flour is White Lily, a soft wheat flour that just doesn't work here. Or in the yummy cinnamon roll recipe we love. Or the dinner rolls I've made several times. If you live somewhere outside of the Deep South, I'm sure there are other brands of "hard wheat" all-purpose flours in your store, but I'm sticking with what I know works. 
  • Measure the flour by scooping it up and leveling it. I don't use my typical "spoon and level" method here.

  • I discovered that the Fleischmann's bread machine yeast in a jar is instant yeast. You need to use instant yeast. The bread machine (no, I don't own a bread machine) yeast in a jar sits right beside the little packets of yeast in your grocery store. There are other brands but make sure you use instant.

  • We have wonderful tap water here that comes from a watershed in the mountains of the county just to our north. So I use hot water straight from our tap. If your water tastes like it comes from a chemical plant you probably don't want to use that. Use whatever water you drink and heat it to 118-120º. I just tested the actual temperature of my hot tap water. It's right at 120º. Much hotter than that and you'll kill the yeast.

  • I no longer preheat the Dutch oven, like most recipes do, before plopping the bread dough into it. I've done it both ways. Both ways work. But there are no burned fingers using the cold pan method.

  • If you don't have a Dutch oven, any large 4-6 qt. pot with a lid works as long as it can go into a very hot oven. 

  • Once you've mixed the ingredients—I stir together the dry ingredients with a whisk, then use a heavy spoon to mix in the water—cover your mixing bowl with plastic wrap and let it rise. The "cover with a damp towel" doesn't work here.
  • My perfect rising spot is on top of my cold toaster oven right under the under-counter lights. I did not always have under-counter lights, so that's surely not a requirement. Back in the dark ages, I'd set the bowl on top of the  warm TV. That's not an option any more. Just avoid the air condition vents. If your spot isn't as warm as mine, the dough might take a little longer to rise which is okay.

  • The rising time is a huge range. Yesterday mine rose about 7 hours. It can sit up to 24 hours. I really thought it hadn't risen much but it was time to bake if I was taking it to book club, so I went ahead with the next step and crossed my fingers.

  • This truly is a no-knead bread. I scrape the sticky dough out of the bowl with a spatula onto a floured piece of wax paper. Then I flip the blob of dough over and pick it up, dust off the excess flour and round it into a ball, tucking the ends under as I work so that the top is smooth.

  • Place the ball of dough onto a piece of parchment paper and use the paper to place it into the Dutch oven. I like the precut baking sheets. Yes, the paper will stick out of the pot when you place the lid on. The paper will get dark as it bakes, but it won't catch on fire. The paper is also useful at the end to lift the bread out of the hot pot.

Don't be afraid. It's only flour, water and yeast. Give it a try. 

CRUSTY NO-KNEAD ARTISAN BREAD

3 cups all-purpose flour, (I use King Arthur—scoop & measure)
1/2 teaspoon yeast (I use Fleishmann's BreadMachine Instant yeast from a jar)
1-1/2 teaspoon sea salt
1 tsp to 1 tbsp herbs or seasoning, optional (I used Herbs de Provence—no herbs is also good) 
1-1/2 cups hot water (I use hot tap water)

Put flour into a large mixing bowl. Sprinkle yeast, salt and herbs over flour and stir to blend. Stir in water until it's all moist. Lightly spray top with cooking spray to keep dough from drying out. Cover with plastic wrap and let sit for 4-24 hours.

Dump dough (which is very sticky) onto a well-floured counter or mat. Form into a round or oblong loaf. (Whatever fits into your pot.)  Tuck the dough under as you shape it, so that the top is smooth.

Place dough onto a piece of parchment paper and use the edges of the paper to set the dough down into a Dutch oven

Bake, covered, at 425 degrees for 30 minutes. Remove lid and bake for another 10-15 minutes until golden brown. Carefully remove from hot pan and let cool for 10 minute or so before slicing. (The crust is nearly rock hard straight out of the oven, but it will soften and be easier to slice as it cools.)


Best NEW TIP...to cut a circular load of bread, cut the loaf in half. Place the cut side down on your cutting board and then slice it from one end to the other. I wish I had a photo of the sliced bread to show you. But I had not intended to post this recipe until we talked about it last night and several questions came up.


Wednesday, June 15, 2022

Teach Them Young – Teach Them Well

Microwave Bread & Butter Pickles

Goodness, it's still at our house this morning. And so quiet, too. Our granddaughters headed back home yesterday afternoon. I don't even remember when they got here. But when they arrived, it felt like there was plenty of time for everything. They had lots of time for bike riding and tree swings and scooters. And there was time at the lake. 


And then very suddenly, it was like we needed to cram in a lot in a very little time. There were things we wanted to do but hadn't even talked about until a few days ago. So for the last couple of days it felt like a circus here as we tried to do it all.

Baby Girl was desperate to learn to sew. So desperate to do it "right now" that I grabbed a clean handkerchief from the laundry basket and we used that for practice. She learned to thread a needle, tie a knot in the thread and she learned how to do a running stitch and a whip stitch. 


At the same time that sewing was happening at the kitchen table, Little Sister was at the kitchen counter making pickles. We have been harvesting cucumbers from the garden faster than we can eat them. Little Sister did all the prep except slicing the cucumbers. She could have done it with a knife, but we needed to work faster, so I did them quickly with the mandolin. (That kitchen tool is SO sharp that I ended up in the ER once myself after I sliced my finger along with the vegetables.) But she measured everything else and mixed it all together and took care of the microwave part. 


The next morning we were back at work. Baby Girl learned about different types of buttons and how to sew them while her sister was putting pickles into jars. All of this was happening while Mommy and J-Daddy were packing their car. A circus, I tell you!


This pickle recipe is so easy. It's so quick. It's so good. And it comes with such special memories attached to it. A dear friend gave me the recipe years ago. I remember reading her directions and not understanding her notes about the microwave part. I called her and asked for clarification. It was one of those things that was so simple–if you knew how to do it. So I rewrote the recipe for the rest of us who hadn't already made these pickles a zillion times. 


My friend Bev was sadly one of the million people that we lost to Covid. But I feel like she is watching from above and smiling that her recipe is being passed down to another generation. She was one of the kindest, most generous people I ever knew. Everyone who knew her loved her. And we all miss her.


It makes me smile to see all of the things these girls have learned to do here at the farm. Little Sister was making muffins last week. She found a recipe online and made them without supervision. I did walk through the kitchen while she was wearing her apron and filling muffin cups. She grinned at me. "Look. I'm Mini Mimi!" 


Before you ask, I don't have a comparable recipe for dill pickles. I just make these sweet pickles.


MICROWAVE BREAD & BUTTER PICKLES


1 cup sugar 

1 cup white vinegar 

2 teaspoon salt 

1 teaspoon dry minced garlic 

1 teaspoon mustard seeds 

1/2 teaspoon celery seeds 

1/2 teaspoon tumeric 

1 medium onion, peeled and sliced thin 

2-3/4 to 3 lbs pickling cucumbers, sliced (about 8 cups)


Mix everything except onion and cukes in a large microwave safe bowl. Stir in onions and cukes. Microwave 9 minutes on high, stopping to stir, as the timer counts down, at 6-1/2 minutes to go and at 4 minutes to go.


Remove and allow to cool. Cover and refrigerate overnight before placing in jars. Store in fridge. 


NOTE: SPICES WILL STAIN A PLASTIC BOWL OR SPOON OR KITCHEN COUNTER!


Yield: 6 to 7 half pint jars  (We got 8 jars this time.)


I used a scale (kitchen scale or postal scale) to weigh the cucumbers. I learned that three cucumbers from the garden weighed roughly one pound. So I sliced nine cucumbers and measured them---just about 8 cups. I used a 2-1/2 quart Corningware casserole for the cooking part. It looked like it was nearly too small when I added cucumbers and the onion (had to leave out a few cukes.) But as they cooked in the microwave, they started to cook down.


I was telling my book club friends about our flurry of activity at the end of our grandchildren time and it prompted those ladies to start talking about learning to embroider and cook from their grandmothers. Besides teaching my grandchildren life skills this week, we made some deep memories. Two extremely valuable things to do.


***The graphic is from a book called The Beauty of What Remains: How Our Greatest Fear Becomes Our Greatest Gift by by Steve Leder. I ordered this last night, so haven't read it yet, but read many excellent reviews.


Wednesday, June 8, 2022

Revisiting A Favorite Recipe

Oatmeal Scotchies


You can thank me later. These cookies have been a family staple of ours for years and years. It's the recipe from the back of the Nestles butterscotch chip bag. We have always baked the one-pan bar cookie version because it's faster than making multiple pans of drop cookies. But we discovered that the bar cookie version of the recipe is no longer on the butterscotch chip bag. 

Not to worry. I have the recipe saved here on the blog. I posted it back in 2012. The actual dough recipe is the same for drop cookies and bar cookies, but the pan size and cooking time are things you need to know if you want to make them in one pan. So I think it's due for another appearance here.


Little Sister may have inherited her Mimi's sweet tooth. She cut these into giant bars! They are very rich, so you might probably want to make yours a little smaller. She made these completely by herself. We just left her alone in the kitchen. She's got mad kitchen skills. She even manages pans in and out of a hot oven by herself.  

OATMEAL SCOTCHIES

1-1/4 cups all-purpose flour
1 teaspoon baking soda
1/2 teaspoon salt
1/2 teaspoon cinnamon
1 cup (2 sticks) butter, softened
3/4 cup granulated sugar 
3/4 cup packed brown sugar
2 large eggs
1 teaspoon vanilla extract
3 cups quick or old-fashioned oats
11-oz. package butterscotch morsels

Preheat oven to 375 degrees.

Combine flour, baking soda, salt and cinnamon in a small bowl. Beat butter, granulated sugar, brown sugar, eggs and vanilla in a large mixer bowl. Gradually beat in flour mixture. Stir in oats and butterscotch morsels. Press dough into a greased 10x15-inch jelly roll pan. 

Bake for 18 to 22 minutes or until lightly browned. Cool completely in pan. Cut into bars.

Makes 4 dozen bars.


There are many comments online with brutal reviews saying the Nestles chips are not what they used to be. Evidently the recipe has been reformulated with many saying they have an artificial taste. Mommy says she can tell there's a difference but she's used them anyway. Next time we may try another brand.


Here is a quick peek at some of our granddaughter time this summer. We spent the weekend at the lake on one of those rare weekends with cool temps and low humidity. Low humidity is a big deal in the Deep South. And yesterday we had a "girls day" of shopping in town. Lunch out at a favorite restaurant was a treat. We have enjoyed having this part of the family with us since school got out for the summer. By this time next week it will be just us two old folks here at home. We are soaking up the time with the girls. 


Daddy-O starts every little one out sitting in his lap as they "drive" the boat. And now Baby Girl has graduated to solo driving. Rest assured this was on a Monday morning when the lake was empty and Daddy-O was standing right beside her. I got him to step aside long enough for a quick pic. It's always safety first for us.


As grandparents everywhere are aware, there comes a time when the grandchildren get busy with their own things (as they should) and spending weeks with grandparents isn't the treat that it once was. Not that they don't love us, but they are expanding their world. Big Sister is on her study abroad right now. We have loved seeing photos she posts, but goodness knows life on the farm isn't the same as life in Paris!

We know we are slowly moving in that direction with Little Sister as she starts middle school so we treasure each of these visits. And we are thankful that we still have smaller ones coming along. 


Thursday, June 2, 2022

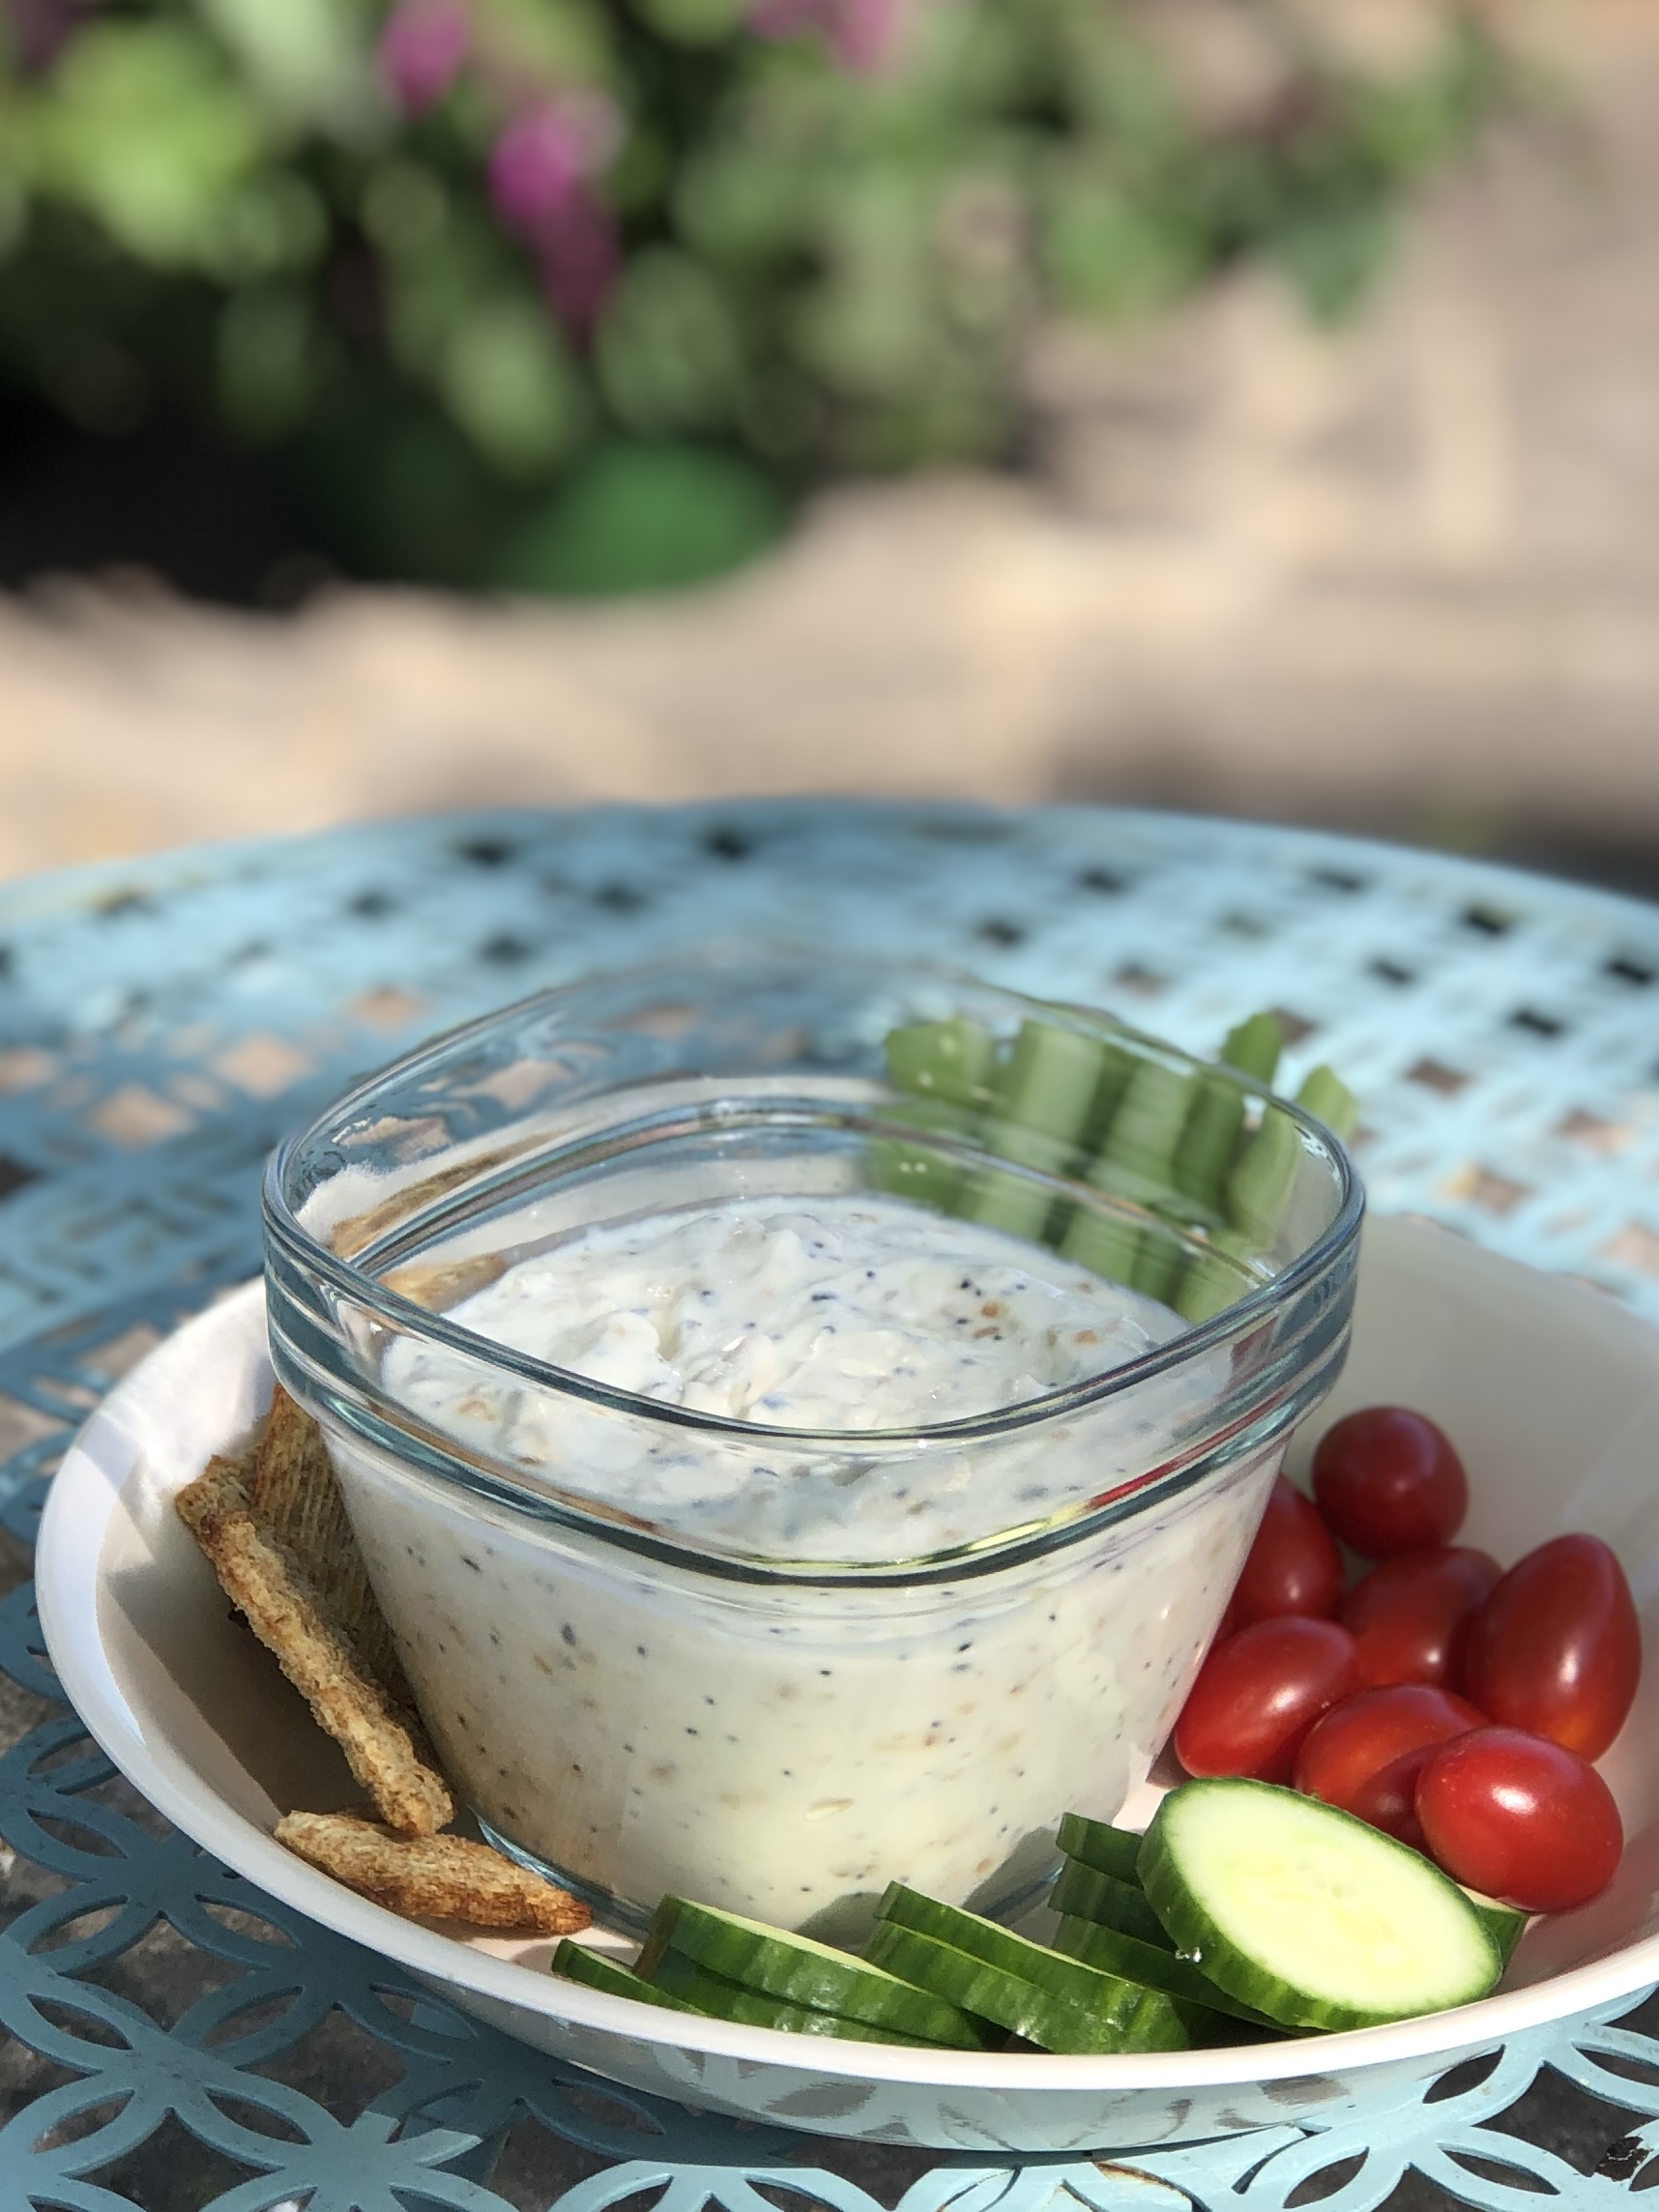
Everything Bagel Dip

Everything Bagel Dip

About 5:00 most afternoons, I am hit with a bad case of the munchies. And I'm tempted to grab the first thing my eye lands on. And then 30 minutes later, I seriously regret that decision. We don't keep a lot of junky snack foods here, but there is always something, even if it's only peanut butter and crackers. 

My only hope is to keep something like this dip and veggies at the front of the fridge. This dip is really, really good. And it takes minutes to make. I made some last night AND sliced a cucumber in less time than it took Daddy-O to pour us a beverage. 

In full disclosure, last night I mixed up a new batch and didn't slow down to look up the recipe. So of course, my measurements were off. I should have added more Dijon and more seasoning. And it was fine just like I made it. I think you could add "or to taste" after every ingredient. 

I also discovered last week that it makes a great topping for a baked potato. We were out of sour cream so I tried this instead. Definitely will do it again.

EVERYTHING BAGEL DIP


1/4 cup light/reduced-fat cream cheese (vegetable flavor or plain)

1 cup fat-free plain Greek yogurt

1 1/2 tbsp. everything bagel seasoning blend (like the kind by Trader Joe’s), plus more for topping

1 1/2 tsp. Dijon mustard


Place cream cheese in a medium bowl, and stir until smooth.
Add all remaining ingredients. Mix until uniform.


Still not much time to post here. We have family at the farm. That's always fun. But as you grandparents know, it keeps you busy! And FYI, the granddaughter in the white t-shirt (Little Sister) is the preteen version of the baby you see on the blog title banner. And Baby Girl (in the blue shirt) is a baby no longer. Goodness, how time flies!